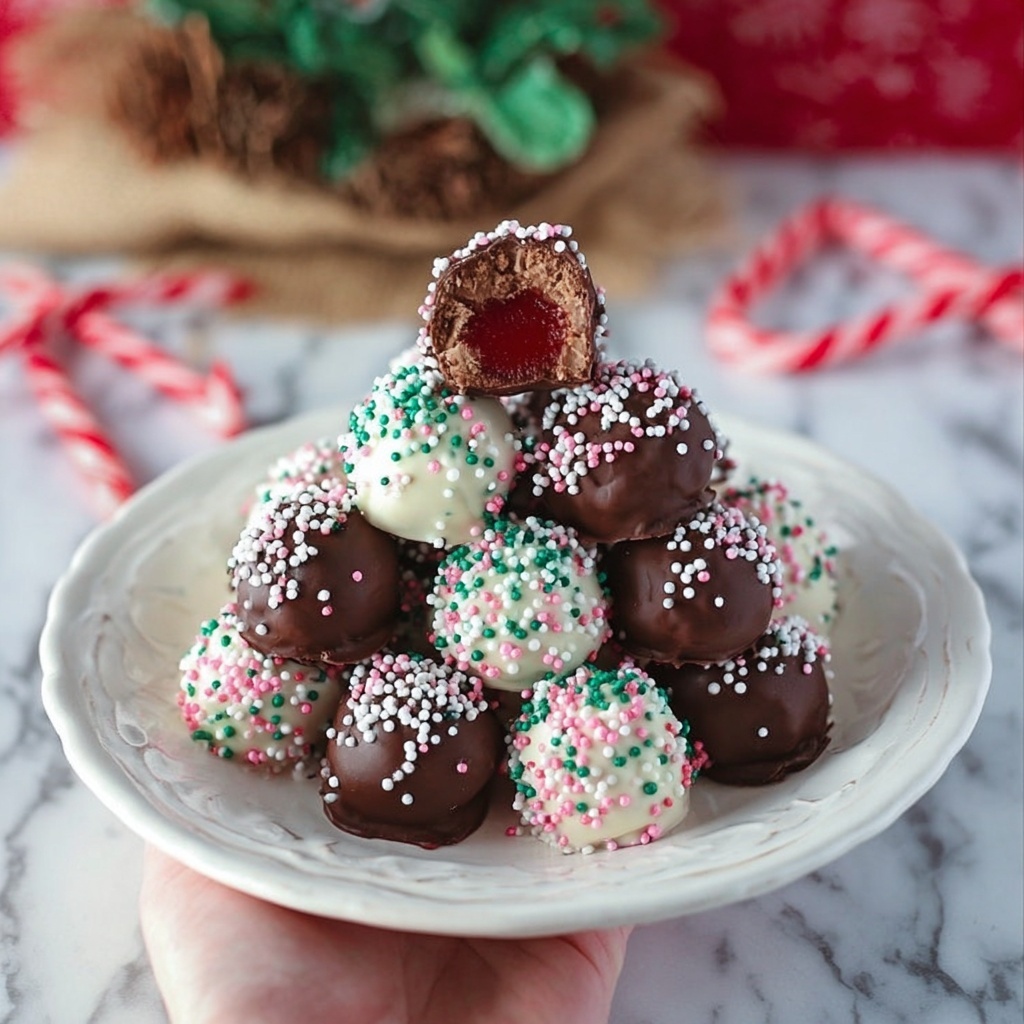
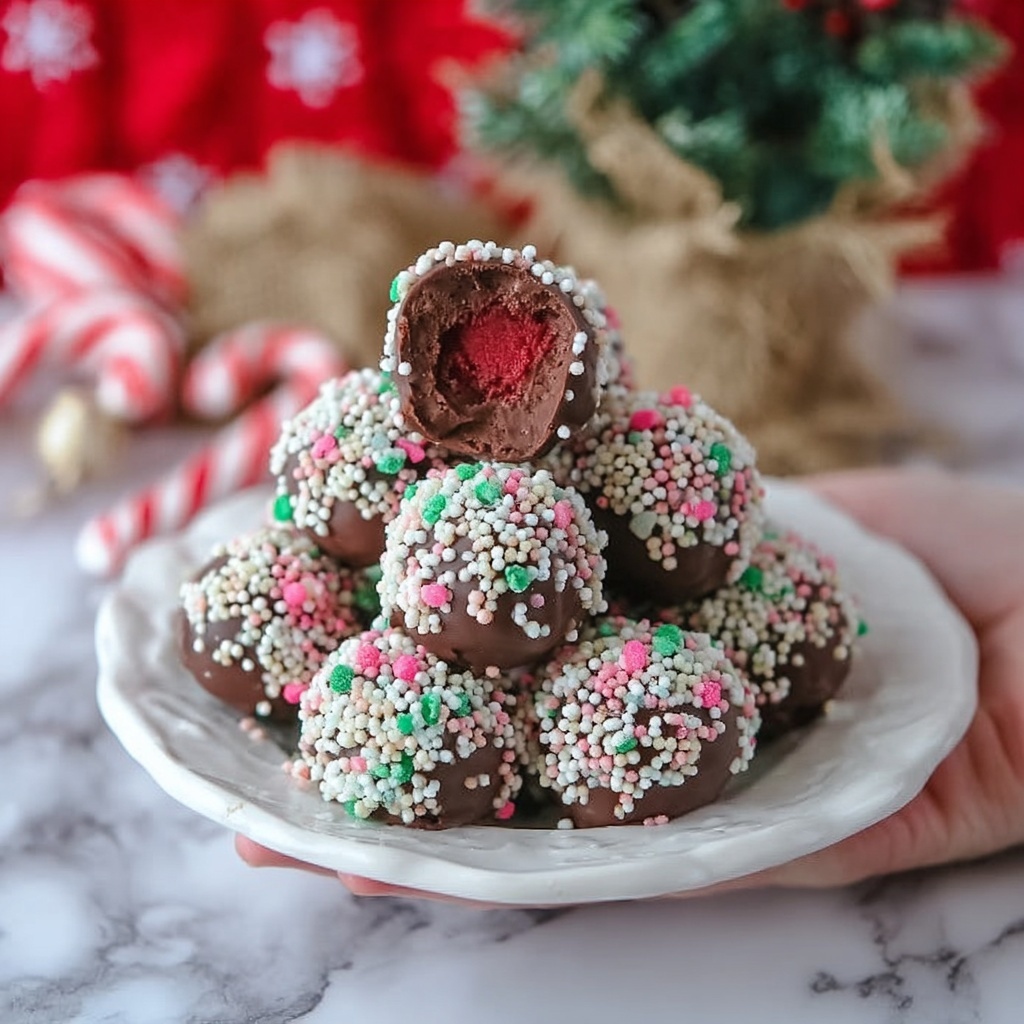
If you’re looking for a dessert that’s both festive and delightfully indulgent, this Peppermint Truffles Recipe is a must-try. Imagine bite-sized, soft red velvet cake balls infused with cool peppermint, enveloped in silky milk chocolate, and finished with a crunchy sprinkle of crushed candy canes and festive sprinkles. This treat brings together the essence of the holiday season in every bite with a perfect balance of creamy, tangy, and minty flavors that will have you reaching for just one more.
Ingredients You’ll Need
This Peppermint Truffles Recipe calls for simple yet essential ingredients that come together to create a vibrant and luscious dessert. Each component is thoughtfully included to bring the perfect texture, flavor, and color — from the rich red cake base to the smooth chocolate coating and peppermint sparkles on top.
- Flour: Provides the structure for the cake base, ensuring a tender crumb.
- Baking Powder: Gives the cake a gentle rise and lightness.
- Sugar: Sweetens the batter and balances the minty notes.
- Powdered Sugar: Used in the dry mix for smoothness and consistency.
- Salt: Enhances all flavors and prevents bitterness.
- Eggs: Bind ingredients, add moisture, and contribute richness.
- Vanilla Extract: Adds warmth and depth to the flavor profile.
- Peppermint Flavoring: The star ingredient that infuses the truffles with refreshing mint.
- Vegetable Oil: Keeps the cake moist and tender.
- Butter (softened): Adds richness and creaminess.
- Heavy Whipping Cream: Enhances smoothness in the batter.
- Milk: Balances the batter’s consistency for perfect cake texture.
- Sour Cream: Gives the cake a subtle tang and moist crumb.
- Red Food Coloring Gel: Creates the festive, eye-catching red color.
- Pink Frosting: Adds sweetness and binds the cake crumbs into firm truffles.
- Mini Chocolate Chips: Adds delicious bites of chocolate throughout.
- Ghirardelli Milk Chocolate Chips: Used for the luscious, glossy chocolate coating.
- Milk (optional): Thins the melted chocolate if needed for smooth dipping.
- Sprinkle Mix: Gives colorful, crunchy accents on top.
- Peppermint Candy Canes: Crushed for a refreshing, crunchy garnish.
How to Make Peppermint Truffles Recipe
Step 1: Whip the Wet Ingredients
Start by combining the eggs, sugar, vanilla, and peppermint flavoring in a stand mixer bowl. Beat these together until they become light and fluffy, which helps build the perfect base for your truffles, ensuring they are airy yet rich with peppermint goodness.
Step 2: Mix the Dry Ingredients
In a separate bowl, whisk together the flour, baking powder, salt, and powdered sugar. This step ensures everything is evenly incorporated for a consistent texture throughout your cake batter.
Step 3: Combine Flour Mixture and Milk
Alternate adding the flour mixture and milk into the wet ingredients, mixing well after each addition. This gradual process keeps the batter smooth and well blended without any lumps, giving you that beautiful velvet texture.
Step 4: Add Sour Cream, Cream, and Oil
Blend in the sour cream, heavy whipping cream, and vegetable oil to the mixture. These ingredients provide moisture and extra creaminess, creating a rich and luscious cake base that will melt in your mouth.
Step 5: Incorporate Red Food Coloring
Add 10 to 12 drops of red food coloring gel to the batter and mix until the color is consistently bright and festive. Add more if you want a more vibrant hue—this step really brings that classic holiday look to life.
Step 6: Bake the Cake
Grease and flour an 8 x 11-inch baking dish, then pour in the batter. Bake at 350°F for 45 minutes, or until a toothpick inserted near the center comes out clean. Cooling the cake completely is essential before moving on, so plan on transferring it to a wire rack.
Step 7: Prepare Your Sprinkle Mix
Spread out your sprinkles on a cookie sheet and crush peppermint candy canes into small bits. Mix these peppermint crumbs with the sprinkles to add a festive and crunchy topping for your truffles later.
Step 8: Crumble the Cake and Mix with Frosting
Once cooled, break the cake into fine crumbs using a spoon and your fingers. Stir in the entire can of pink frosting and mini chocolate chips, blending until fully combined to create a sticky, flavorful truffle mixture.
Step 9: Melt the Chocolate
Melt 2 cups of Ghirardelli milk chocolate chips in the microwave, stirring every 20 seconds. If the chocolate thickens too much, add a little milk to achieve a smooth consistency perfect for dipping your truffles.
Step 10: Form and Dip Truffles
Shape the cake mixture into small balls, then use a fork to dip each one into the melted chocolate. Place them on parchment paper immediately and sprinkle with your peppermint-sprinkle mix before the chocolate sets for an extra festive touch.
Step 11: Set and Serve
Allow the dipped truffles to harden at room temperature or in the refrigerator for about an hour. Once set, arrange them on a festive platter and get ready to impress your friends with this peppermint delight.
How to Serve Peppermint Truffles Recipe
Garnishes
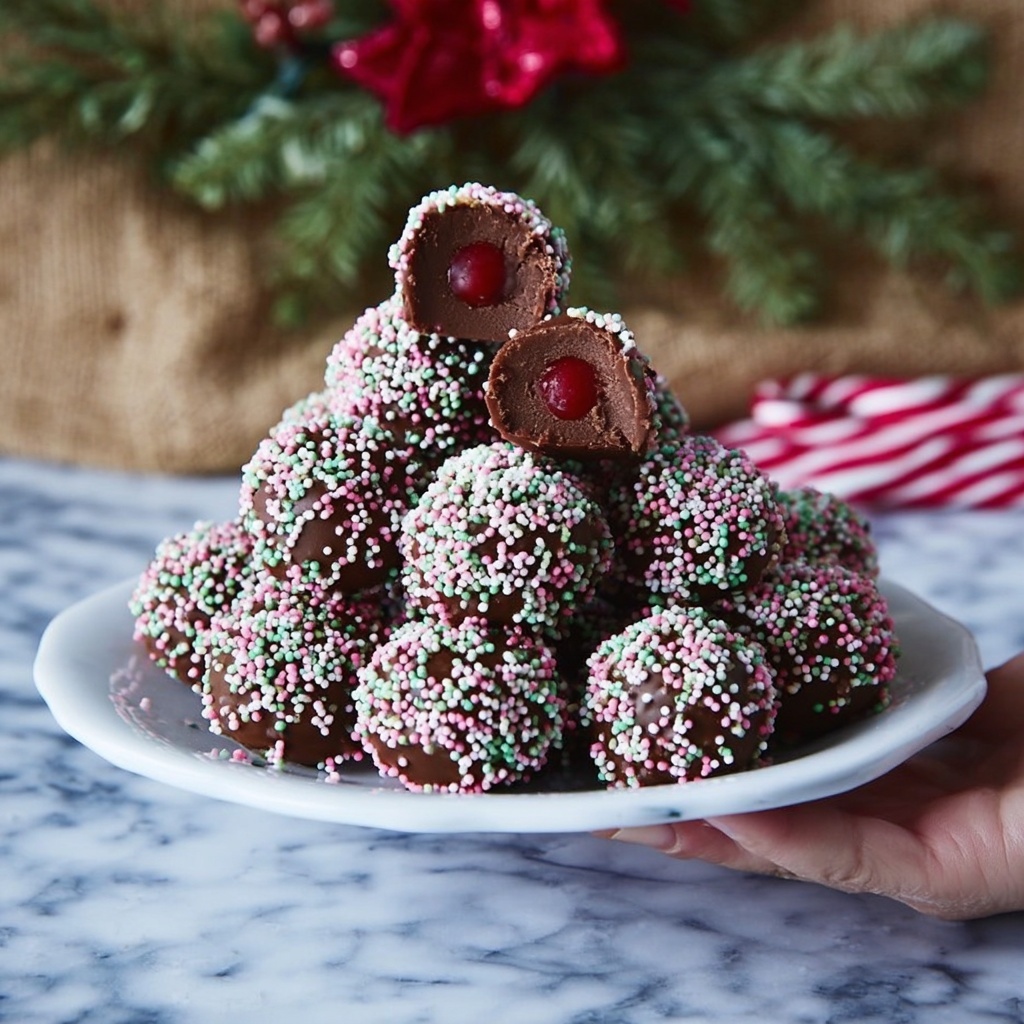
Adding crushed peppermint candy canes and colorful sprinkles on top not only offers a crisp texture contrast but also makes each truffle look irresistibly fun and festive. You can also dust them lightly with powdered sugar for an elegant snowy effect.
Side Dishes
Serve these truffles alongside a cup of hot cocoa, peppermint tea, or even a creamy eggnog. Their cool peppermint flavor pairs beautifully with warm beverages, making the experience cozy and comforting on cold days or holiday parties.
Creative Ways to Present
Get creative by arranging your truffles in mini cupcake liners, stacking them like a festive pyramid, or presenting them in a decorative holiday box as a thoughtful edible gift. You can even drizzle extra chocolate over them for a dramatic effect that will wow your guests.
Make Ahead and Storage
Storing Leftovers
Keep your leftover peppermint truffles in an airtight container in the refrigerator to maintain their freshness. They stay moist and delicious for up to one week, perfect for nibbling throughout the holiday season without losing any flavor or texture.
Freezing
You can freeze these truffles by arranging them in a single layer on parchment-lined trays until firm, then transferring them to a freezer-safe container. This way, they’ll keep for up to two months and thaw perfectly when you’re ready to enjoy.
Reheating
Truffles are best enjoyed chilled or at room temperature, so no reheating is necessary. Just allow frozen truffles to thaw in the refrigerator overnight for the best texture and flavor.
FAQs
Can I use a different extract instead of peppermint?
Absolutely! While peppermint is classic for this recipe, you can try vanilla, almond, or even orange extract for a unique twist. Just remember to adjust quantities to suit your taste.
Is it necessary to use red food coloring?
Red food coloring gives the truffles their vibrant holiday charm, but you can skip it if you prefer a more natural look. The flavor will still be fantastic without it.
Can these truffles be made gluten-free?
Yes, substitute the all-purpose flour with a gluten-free flour blend that measures cup-for-cup. Make sure your baking powder is gluten-free as well for safe baking.
What’s the best way to melt the chocolate?
Microwaving in short bursts and stirring frequently prevents burning. You can also melt chocolate gently in a double boiler if you prefer more control over the heat.
How do I ensure the chocolate coating hardens nicely?
Dip the truffles quickly and place them on parchment paper immediately. Let them set at room temperature or refrigerate for about an hour to get that perfect firm finish.
Final Thoughts
This Peppermint Truffles Recipe is truly a holiday treasure that balances beautiful flavors, textures, and colors in the most delightful way. Whether you’re making them for a party, a gift, or just to treat yourself, these truffles bring cheer and decadence with every bite. Dive in and enjoy this wonderful recipe that’s bound to become a seasonal favorite in your kitchen!