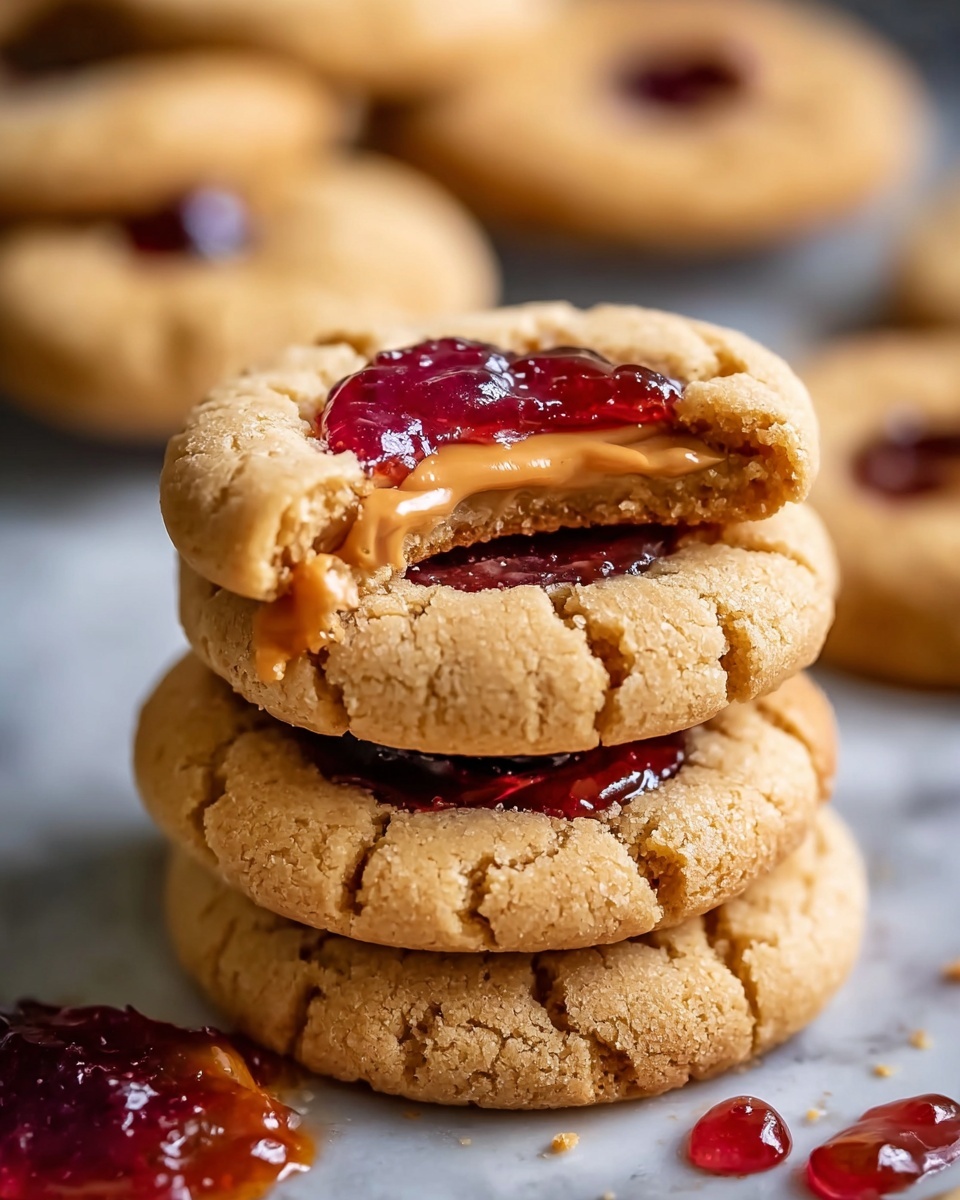
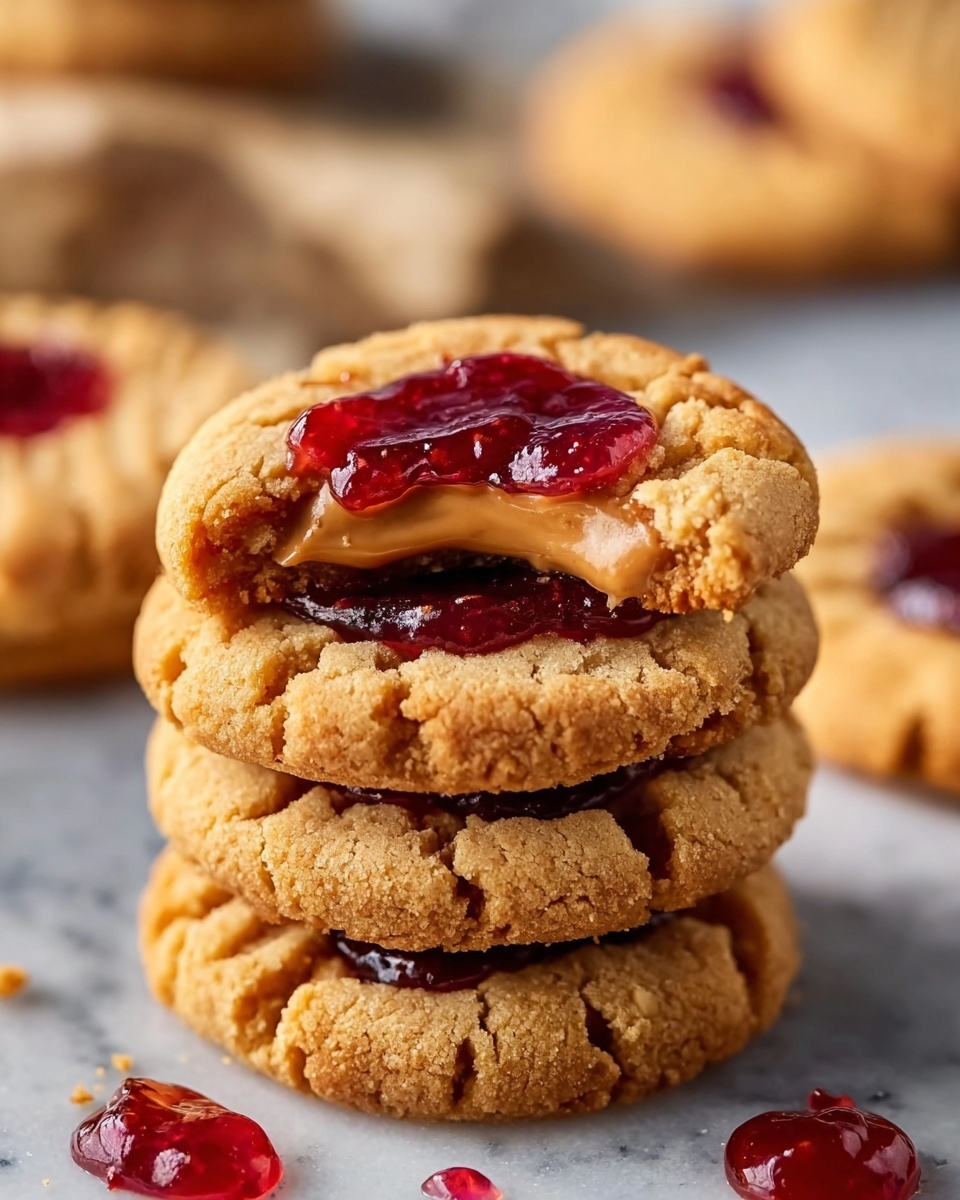
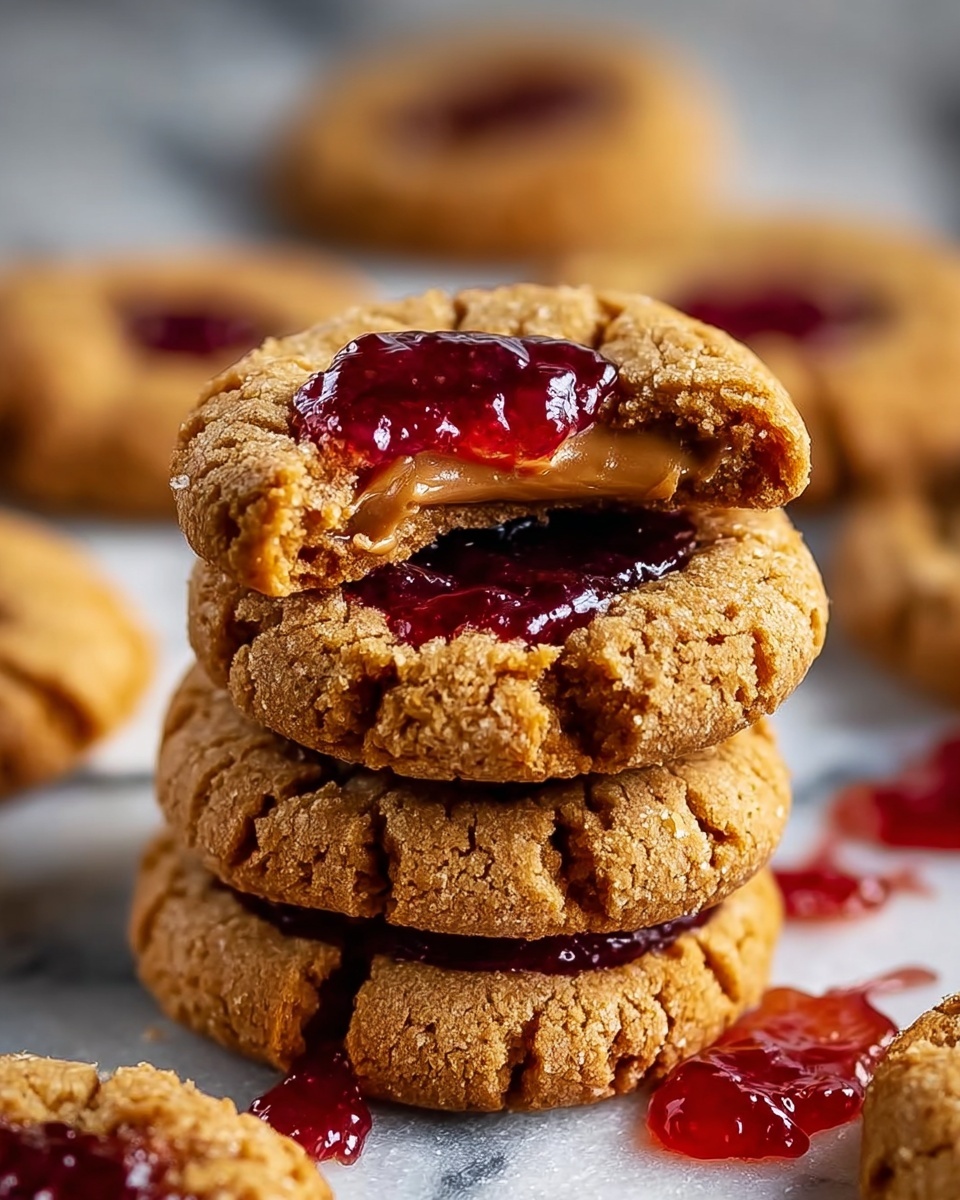
There’s something utterly delightful about the classic combo of peanut butter and jelly, and when that beloved pairing transforms into a cookie, magic happens. This Peanut Butter and Jelly Cookies Recipe is the ultimate treat for anyone craving a sweet, nutty, and fruity bite all in one. Soft yet slightly crumbly cookies with a luscious jam center topped with a peanut butter drizzle and crunchy peanuts make these cookies irresistibly good. Whether you’re baking for family, friends, or just because, these cookies carry the nostalgic flavors we all adore with a fun and fresh twist.
Ingredients You’ll Need
These ingredients may be simple, but each plays a crucial role in creating the perfect texture and flavor for your Peanut Butter and Jelly Cookies Recipe. From the creamy peanut butter to the sweet and tangy jam, every element complements the other beautifully.
- Butter (½ cup / 1 stick): Provides richness and helps create a tender crumb in the cookies.
- Granulated sugar (¾ cup): Adds crisp sweetness and helps with browning.
- Brown sugar (¼ cup, packed): Adds moisture and a hint of caramel flavor for depth.
- Creamy peanut butter (1 cup): The star ingredient delivering that iconic peanut flavor and creamy texture; crunchy works if you prefer extra bite.
- Large egg (1): Binds everything together and adds softness.
- Vanilla extract (1 teaspoon): Enhances all the flavors with aromatic warmth.
- All-purpose flour (1 ½ cups): Forms the dough’s structure; spooned and leveled for accuracy.
- Baking soda (1 teaspoon): Provides just the right lift and tenderness.
- Kosher salt (¼ teaspoon): Balances sweetness and intensifies flavors.
- Seedless jam (½ cup): Use your favorite flavor, like strawberry or grape, for that gooey jelly center.
- More jam (for topping): Adds extra fruity punch and visual appeal.
- Melted peanut butter (for garnish): A drizzled finish that amps the peanut buttery goodness.
- Chopped peanuts (for garnish): Adds delightful crunch and texture contrast.
How to Make Peanut Butter and Jelly Cookies Recipe
Step 1: Prep the Chocolate Kisses
Start by placing your bag of Hershey’s Kisses in the freezer. This simple trick keeps them firm, preventing them from sliding off your cookies when pressed in after baking. While this isn’t required, it makes assembly easier and tidier!
Step 2: Cream the Butters and Sugars
In a large bowl or stand mixer, beat the butter until it’s smooth and creamy—this ensures an airy texture in the final bake. Then, add the granulated and brown sugars and beat until light and fluffy. Don’t forget to scrape the sides occasionally to mix everything evenly.
Step 3: Add Peanut Butter, Egg, and Vanilla
Next, mix in the creamy peanut butter, one egg, and vanilla extract until fully combined. These ingredients meld to create the signature rich, nutty flavor combined with that irresistible aroma.
Step 4: Combine the Dry Ingredients and Form the Dough
In another bowl, whisk together the flour, baking soda, and kosher salt. Stir this dry mix into your wet ingredients gently until the dough just forms. Be careful not to overmix; you want tender, soft cookies, not dense ones!
Step 5: Chill the Dough (Optional but Recommended)
Chilling your dough for 15 to 60 minutes makes the dough easier to handle and helps the cookies keep their shape while baking. It’s a small step that yields noticeably better results.
Step 6: Shape and Sugar-Coat Your Cookies
Preheat your oven to 350°F and line baking sheets with parchment paper. Roll your dough into 1 ½ inch balls, then roll them in granulated sugar to create a sweet, crunchy coating. Place each cookie two inches apart to allow for spreading. Flatten them gently with a fork dipped in sugar or flour to create a charming criss-cross pattern that’s classic for peanut butter cookies.
Step 7: Bake the Cookies
Bake your cookies for 13 to 15 minutes until the edges are just set and the center looks matte rather than shiny. This is the sweet spot for achieving that perfect chewy-tender texture.
Step 8: Add the Jam Filling
While the cookies bake, stir your chosen jam to smooth out any lumps. Once out of the oven, quickly place a teaspoon of jam on each cookie’s center. The warm cookie will gently soften the jam, creating a delightful jewel-like center.
Step 9: Final Garnishes
Let the cookies rest for 5 to 10 minutes before moving them to a wire rack. While they cool, drizzle melted peanut butter over the top and sprinkle chopped peanuts for a beautiful finishing touch that adds texture and heightens the peanut flavor.
Step 10: Enjoy
Serve your Peanut Butter and Jelly Cookies warm, ideally with a cold glass of milk. These treats are perfect fresh out of the oven, when the peanut butter drizzle is still slightly melty and the jam center is luscious.
How to Serve Peanut Butter and Jelly Cookies Recipe
Garnishes
A light drizzle of melted peanut butter and a sprinkle of chopped peanuts not only enhance the flavor but create an inviting look. You can also try a dusting of powdered sugar for extra sweetness and visual contrast.
Side Dishes
These cookies pair beautifully with a simple cup of tea or coffee, but the classic companion is a cold glass of milk. For a fun twist, serve alongside vanilla ice cream or a scoop of fruity sorbet that complements the jelly flavor.
Creative Ways to Present
Try stacking the cookies with a layer of cream cheese frosting or peanut butter cream between two cookies for a little sandwich dessert. Alternatively, arrange them on a colorful platter with fresh berries to elevate your dessert table.
Make Ahead and Storage
Storing Leftovers
Store your baked cookies in an airtight container at room temperature. They’ll stay moist and flavorful for up to 5 days. For best texture, keep the jam-topped side facing up to avoid sticking.
Freezing
You can freeze the cookie dough balls before baking. Simply place them on a tray, freeze solid, then transfer to a freezer bag. Bake from frozen, adding a couple extra minutes to the cook time. Baked cookies can also be frozen in an airtight container for up to 3 months.
Reheating
To enjoy cookies warm after storage, heat them briefly in a microwave (about 10-15 seconds) or in a low oven (300°F) for 5 minutes. This brings back that freshly baked softness and gooey jam center beautifully.
FAQs
Can I use crunchy peanut butter instead of creamy?
Absolutely! Crunchy peanut butter adds a lovely texture variation and a bit more nutty bite. It will still work beautifully in the Peanut Butter and Jelly Cookies Recipe.
What types of jam work best in this recipe?
Classic flavors like strawberry, grape, and raspberry are fantastic choices. Seedless jams spread easily and create a smooth center without big seeds interfering with the cookie texture.
Are these cookies gluten-free?
This recipe uses all-purpose flour, so it’s not gluten-free as written. However, you can experiment with gluten-free flour blends designed for baking to adapt the recipe.
Can I make these cookies vegan?
To make a vegan version, substitute the butter with a plant-based alternative, use a flax or chia seed egg replacement, and ensure your jam is free from animal products. The cookies will still be delicious, just with slightly different texture nuances.
How do I prevent the jam from making the cookies too soggy?
Adding the jam after baking and letting the cookies cool slightly helps keep a pleasant texture. Also, stirring the jam to remove lumps ensures a nice even layer without excess moisture that could sog the cookie base.
Final Thoughts
If you’ve been waiting for a cookie recipe that captures the nostalgic charm of a peanut butter and jelly sandwich in a perfectly baked treat, this Peanut Butter and Jelly Cookies Recipe is sure to become a fast favorite. It’s simple, fun to make, and absolutely scrumptious. So grab your ingredients, invite someone you love into the kitchen, and bake a batch of these cookies today—you won’t regret it!