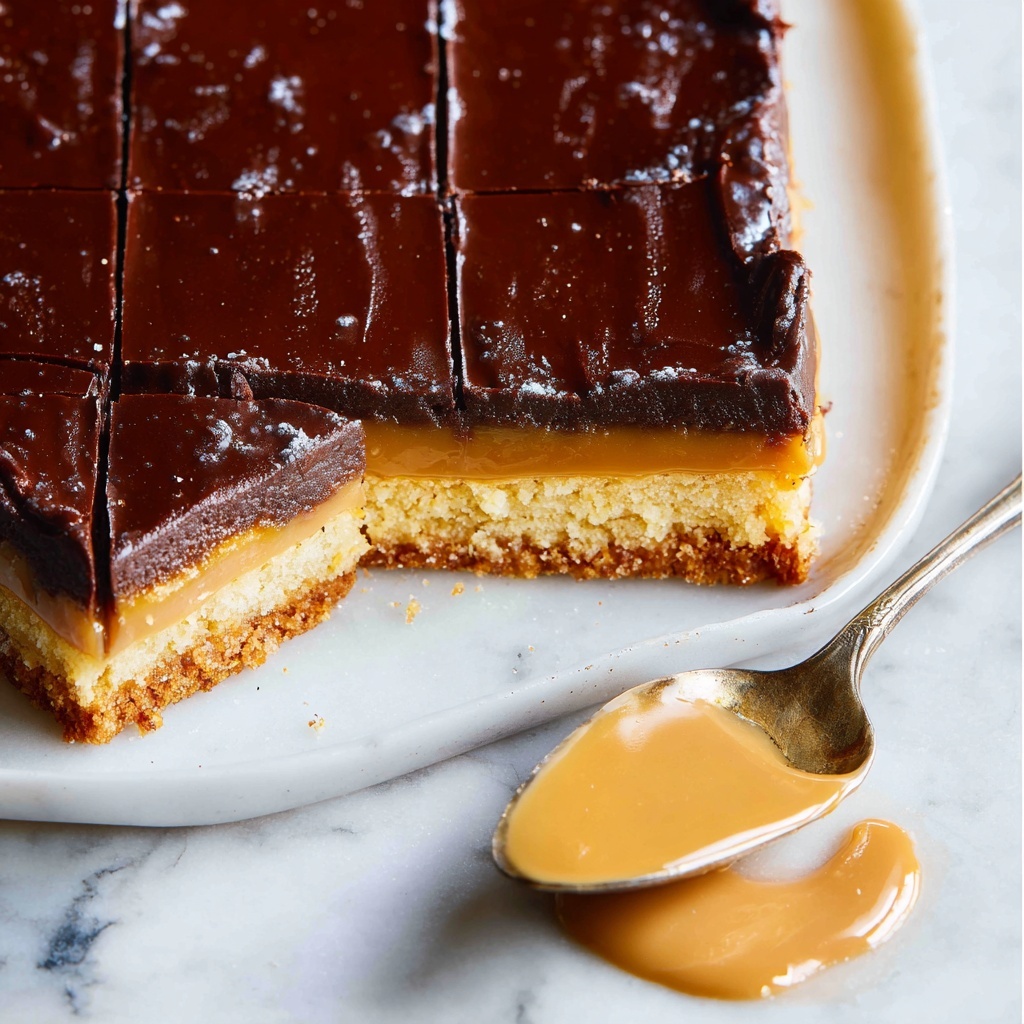
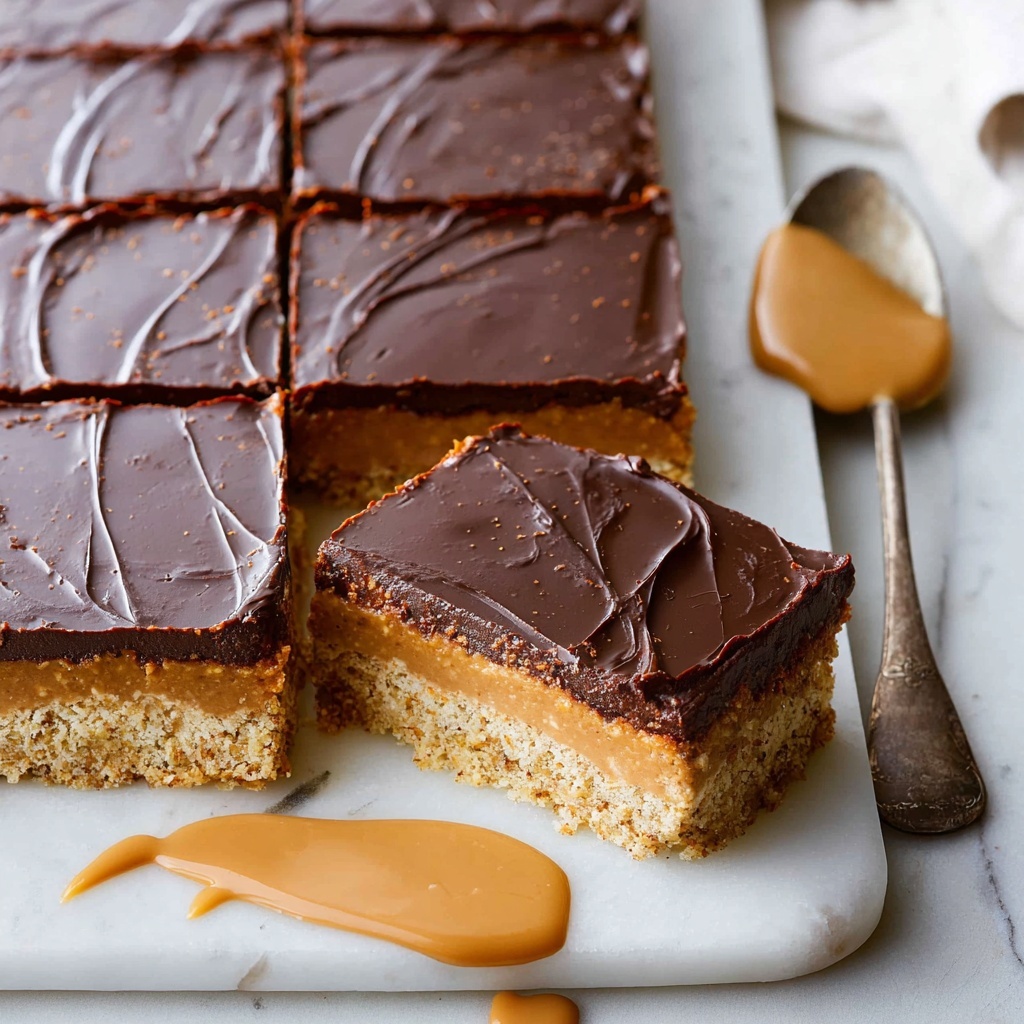
If you’ve ever wished for a dessert that combines nostalgia, chewy texture, and a peanut buttery punch, then the Lunch Lady Peanut Butter Bars Recipe is about to become your new obsession. These bars bring together layers of soft, oat-studded cookie, a generous peanut butter middle, and a rich, fudgy chocolate frosting on top. Each bite is like revisiting the best of school lunch treats, but elevated to something utterly irresistible and perfect for sharing, gifting, or keeping all to yourself. Trust me, once you try this Lunch Lady Peanut Butter Bars Recipe, you’ll be making them again and again for every occasion.
Ingredients You’ll Need
The magic of these bars lies in the simplicity and quality of the ingredients. Each component contributes uniquely to the texture, flavor, and overall vibe of the bars – from buttery richness to that classic peanut butter goodness and a hint of chocolate that ties it all together perfectly.
- 1 cup butter (softened): Provides creamy richness that keeps the bars tender and moist.
- 1 and 1/2 cups brown sugar (packed): Adds a deep caramel flavor and moisture to the cookie layer.
- 1/2 cup granulated sugar: Gives just the right sweetness and balance against the brown sugar.
- 1 cup peanut butter: The heart of the bars, creamy peanut butter infuses classic flavor and moisture.
- 2 large eggs: Bind everything together and add a bit of lift to the texture.
- 2 teaspoons vanilla: Enhances all the flavors with a warm, fragrant touch.
- 2 cups all-purpose flour (spooned and leveled): The base of the cookie layer, giving structure without toughness.
- 1 teaspoon baking soda: Helps the bars rise slightly for a perfect chew.
- 1 teaspoon kosher salt (or sea salt): Balances the sweetness and intensifies flavor.
- 1 cup quick oats: Adds chew and texture.
- 1 cup old fashioned oats: Gives hearty chew and a rustic feel.
- 1 and 1/2 cups creamy peanut butter: For the luscious peanut butter layer, melted slightly for spreading.
- 3/4 cup butter: The base of the chocolate frosting, fully melting silky smooth.
- 3/4 cup cocoa: Gives the frosting its deep chocolate richness.
- 1 cup powdered sugar: Sweetens and thickens the frosting base after chocolate melts.
- 1/2 cup sour cream: Adds tang and moisture, keeping frosting unexpectedly light.
- 2 teaspoons vanilla: Lifts the chocolate and peanut butter flavors beautifully.
- 1/4 teaspoon kosher salt: Balances sweetness in the frosting and prevents it from being cloying.
- 2 cups powdered sugar (plus extra 1/2 cup for thicker frosting): Creates the perfect consistency and sweetness for spreading.
How to Make Lunch Lady Peanut Butter Bars Recipe
Step 1: Prepare Your Pan and Preheat
Start by heating your oven to 350 degrees F and lining a large 11×17 inch pan with parchment paper or spraying it with nonstick spray. This large pan size is key for that perfect thin but substantial bar that everyone loves.
Step 2: Cream Butter and Sugars
In a large bowl or stand mixer, beat the softened butter until creamy. Then add both the brown sugar and granulated sugar. Beat well for about a minute until the mixture is light and fluffy, which ensures the bars will have a lovely soft texture.
Step 3: Add Peanut Butter and Flavorings
Mix in 1 cup of peanut butter until smooth, then add the eggs one at a time along with the vanilla. Scrape the bowl often to keep the mixture even and fully combined. This is where the depth of flavor really starts to build.
Step 4: Combine Dry Ingredients
Spoon and level the flour into a bowl, then mix in the baking soda and salt. Add the quick oats and old fashioned oats, giving everything a gentle mix to distribute evenly. Now, carefully incorporate the dry ingredients into the wet, being mindful not to over-mix—overworking the batter can make the bars tough instead of tender.
Step 5: Press Dough Into Pan and Bake
Dump the sticky dough into your prepared pan. If the dough resists spreading, dampen your hands and gently press it out evenly. Bake for about 14 to 17 minutes, until the edges turn golden and the top feels set. Your kitchen will start smelling heavenly at this point!
Step 6: Add the Peanut Butter Layer
While the base cools for 10 minutes, microwave 1 and 1/2 cups of creamy peanut butter for about 30 seconds to soften it. Spread it over the cookie layer, keeping it away from the edges to maintain the signature layered look. Chill the bars briefly to set the peanut butter before moving on.
Step 7: Make the Chocolate Frosting
In a saucepan, melt 3/4 cup butter with 3/4 cup cocoa over medium heat until boiling, then remove from heat. Whisk in 1 cup powdered sugar to cool it down slightly, then stir in sour cream, vanilla, and salt. Finish by beating in the remaining powdered sugar until smooth and spreadable. Adjust sweetness or thickness by adding more powdered sugar if you like.
Step 8: Frost and Finish
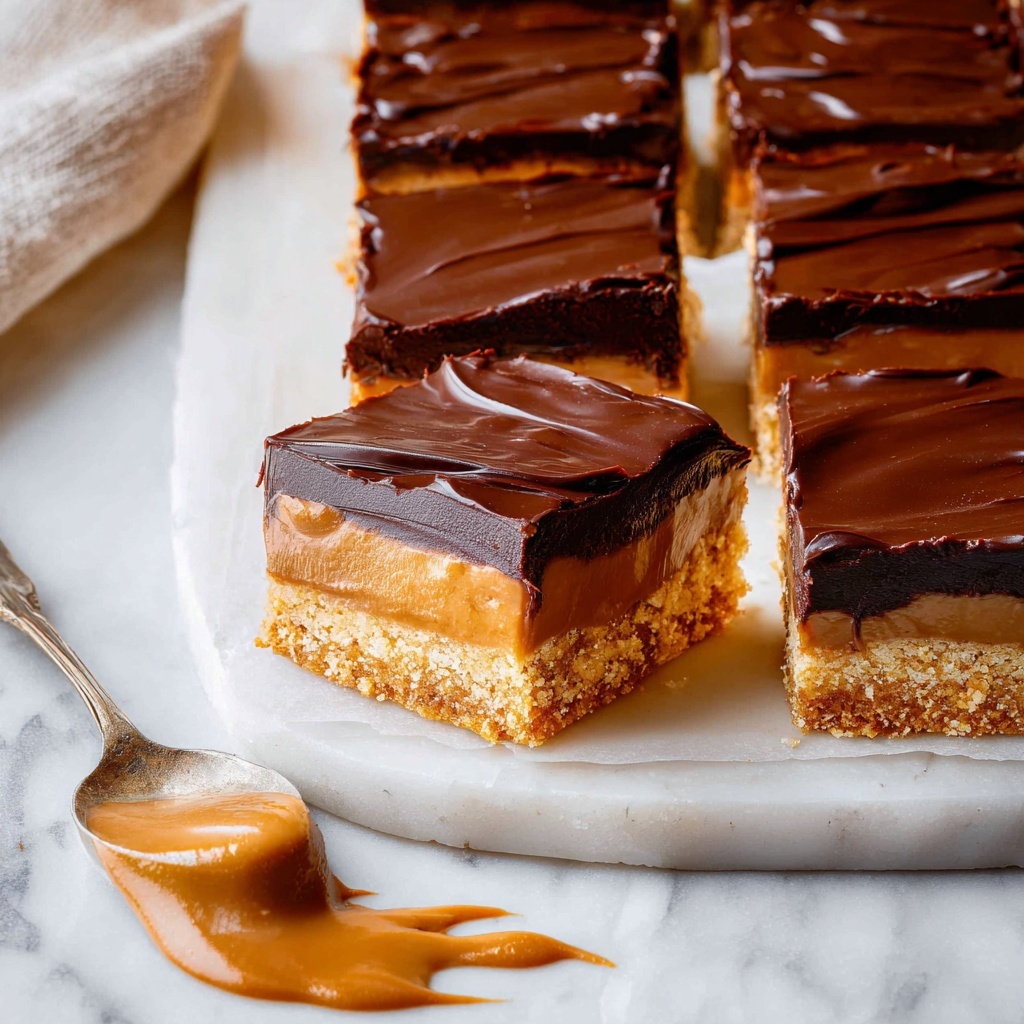
Once the peanut butter layer is cool, spread the chocolate frosting evenly on top. Leaving the edges uncoated creates a beautiful visible layering effect, but feel free to spread right to the edges if you want everyone to get a taste of frosting in every bite.
How to Serve Lunch Lady Peanut Butter Bars Recipe
Garnishes
A sprinkle of chopped roasted peanuts or a light drizzle of melted chocolate on top adds a wonderful finishing touch. For seasonal fun, add a pinch of flaky sea salt or even a few rainbow sprinkles for a playful pop.
Side Dishes
These peanut butter bars pair beautifully with a cold glass of milk or a creamy cup of coffee. For something lighter, serve with fresh fruit or a dollop of whipped cream to balance the richness.
Creative Ways to Present
Cut into bite-sized squares and serve on a decorative platter for party trays, or wrap individually in parchment paper tied with twine for delightful homemade gifts. Layer them in a clear glass jar with parchment dividers for a stunning visual presentation and easy portioning.
Make Ahead and Storage
Storing Leftovers
Keep your bars covered loosely at room temperature to maintain their soft texture. They also stay delicious when refrigerated, especially if you like firmer bars that are easy to slice and hold together perfectly.
Freezing
Wrap bars tightly in plastic wrap or foil and place them in an airtight container to freeze for up to 3 months. Thaw overnight in the fridge or at room temperature before serving to enjoy fresh-baked flavor anytime.
Reheating
If you want that freshly baked warmth, pop a slice in the microwave for 10–15 seconds. This melts the peanut butter and frosting slightly, making every bite extra gooey and heavenly.
FAQs
Can I use crunchy peanut butter instead of creamy?
Absolutely! Crunchy peanut butter will add delightful bits of texture to both the cookie base and the peanut butter layer, giving the bars a wonderful nutty crunch.
Is it okay to substitute margarine for butter?
For best flavor and texture, stick with real butter. Margarine can sometimes make the bars less rich and affect how they bake, but in a pinch, it will work.
Can these bars be made gluten-free?
Yes! Substitute the all-purpose flour with a 1-to-1 gluten-free baking flour blend, and ensure your oats are certified gluten-free. The texture and flavor will stay just as delicious.
What if I don’t have sour cream for the frosting?
You can replace sour cream with an equal amount of Greek yogurt for a similar tangy moisture, or use a little cream cheese for added richness.
How long do these bars last once made?
Stored in an airtight container, the bars stay fresh for up to 4 days at room temperature or about a week refrigerated.
Final Thoughts
If you’re craving a nostalgic treat packed with peanut buttery goodness and rich chocolate, the Lunch Lady Peanut Butter Bars Recipe is your golden ticket. It’s approachable, rewarding, and just plain delicious — perfect for sharing with friends or savoring when you need a sweet pick-me-up. Give this recipe a try and see how quickly it becomes a cherished classic in your kitchen!