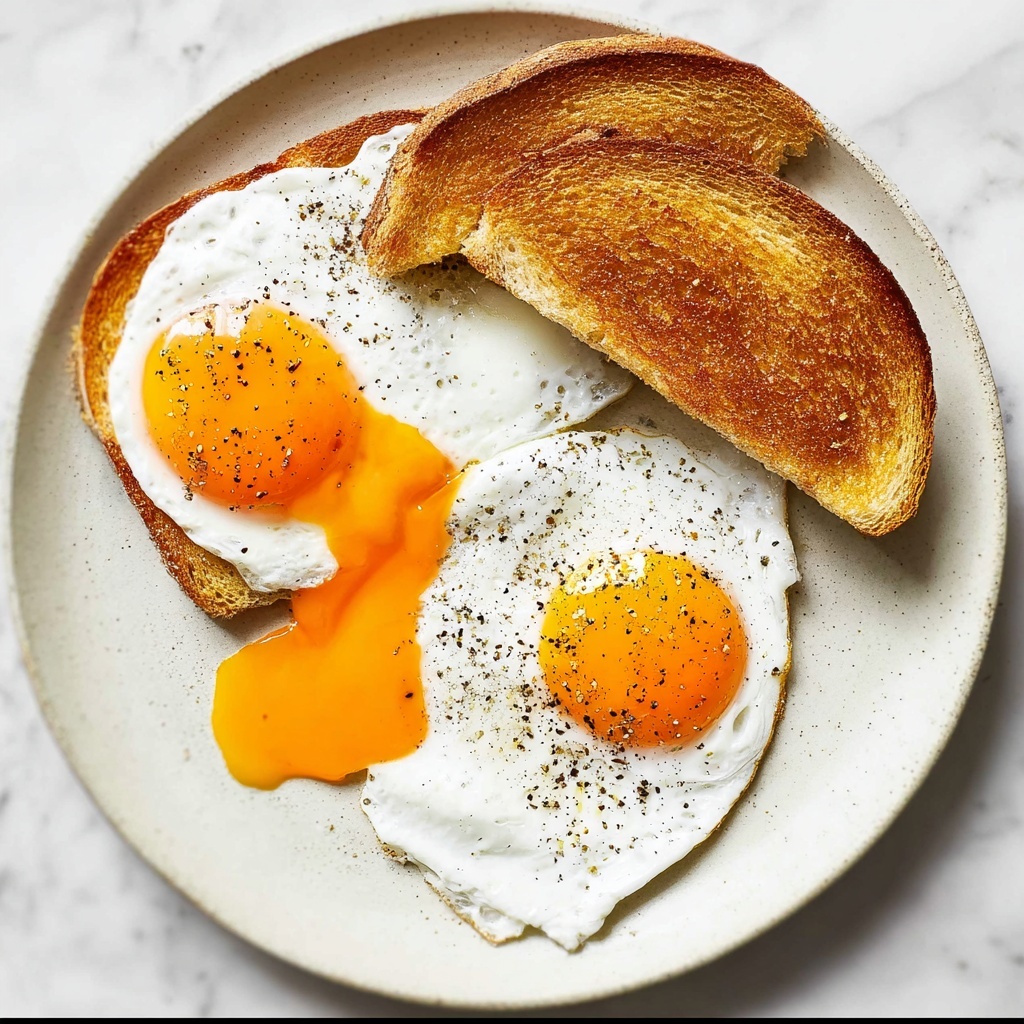
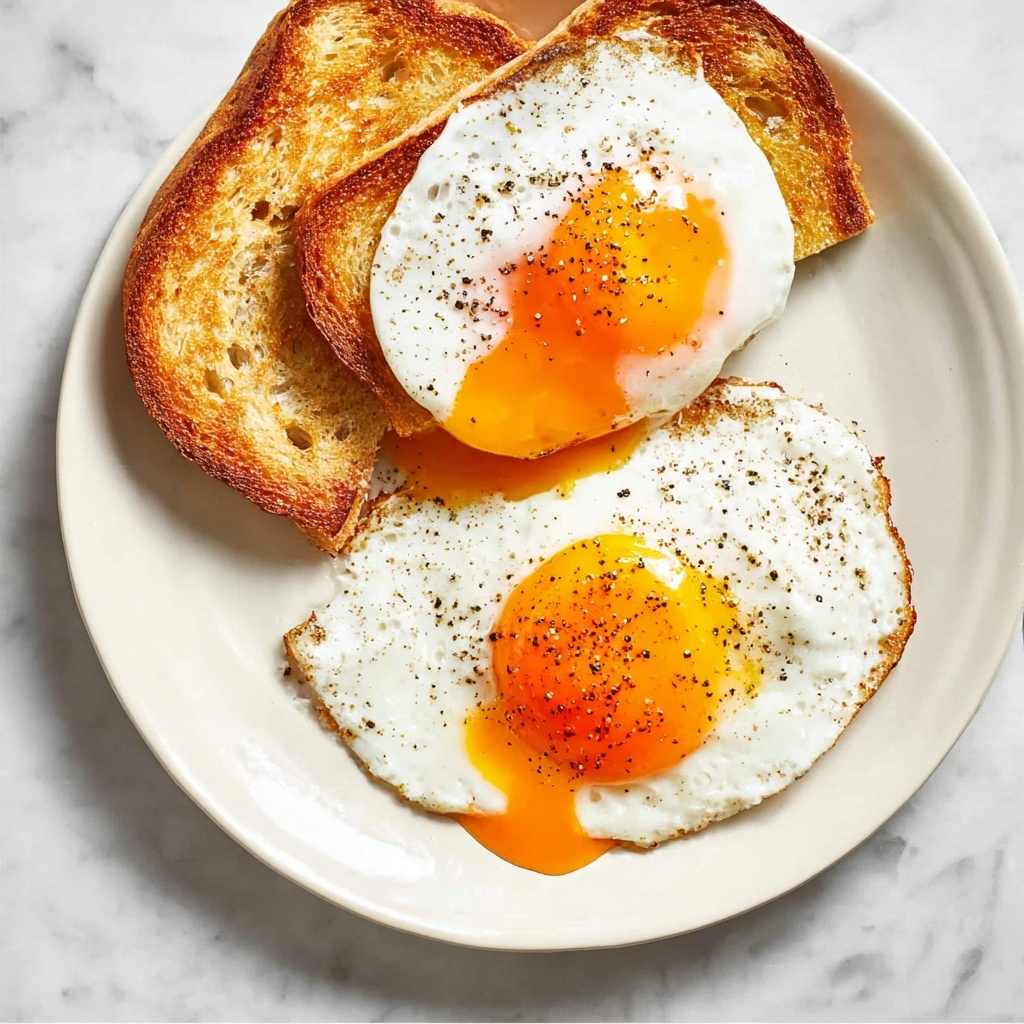
If you’ve ever wondered how to achieve the perfect breakfast classic, you’re in for a treat. Learning How to Make Sunny Side Up Eggs Recipe is one of those simple culinary skills that makes mornings feel special without any fuss. The velvety, bright yolks paired with tender whites bring sunshine to your plate, making breakfast something to look forward to every day. This recipe guides you step-by-step to create eggs that are just right—set whites with a warm, runny yolk that’s begging to be dipped into with toast or enjoyed on their own.
Ingredients You’ll Need
These ingredients are straightforward but crucial to nailing the texture and flavor of your sunny side up eggs. Each plays a role in delivering that silky, luscious result you’re craving.
- Olive oil (1-2 teaspoons): Adds a gentle richness and helps prevent sticking while giving the eggs a subtle fruitiness.
- 2 large eggs: Fresh eggs ensure firm whites and vibrant yolks that hold together beautifully.
- Kosher salt: Enhances the natural flavor of the eggs without overpowering them.
- Freshly ground black pepper: Adds a mild spice and warmth, completing the flavor profile.
How to Make How to Make Sunny Side Up Eggs Recipe
Step 1: Heat the Oil
Start by heating enough olive oil to lightly coat the bottom of an 8-inch nonstick skillet over medium heat. The goal is a gentle, shimmering layer that will give your eggs a perfect nonstick surface without frying them too hard. This gentle warmth sets the stage for the delicate cooking to come.
Step 2: Prepare the Eggs
Crack each egg into separate bowls or ramekins before adding them to the pan. This little extra step is a game changer because it protects your yolks from breaking and lets you easily spot any stray shell pieces. Once your oil is shimmering, carefully slide the eggs into the pan, ready to sizzle and spread their charm.
Step 3: Season the Eggs
Sprinkle kosher salt and freshly ground black pepper right after the eggs are in the pan. Early seasoning means the flavors sink into the whites as they cook, giving a gentle, even taste that doesn’t overpower the egg’s natural richness.
Step 4: Cook the Whites
Let the eggs cook undisturbed until the whites begin to set, which takes about 2 minutes. This is when you’ll notice the transformation from translucent to opaque edges—soft, delicate, and ready for the next step.
Step 5: Cover to Finish Cooking
Cover the skillet with a lid, ideally a glass one, so you can watch the magic happen. This traps the steam and cooks the whites through without flipping the eggs, ensuring that luscious runny yolks stay perfectly intact. Cook for another 1 to 3 minutes until the whites are fully set but the yolks remain gloriously soft.
Step 6: Serve with Care
Using a large, flexible spatula, gently transfer the eggs from the pan to your plate. The yolks are fragile treasures, so handle with kindness. This final step feels rewarding as you see those sunny orbs gleaming, ready to brighten your breakfast.
How to Serve How to Make Sunny Side Up Eggs Recipe
Garnishes
A sprinkle of fresh herbs like chives or parsley adds a pop of color and freshness that enhances the egg’s mellow flavor. For an extra kick, a dusting of smoked paprika or a few chili flakes can awaken your taste buds beautifully.
Side Dishes
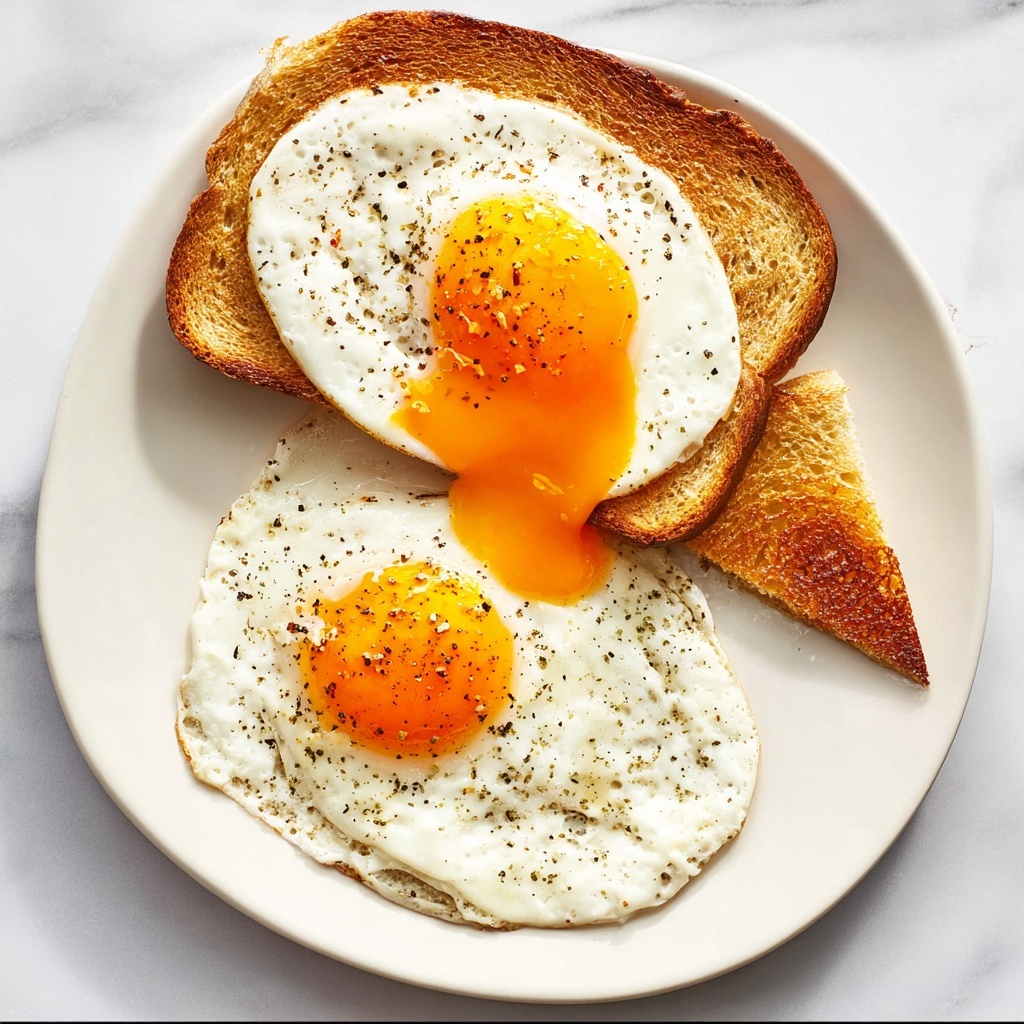
Sunny side up eggs pair wonderfully with crisp toast for dipping or alongside crispy bacon for a hearty contrast. Roasted tomatoes or sautéed spinach bring balance and a burst of color that makes your plate come alive.
Creative Ways to Present
Try serving your sunny side up eggs on a bed of avocado mash or atop a savory pancake to turn breakfast into a gourmet experience. For brunch impressiveness, nestle the eggs onto a bed of quinoa salad or beside a fresh arugula salad drizzled with lemon vinaigrette.
Make Ahead and Storage
Storing Leftovers
If you happen to have leftovers, gently transfer your eggs to an airtight container and store in the fridge for up to one day. The whites may firm up, and yolks lose some of their runny charm, but they still make a good quick snack or addition to a breakfast sandwich.
Freezing
Sunny side up eggs do not freeze well due to their delicate texture and runny yolks. It’s best to enjoy them fresh for the ideal taste and consistency.
Reheating
To reheat, warm your eggs gently in a low-heat pan with a tiny splash of water and cover to steam them slightly. Avoid microwaving as it can toughen the whites and cook the yolks unevenly.
FAQs
Can I use butter instead of olive oil to make sunny side up eggs?
Absolutely! Butter gives your eggs a richer flavor and lovely golden edges, but olive oil offers a lighter, fruitier touch. Both work beautifully depending on your preference.
How do I ensure the yolk stays runny?
The key is cooking the eggs on medium heat and covering the pan to gently steam the whites until set. Avoid flipping to keep the yolk intact and beautifully runny.
Why crack eggs into a bowl before adding to the pan?
Cracking eggs into individual bowls helps prevent broken yolks and makes it easier to remove any bits of shell. It also allows you to add eggs gently to the pan without splashing.
Can I make sunny side up eggs without a nonstick pan?
It’s possible with a well-seasoned cast iron skillet, but nonstick pans make the process much easier and reduce the risk of eggs sticking and tearing during transfer.
What is the best way to season sunny side up eggs?
Simple salt and freshly ground black pepper work perfectly. For a twist, try sea salt flakes, fresh herbs, or a dash of your favorite spice for added personality.
Final Thoughts
Now that you’ve unlocked the secrets of How to Make Sunny Side Up Eggs Recipe, you’re ready to add this effortless yet elegant dish to your breakfast lineup. Trust me, the joy of that perfect runny yolk paired with tender whites is worth every second of attention. So next time you want a breakfast that feels like a warm hug on a plate, dive right in and savor every golden bite!