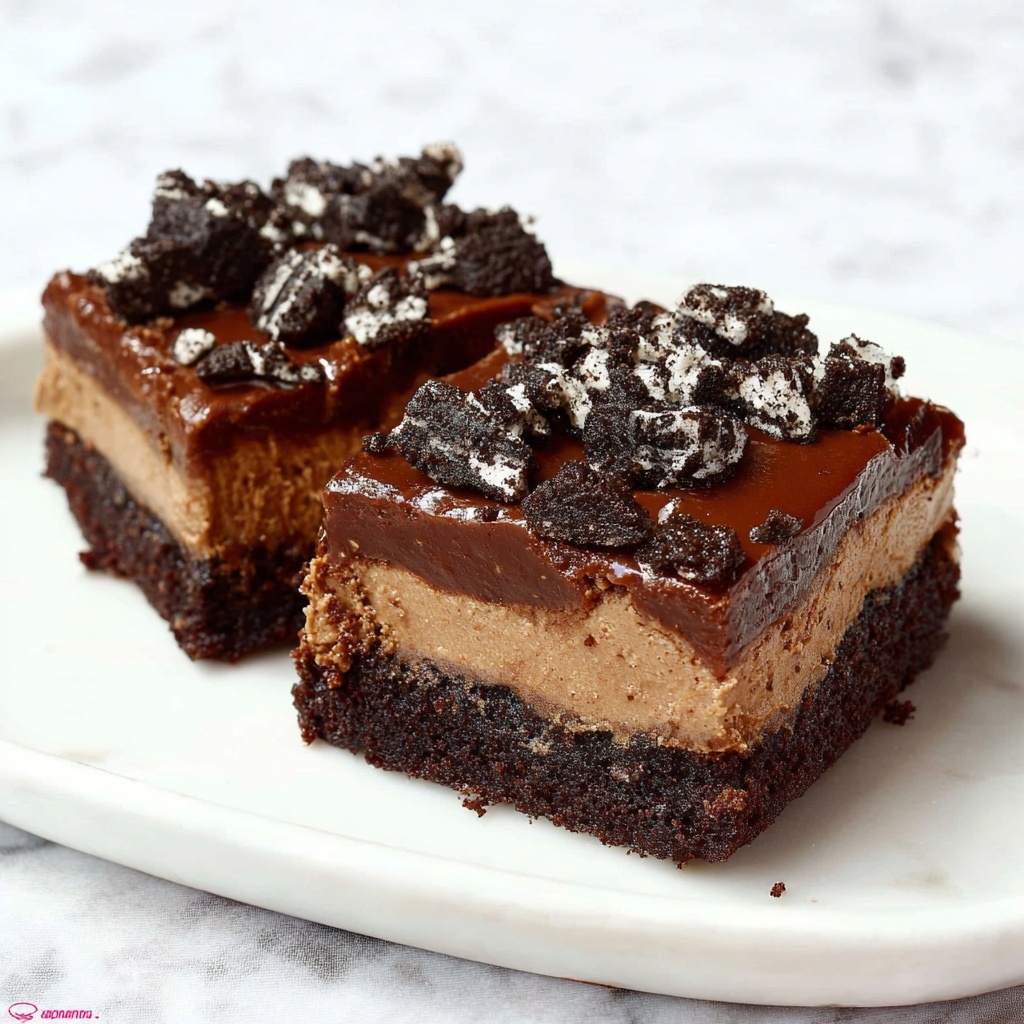
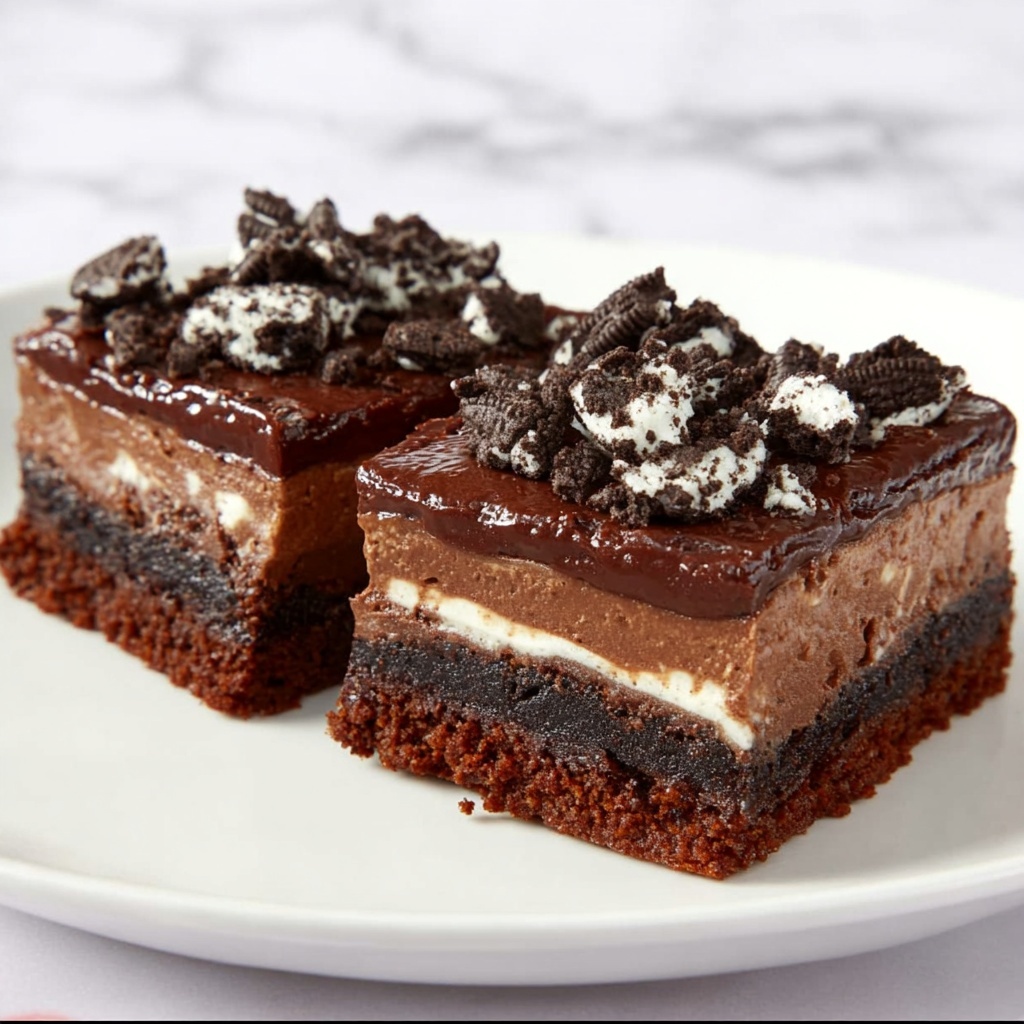
If you have a sweet tooth and a love for rich, indulgent desserts, you absolutely need to try this Hot Fudge Cheesecake Bars Recipe. These bars combine the creamy, velvety goodness of cheesecake with the intense, chocolaty allure of hot fudge and Oreo crunch, creating a heavenly treat that’s perfect for sharing—or not! Imagine biting into a luscious cheesecake layer resting on a crispy chocolate crust, topped with ooey-gooey hot fudge and chocolate chips, then finished with a sprinkle of chopped Oreos. It’s an irresistible dessert that brings comfort and decadence together in one glorious bite.
Ingredients You’ll Need
Getting the ingredients together for this dessert is as simple as it is crucial. Each one plays a starring role, whether it’s the creamy texture from cream cheese, the rich chocolate notes from cocoa powder, or the perfect crunch courtesy of Oreos. Together, they build layers of flavor and texture that make these bars truly special.
- Dark Chocolate filled Oreos (1 package, crushed): Provides the ultimate chocolate crunch base and garnish that perfectly balances creamy cheesecake.
- Unsalted sweet cream butter (6 tbsp, melted): Adds richness and helps bind the Oreo crust with a silky finish.
- Kosher salt (1/4 tsp for crust, 1/4 tsp for filling): Enhances the chocolate flavor and balances sweetness beautifully.
- Cream cheese (16 oz, softened): The heart of the cheesecake layer, delivering that smooth, creamy indulgence you crave.
- Sugar (1/2 cup): Sweetens the cheesecake filling just right without overpowering.
- Brown sugar (1/4 cup): Adds a subtle caramel note to the filling, making it even more complex and tasty.
- Hershey cocoa powder (1/4 cup): Packed with chocolaty goodness, it deepens the flavor of the cheesecake bars.
- Large eggs (2): Provide structure to the cheesecake, ensuring it sets perfectly with a tender bite.
- Vanilla extract (1 tsp): Brings warmth and depth to the filling, tying all the chocolate notes together.
- Hot fudge sauce (1 cup): The star topping that makes these bars ooze with luscious, melty chocolate magic.
- Chocolate chips (1 1/2 cups): Mix them in and melt on top to add richness and a glossy finish.
- Heavy whipping cream (3/4 cup): Used to create a smooth ganache with the chocolate chips that crowns the bars.
- Chopped Oreos (1/2 cup; for garnish): Adds a crunchy, textured topping that looks stunning and tastes fantastic.
How to Make Hot Fudge Cheesecake Bars Recipe
Step 1: Prepare the Oreo Crust
Start by crushing the Dark Chocolate filled Oreos until they resemble fine crumbs. Mix these crumbs with melted unsalted sweet cream butter and that pinch of kosher salt to create a rich, buttery base. Press this mixture firmly and evenly into the bottom of a lined baking pan to form the crust. This step sets the foundation for those delicious cheesecake bars, so be sure to compact it well to hold up nicely during baking.
Step 2: Whip Up the Cheesecake Filling
In a large bowl, beat the softened cream cheese until it’s perfectly smooth and creamy. Gradually add sugar, brown sugar, and cocoa powder, blending until the mixture is luscious and chocolaty. Add in the eggs one at a time, ensuring each is fully incorporated to keep the filling velvety. Then, stir in the vanilla extract and the second pinch of kosher salt. This filling is where the magic happens—the flavors meld into that perfect cheesecake texture you’ll adore.
Step 3: Assemble and Bake
Pour the cheesecake filling over the Oreo crust, smoothing the top gently with a spatula. Bake it in a preheated oven until the edges are set but the center still has a slight jiggle—around 50 minutes. This ensures the bars are creamy and not dry. Once baked, let the bars cool completely in the pan to room temperature to firm up before adding the next layer.
Step 4: Craft the Hot Fudge Ganache
While the bars cool, prepare the decadent ganache topping. Heat the heavy whipping cream gently until just simmering, then pour it over the chocolate chips in a heatproof bowl. Let sit briefly so the chocolate melts, then whisk until glossy and smooth. Pour this rich hot fudge ganache evenly over the cooled cheesecake bars. It will set into a luscious, shiny layer that brings this dessert to life.
Step 5: Garnish and Chill
To finish, sprinkle chopped Oreos on top for added crunch and contrast. Slide the pan into the refrigerator for at least four hours, or overnight if possible, allowing everything to set completely. When chilled, cut into 16 decadent bars that are ready to wow your taste buds and guests alike.
How to Serve Hot Fudge Cheesecake Bars Recipe
Garnishes
A simple sprinkle of chopped Oreos is classic, but you can also add a dollop of whipped cream, a drizzle of extra hot fudge sauce, or even a few fresh berries to lighten up the indulgence. Each garnish adds a little bit of flair while complementing the rich layers in these bars.
Side Dishes
Serve your Hot Fudge Cheesecake Bars Recipe with a scoop of vanilla bean ice cream or a refreshing fruit salad to add a cool contrast. A cup of coffee or a rich espresso also pairs beautifully, balancing sweetness with a bitter edge that enhances the chocolate flavors.
Creative Ways to Present
For a party or special occasion, present the bars on a beautiful platter, topped with a dusting of powdered sugar or edible gold flakes for extra sparkle. Or serve them in individual mini glass cups with layers of ganache, cheesecake, and crumbs for a stunning parfait effect that will impress your guests.
Make Ahead and Storage
Storing Leftovers
Keep your leftover Hot Fudge Cheesecake Bars Recipe in an airtight container in the refrigerator. They will stay moist and fresh for up to 4 days. This makes it easy to enjoy a sweet treat anytime without the hassle of baking from scratch again.
Freezing
These bars freeze wonderfully. Wrap them tightly in plastic wrap and foil, then place in a freezer-safe container or bag. Freeze for up to 2 months. When you’re ready to indulge, thaw overnight in the fridge to preserve the creamy texture and fudgy topping.
Reheating
For the best experience, serve Hot Fudge Cheesecake Bars chilled or at room temperature. If you prefer warm, gently microwave individual bars for 10-15 seconds—just enough to soften the fudge without melting the cheesecake completely. This brings out the gooey richness in a flash!
FAQs
Can I use regular Oreos instead of the dark chocolate filled Oreos?
Absolutely! Regular Oreos will work just fine and still give you that amazing chocolate cookie crust and crunch. The dark chocolate filled Oreos just add a little extra richness and gooeyness.
Is it necessary to use heavy whipping cream for the ganache?
Yes, heavy whipping cream is essential because it creates that smooth, velvety texture in the ganache that sets beautifully on top of the cheesecake bars. Lighter creams won’t give the same glossy and rich result.
How do I know when the cheesecake bars are done baking?
Look for set edges with a slight jiggle in the center when you gently shake the pan. The bars will continue to set as they cool, so don’t overbake or the texture will become dry.
Can I make these bars gluten-free?
Yes! Simply swap the Oreos for a gluten-free chocolate sandwich cookie of your choice, or make your own gluten-free cookie crust. Just be sure to check all other ingredients for gluten traces.
What’s the best pan size to use for this recipe?
An 8×8 or 9×9 inch baking pan works best. It’s large enough to give you thick, satisfying bars but still allows the cheesecake to bake evenly and the ganache to set perfectly.
Final Thoughts
There’s something truly magical about this Hot Fudge Cheesecake Bars Recipe that makes every bite feel like a celebration. Rich, creamy, fudgy, and just a little bit crunchy, these bars are the kind of dessert you’ll want to make again and again. Whether for a special occasion or a cozy night in, give these bars a try—you’ll fall in love fast, and so will everyone lucky enough to share them with you!