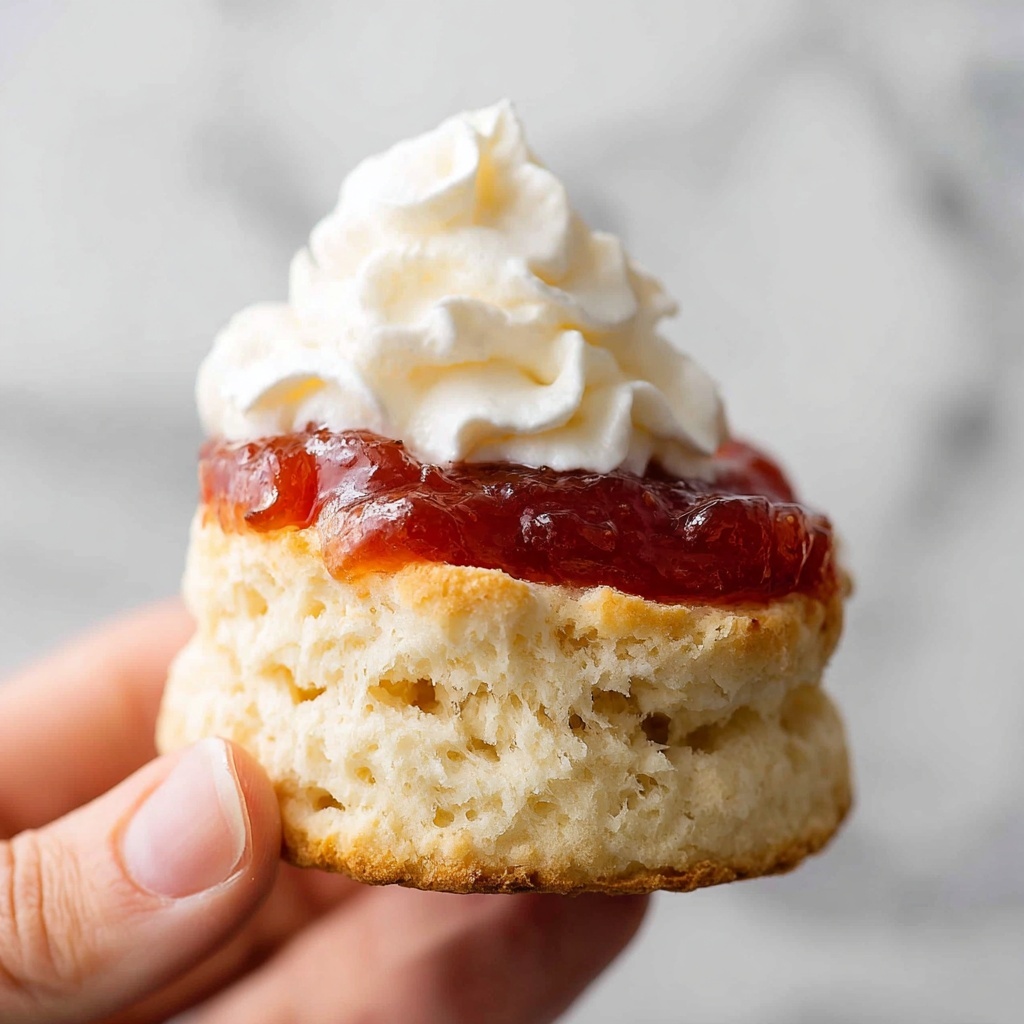
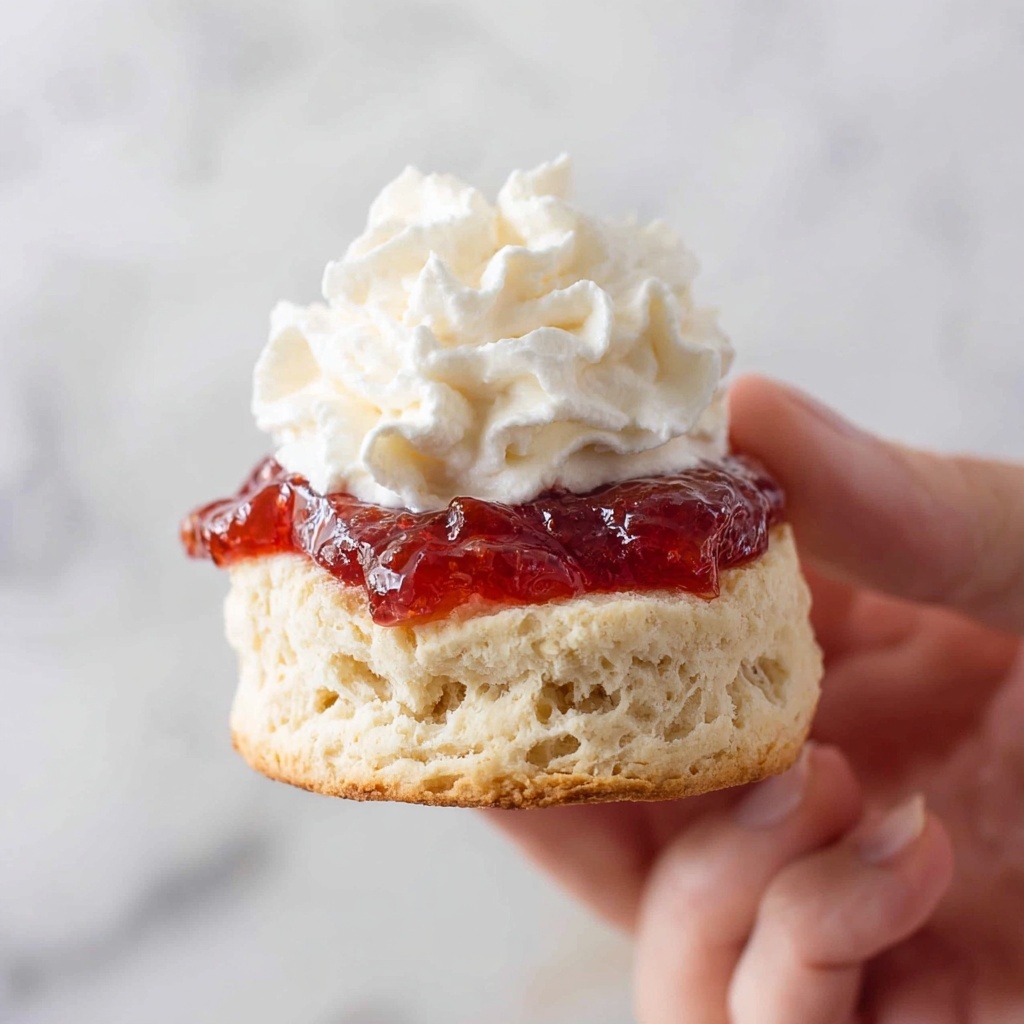
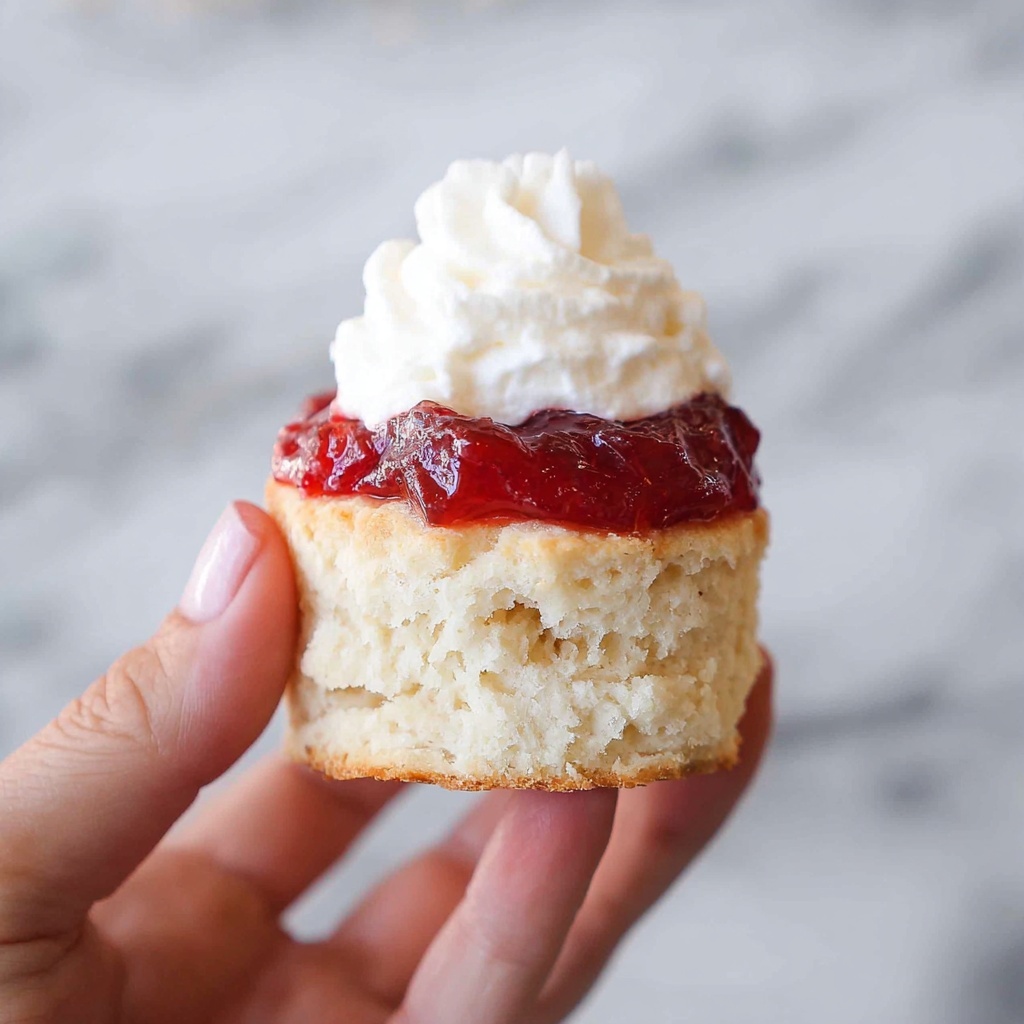
If you love cozy teatime treats that feel like a warm hug from the inside out, then the Homemade Classic Strawberry Scones with Cream and Jam Recipe is about to become your new obsession. These scones boast a tender crumb, flecked with the sweetness of strawberry jam, and crowned with luscious cream that melts right into each bite. Perfectly golden on the outside and soft within, they capture the essence of traditional British baking with a delightful fruity twist. Whether you’re hosting a brunch or simply want a comforting snack, this recipe brings joy and nostalgia to your table every time.
Ingredients You’ll Need
Gathering the right ingredients is the first step toward scone perfection. Each simple component plays a crucial role in creating the perfect texture, flavor, and appearance of your scones, making this recipe wonderfully straightforward yet deeply satisfying.
- 3 cups / 450g self-raising flour: Provides the light, fluffy structure essential for scones.
- 80g / 3 oz cold salted butter, cubed: Cold butter creates the flaky, tender layers you crave.
- 1 cup / 250 ml cold milk: Keeps the dough moist and brings it together without warming the butter prematurely.
- Extra flour for dusting: Prevents sticking while rolling and cutting the dough.
- Extra milk for brushing: Gives your scones a beautiful golden finish when baked.
- Strawberry jam: Adds the sweet, fruity punch that defines this classic scone.
- 250 ml / 1 cup whipping cream: Whipped or fresh, cream enhances richness and balances the jam’s sweetness.
- 1 tbsp white sugar: Sweetens the cream for a perfect topping (optional).
- 1/2 tsp vanilla extract (optional): A subtle addition that lifts the flavor of your cream for an extra-special touch.
How to Make Homemade Classic Strawberry Scones with Cream and Jam Recipe
Step 1: Preheat and Prepare Your Oven
Set your oven to 200°C (390°F) for a standard oven, or 180°C (350°F) if you’re using a fan/convection setting. This ensures the perfect baking temperature so your scones brown beautifully and cook evenly.
Step 2: Combine Flour and Butter
Place your self-raising flour into a food processor, then add those cold, cubed butter pieces. Blitz on high for about 8 seconds until the mixture resembles coarse breadcrumbs—this texture is key for scones that are tender yet crumbly.
Step 3: Add Milk Gradually and Form Dough
Drizzle the cold milk evenly over the flour-butter mix (avoiding pouring it all in one spot). Blitz again for 6 to 8 seconds until the mixture comes together in soft ball(s) of dough. This ensures the butter stays cold, which is crucial for flaky scones.
Step 4: Transfer and Lightly Knead
Turn the dough out onto a clean work surface, scraping out any leftover bits from the processor. Gently knead the dough no more than 10 times, just enough to unify it. Over-kneading can make your scones tough, so be gentle!
Step 5: Shape Into a Disc
Pat your dough down into a 2 cm (4/5 inch) thick disc shape. You can lightly roll the top smooth with a rolling pin if you want an even surface for cutting. Dust with extra flour as needed to prevent sticking.
Step 6: Cut Out the Scones
Dip a 5 cm (2 inch) round cutter into some extra flour to avoid sticking. Press the cutter straight down into the dough and pull it straight up without twisting. Continue cutting scones all over the disc for the best shape and rise.
Step 7: Arrange and Prepare for Baking
Remove the excess dough around your cut scones and carefully transfer them to a baking tray. Be mindful not to smear or press the cut sides, as this can prevent them from rising properly. Gather scraps, repeat cutting to get about 10 scones.
Step 8: Brush and Bake
Lightly brush the tops of the scones with a little milk for a gorgeous golden crust. Bake for 10 to 12 minutes until tops turn a lovely golden color and the scones sound hollow when tapped—a sure sign they’re cooked through.
Step 9: Cool and Wrap
Once out of the oven, transfer the warm scones onto a clean dish towel and wrap them loosely. This step softens the tops perfectly while they cool for about 10 to 15 minutes. Resist the urge to slice too soon—warm scones split best with your hands.
Step 10: Serve and Enjoy
Break your Homemade Classic Strawberry Scones with Cream and Jam Recipe apart by hand (no knives!), then slather with strawberry jam and a generous dollop of whipped or fresh cream. The combination is utterly blissful and guaranteed to brighten any afternoon.
How to Serve Homemade Classic Strawberry Scones with Cream and Jam Recipe
Garnishes
A sprinkle of powdered sugar after baking adds a delicate sweetness and a picture-perfect finish. Fresh strawberries alongside the jam elevate the fruity brightness, and a light dusting of vanilla powder or ground cinnamon in your cream can bring lovely warmth.
Side Dishes
Pair your scones with a pot of strong black tea or perhaps a floral Earl Grey for a classic experience. For an added touch, serve alongside a fresh fruit salad or some lightly dressed mixed greens; the contrast gives a lovely balance to the richness of scones and cream.
Creative Ways to Present
Try stacking your scones high for a scone tower centerpiece or serve mini scones for an elegant tea party feel. For a charming rustic look, place each scone on a wooden board lined with parchment, garnished with small jars of cream and jam, inviting guests to help themselves.
Make Ahead and Storage
Storing Leftovers
To keep your scones fresh, store them in an airtight container at room temperature for up to 2 days. Avoid refrigerating as it can dry them out. Wrapped well, they maintain their soft, tender crumb beautifully.
Freezing
If you want to make these scones in advance, freezing is a lifesaver. After baking and cooling, wrap each scone tightly in cling film and place them in a freezer bag. They freeze well for up to 2 months without losing flavor or texture.
Reheating
To revive frozen scones, thaw them at room temperature wrapped in foil and warm in a 180°C (350°F) oven for 5 to 8 minutes. This restores their freshly baked charm, soft interior, and golden crust perfectly.
FAQs
Can I substitute self-raising flour with all-purpose flour?
Yes! If you use all-purpose flour, just add 1 1/2 teaspoons of baking powder per cup of flour to mimic self-raising flour and give your scones a nice lift.
Is cold butter essential for this recipe?
Absolutely. Cold butter creates tiny pockets of steam while baking, leading to beautifully flaky and tender scones. If the butter melts too early, your scones might turn out dense.
Can I add fresh strawberries instead of jam?
You can, but fresh strawberries add extra moisture which might affect the dough’s texture. If you want that fresh fruit flavor, try stirring in small, chopped strawberries carefully or serve them fresh alongside the scones.
How do I make the cream topping lighter?
Whipping the cream with a bit of sugar and vanilla extract creates a delightfully airy topping that balances the richness of the scones and jam.
Can I make these scones gluten-free?
Yes, but you’ll want to use a gluten-free self-raising flour blend designed for baking. The texture might be slightly different, but the flavor will still shine through.
Final Thoughts
There’s something truly magical about the Homemade Classic Strawberry Scones with Cream and Jam Recipe. It’s a celebration of simple ingredients transformed into an unforgettable treat that warms both stomach and heart. I encourage you to try this recipe soon—baking these scones makes your kitchen smell heavenly and sharing them brings smiles all around. Trust me, once you’ve had a fresh, warm scone topped with strawberry jam and cream, you’ll want to make this recipe time and time again.