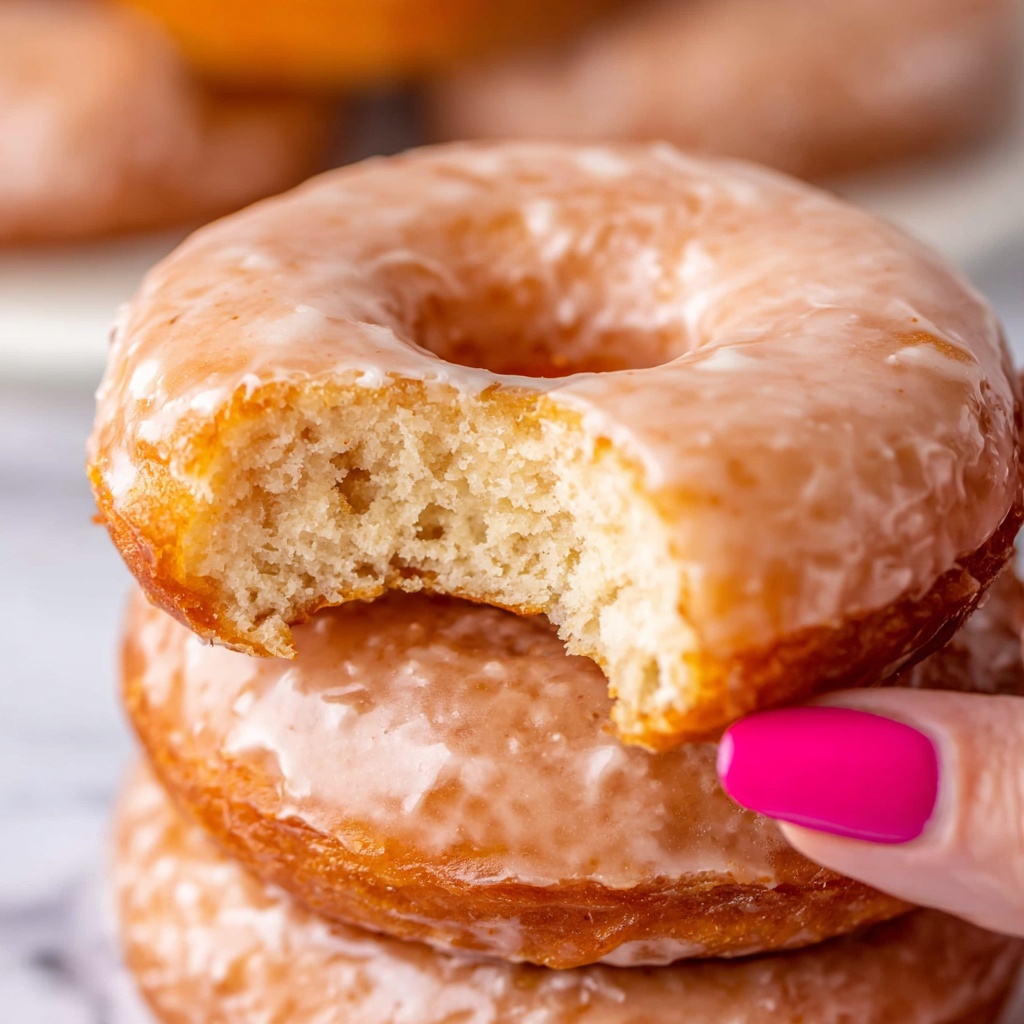
There is nothing quite like the joy of biting into a warm, fluffy donut made with love at home. This Homemade Classic Donuts from Scratch Recipe will take you on a delightful baking adventure with a perfect balance of tender crumb and that irresistible glaze that is just sweet enough to make you smile. From the simple, straightforward ingredients to the careful steps that create the most tender, pillowy donuts, this recipe is a celebration of comfort food magic. Whether you want to impress company or treat yourself on an ordinary morning, these donuts are the answer to your cravings, fresh and utterly delicious.
Ingredients You’ll Need
Getting your ingredients together for this Homemade Classic Donuts from Scratch Recipe may feel like gearing up for a fun kitchen project because each one brings something special to the table—flavor, texture, or that perfect rise. Here’s what you’ll need to achieve donut bliss:
- 1 cup whole milk: Warm milk activates the yeast and adds richness for a tender crumb.
- 3 tablespoons active dry yeast: This generous amount ensures a light, fluffy donut rise, so don’t skimp!
- 1 tablespoon granulated sugar: Feeds the yeast and kickstarts that bubbly fermentation.
- 1/2 cup granulated sugar: Sweeter dough base that also helps tenderize the texture.
- 1/4 cup shortening: Provides a subtle richness and keeps the donuts soft.
- 1 large egg: Adds structure and helps with the golden color.
- 1 large egg yolk: A little extra fat for richness and smoothness.
- 1 and 1/2 teaspoons vanilla extract: Gives a whisper of sweet warmth to the dough.
- 3 and 1/4 cups bread flour: The strong gluten in bread flour gives the donut bounce and chew.
- 1/4 cup extra flour (optional): Just in case your dough needs a little extra help with stickiness.
- 2 and 1/2 teaspoons kosher salt: Enhances all the flavors and balances the sweetness.
- 1/2 teaspoon baking powder: Helps with lightness and slight lift.
- 1/2 teaspoon baking soda: Reacts with acids in the dough for a tender crumb.
- 12 cups canola oil (or peanut oil): Perfect for frying with a neutral flavor and high smoke point.
- 1/2 cup cold water: Used to start the glaze and help with consistency.
- 1 tablespoon cornstarch: Helps thicken the glaze to a smooth finish.
- 3 tablespoons granulated sugar (for glaze): Adds sparkle and sweetness to the glaze.
- 1/4 cup butter: For richness and a silky texture in the glaze.
- 1 tablespoon corn syrup: Keeps the glaze shiny and prevents crystallization.
- 2 teaspoons vanilla (for glaze): Deepens the flavor for an irresistible finish.
- 4 cups powdered sugar (sifted): Key to a smooth, luscious glaze that clings perfectly.
- 1/2 teaspoon kosher salt (for glaze): Balances the sweetness and draws out flavor.
How to Make Homemade Classic Donuts from Scratch Recipe
Step 1: Prepare the Yeast Starter
Start by heating your whole milk until it is warm to the touch but not hot—around 105-110°F is perfect. This temperature wakes up the yeast just right without killing it. Stir in the active dry yeast and a tablespoon of granulated sugar. Then, patiently wait a few minutes until you see bubbles forming on the surface, signaling that your yeast is alive and ready to work its magic.
Step 2: Mix the Dough Base
Into a large bowl or your stand mixer, add the bubbly yeast mixture along with granulated sugar, shortening, a whole egg, egg yolk, and vanilla extract. Give everything a good stir until the ingredients combine into a fragrant and inviting batter that’s brimming with promise.
Step 3: Combine the Dry Ingredients
In a separate bowl, carefully measure out your bread flour, kosher salt, baking powder, and baking soda. Spread these over the dough in your mixing bowl but don’t mix yet. This layering sets the stage for a perfectly kneaded dough.
Step 4: Knead to Perfection
Using your dough hook attachment or by hand on a floured surface, knead the dough for about 5 minutes until it becomes smooth, elastic, and only slightly sticky. If it sticks too much, add that extra 1/4 cup of flour sparingly. The goal is a dough that’s soft and springy, ready for its rise.
Step 5: First Rise in Your Proofing Box
Grease a bowl and nestle your dough inside, turning it to coat lightly in oil. Cover with plastic wrap and slide it into your homemade proofing box—a warm, humid environment in your oven created by a pan of boiling water placed at the bottom. This cozy setting will nurture your dough as it doubles in size over about an hour.
Step 6: Shape the Donuts
Once risen, turn the dough onto a lightly floured surface and gently knead a few times. Divide into 12 to 14 equal pieces, each formed into discs with a hole punched in the middle to create that classic donut shape. Lay each one on a 6×6 inch parchment square laid on a baking sheet—this makes frying easier and cleaner!
Step 7: Second Rise Before Frying
Place the shaped donuts back into your warm oven proofing box for another 30-45 minutes until they puff up and nearly double in size. This second rise ensures those fluffy pockets of air that make donuts heavenly.
Step 8: Prepare the Glaze
While the donuts rise, start making that luscious glaze. Whisk cold water and cornstarch together until smooth, then add sugar and butter in a saucepan over medium heat. Stir constantly until bubbly but not overly thickened, then lift from heat. Stir in corn syrup, vanilla, salt, and sifted powdered sugar until smooth. Keep the glaze fluid by whisking now and then, adjusting thickness with tiny amounts of water or powdered sugar.
Step 9: Fry the Donuts
Heat canola oil in a high-sided pan to 350°F. Using the parchment squares, gently slide donuts into the oil with tongs, frying a few at a time to keep the oil temperature steady. Cook each side for 30-60 seconds, until golden and puffed. Drain on racks over paper towels to remove excess oil.
Step 10: Glaze and Serve
When donuts are warm but cool enough to handle, dip them into your shimmering glaze, flipping to coat thoroughly. Let them rest, then dip again for an extra glossy finish. Allow glaze to set and enjoy bites of that classic, melt-in-your-mouth goodness only a perfect homemade donut can bring.
How to Serve Homemade Classic Donuts from Scratch Recipe
Garnishes
While this homemade treat shines with the classic sugar glaze, you can jazz things up by dusting with cinnamon sugar, colorful sprinkles, or even a light drizzle of melted chocolate. Freshly chopped nuts or a sprinkle of flaky sea salt add texture contrasts that lift the experience. Garnishes turn a simple donut into a festive celebration on your plate.
Side Dishes
Donuts pair wonderfully with hot drinks like freshly brewed coffee, spiced chai, or creamy hot chocolate. For a brunch twist, serve alongside fresh fruit or a yogurt parfait with honey and granola. The sweet dough balanced by brighter or heavier sides makes for a well-rounded indulgent treat.
Creative Ways to Present
Arrange your homemade donuts on a rustic wooden board sprinkled with powdered sugar and edible flowers for an inviting look. Stack them high for a birthday centerpiece, or put them in a pretty box wrapped with parchment for a thoughtful homemade gift. Presentation adds fun and warmth to sharing these delightful goodies.
Make Ahead and Storage
Storing Leftovers
If you have leftovers (which might be rare!), store your donuts in an airtight container to keep them moist and soft, though the glaze might soften over time. Alternatively, a loosely closed paper bag will maintain the glaze’s crunch but may cause the donuts to dry out faster. Choose your storage method based on how soon you plan to enjoy them.
Freezing
Donuts freeze well when wrapped tightly in plastic wrap and placed in a freezer-safe bag. Freeze them plain or after glazing for best results. When ready to eat, thaw at room temperature and briefly warm in the oven or microwave for that fresh-baked feel. This way, you can enjoy your Homemade Classic Donuts from Scratch Recipe anytime, no rush required.
Reheating
To bring life back to your stored donuts, heat them gently in the oven at 300°F for about 5 minutes or microwave briefly to warm through. A quick reheat refreshes the soft texture and makes the glaze slightly tacky and irresistible again. Just be careful not to overheat as you don’t want to lose that tender crumb you worked so hard for!
FAQs
Can I use all-purpose flour instead of bread flour?
While bread flour is ideal for its high gluten content that gives donuts their bounce, you can substitute all-purpose flour in a pinch. The donuts may be slightly less chewy and rise differently, but they will still taste delicious. Just monitor dough texture and add flour as needed to achieve the right consistency.
Why do you use so much yeast?
This recipe uses a hefty 3 tablespoons of yeast to ensure a robust rise and ultra-fluffy texture. It speeds up fermentation and creates the classic tender donut crumb. The flavor develops quickly without long fermentation, making it perfect for a quicker homemade treat.
How do I know when my oil is at the right temperature?
The ideal frying temperature is 350°F, checked with a candy or deep-frying thermometer clipped to the pot’s side. If you don’t have one, test with a small dough piece—if it bubbles vigorously and browns within a minute, the oil is ready. Keeping consistent temperature is key to even, golden donuts.
Can I make donut holes with this recipe?
Absolutely! When dividing the dough, save some smaller portions and fry them as donut holes. They cook faster and are perfect for snacking or gifting. Just adjust frying times accordingly and enjoy bite-sized happiness!
What can I do if my dough doesn’t rise?
If your dough doesn’t rise, your yeast might have been inactive. Ensure your milk temperature was not too hot or cold when activating yeast. Fresh yeast and warm proofing conditions are crucial. If needed, start over with fresh yeast and double-check water temperature for best results.
Final Thoughts
Making Homemade Classic Donuts from Scratch Recipe is such a heartfelt experience — from mixing and kneading to frying and glazing, it’s all about creating a little homemade magic that fills your kitchen with warmth and joy. These donuts prove that with simple ingredients and patience, you can achieve bakery-quality treats at home. I encourage you to roll up your sleeves and give this recipe a try; you won’t regret the sweet reward that’s just a few steps away!