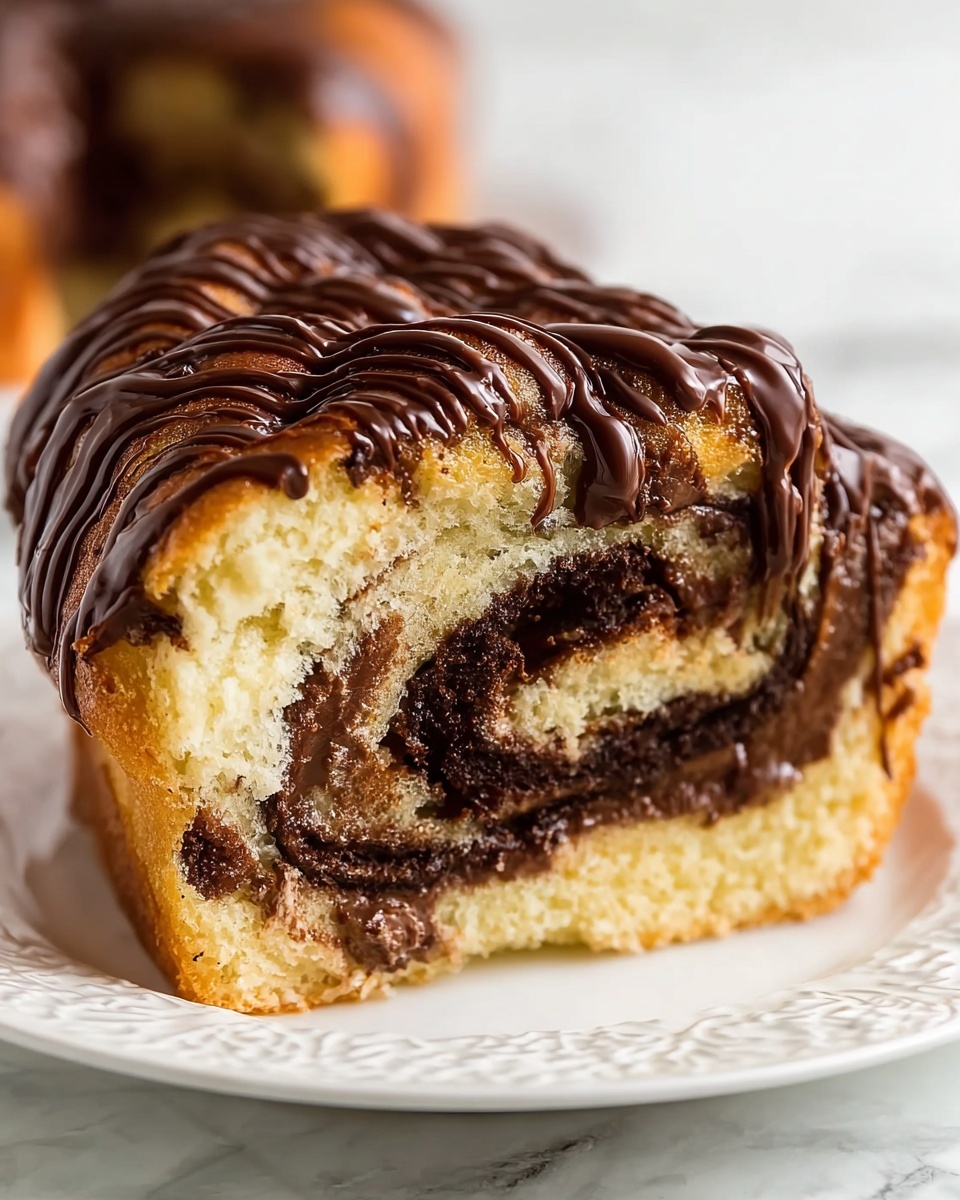
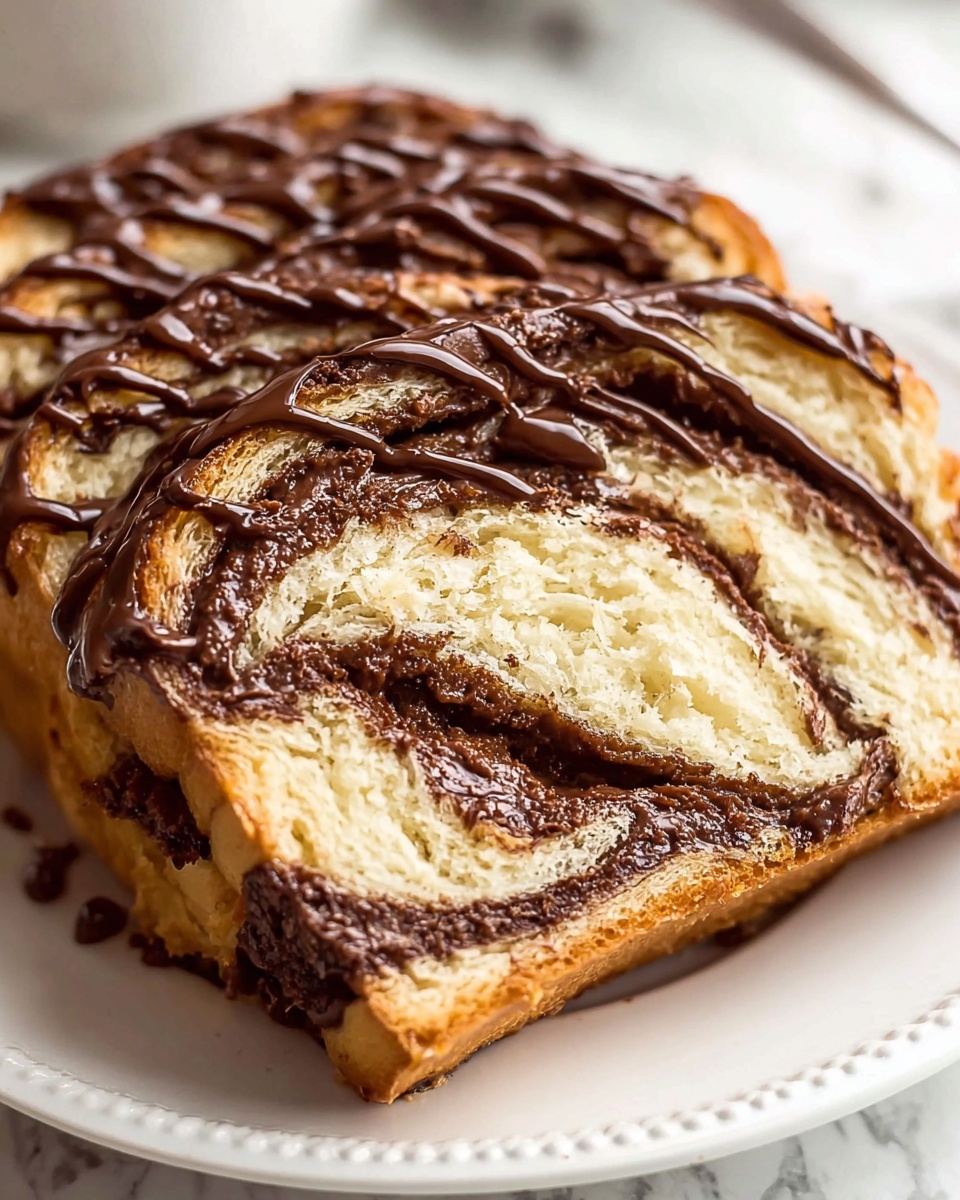
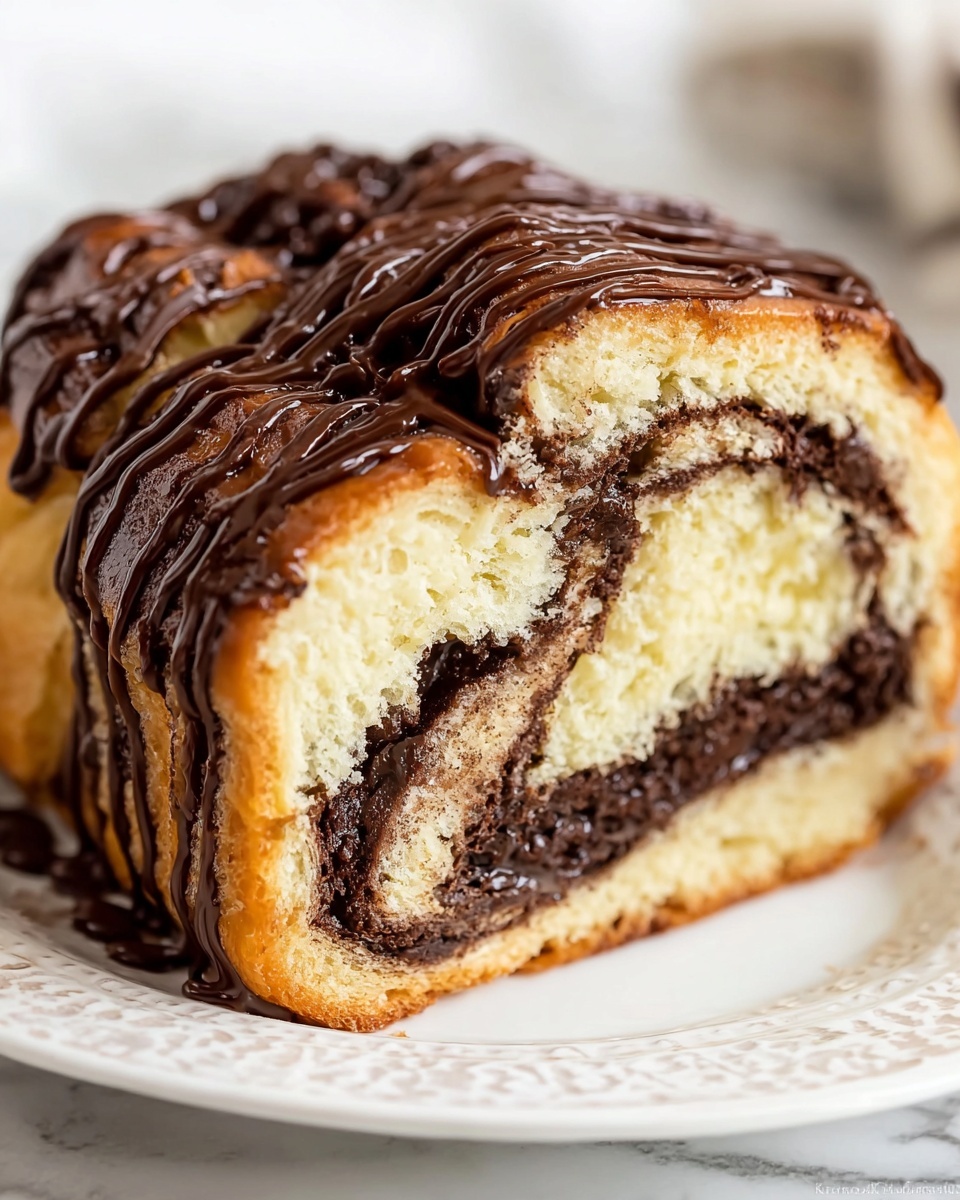
If you have ever wanted to bring a bakery favorite right into your kitchen, this Homemade Chocolate Babka Recipe is just the treat to try. Rich swirls of glossy, semi-sweet chocolate dance through soft, pillowy dough that’s buttery and just a little bit sweet—each bite feels like a sweet hug from a dear friend. Whether you’re baking for a weekend brunch or gifting a homemade delight, this recipe balances simplicity and indulgence perfectly, making it one you’ll want to keep close to heart and kitchen.
Ingredients You’ll Need
Before diving into the magic of baking, let’s take a moment to appreciate the simple, straightforward ingredients that make this Homemade Chocolate Babka Recipe truly special. Each element plays a pivotal role—from lending structure and sweetness to adding that signature rich chocolate flavor and tender crumb.
- All-Purpose Flour: Essential for structure and gluten development.
- Granulated Sugar: Sweetens the dough and activates the yeast.
- Active Dry Yeast: Causes the dough to rise beautifully.
- Salt: Balances sweetness and enhances overall flavor.
- Unsalted Butter: Adds richness and moisture for tender crumb.
- Warm Milk: Activates the yeast and keeps dough moist.
- Semi-Sweet Chocolate (finely chopped): For the luscious filling that melts into every swirl.
- Unsweetened Cocoa Powder: Deepens the chocolate flavor for richness.
- Powdered Sugar: For a delicate dusting before serving, adding a touch of elegance.
How to Make Homemade Chocolate Babka Recipe
Step 1: Activate the Yeast
Start with warm milk and sprinkle in the active dry yeast, giving it a gentle stir. Let it rest for about 5 to 10 minutes until it becomes frothy and bubbly. This little bubbling action means your yeast is alive and kicking, ready to make your dough rise to fluffy perfection.
Step 2: Combine Dry Ingredients
In a large bowl, whisk together your flour, granulated sugar, and salt until evenly mixed. These ingredients form the backbone of your dough, balancing sweetness and structure that will hold all the chocolatey goodness.
Step 3: Mix Dough Ingredients
Create a well in the center of your dry mix, pouring in the yeast mixture, softened butter, and any remaining warm milk. Stir gently until everything just comes together into a shaggy dough that promises soft, tender bread after kneading.
Step 4: Knead the Dough
Turn the dough onto a lightly floured surface and knead for about 8 to 10 minutes. At first the dough will feel sticky and rough, but keep working it until it smooths out and feels elastic. This process develops the gluten that gives babka its delightful chew.
Step 5: First Rise
Place your dough in a greased bowl, cover it with a clean towel, and let it rest in a warm spot. After 1 to 2 hours, it should have doubled in size, soft and airy—a sure sign the yeast did its job beautifully.
Step 6: Prepare the Chocolate Filling
While your dough is rising, mix the finely chopped semi-sweet chocolate with the unsweetened cocoa powder and a pinch of salt. This filling is the soul of the babka, rich and decadently chocolatey without being overpowering.
Step 7: Roll Out the Dough
Once risen, gently punch down the dough and roll it out into a large rectangle on a floured surface. This canvas is where you’ll spread the chocolate filling and start creating those iconic swirls.
Step 8: Spread the Filling
Evenly spread your chocolate mixture over the dough rectangle, staying about an inch from the edges. This careful layering ensures every bite has that perfect ribbon of chocolate.
Step 9: Roll and Seal
Start rolling the dough tightly from one long edge, like a jelly roll. Once rolled, pinch the seams to seal in all that rich filling, preventing any chocolate leaks during baking.
Step 10: Twist the Dough
Slice your rolled dough lengthwise into two long strips, exposing the beautiful chocolate layers. Twist the two halves together, creating the signature babka braid that’s as pleasing to the eyes as it is to the palate.
Step 11: Second Rise
Carefully place your twisted loaf into a greased loaf pan and cover it. Let the dough rise again for about 30 to 45 minutes until puffy and close to the top of the pan—this step guarantees a light, airy babka after baking.
Step 12: Bake to Golden Perfection
Preheat your oven to 350°F (175°C) and bake your babka for 30 to 35 minutes. You’ll know it’s ready when it turns that gorgeous golden brown, with a hint of fragrant chocolate wafting through your kitchen.
Step 13: Cool Before Serving
Allow your babka to cool in the pan for 10 minutes before transferring it to a wire rack. Cooling slightly helps the chocolate set just right, making slices tidy and luscious.
Step 14: The Finishing Touch
Before serving, give your babka a gentle dusting of powdered sugar for a delicate, snow-kissed appearance—an inviting invitation to dive in.
How to Serve Homemade Chocolate Babka Recipe
Garnishes
While powdered sugar is classic and charming, you can also add chopped toasted nuts or a drizzle of melted chocolate for extra texture and flair. Fresh berries on the side brighten the richness beautifully, adding a fresh pop to every bite.
Side Dishes
This babka pairs wonderfully with a cup of strong coffee or a creamy latte. For a brunch spread, consider adding fresh fruit salad or a light cheese plate to balance the decadence of the babka.
Creative Ways to Present
Try cutting the babka into thick slices and serving it warm alongside a scoop of vanilla ice cream for a dessert twist. Alternatively, layer thinner slices in a dessert trifle with whipped cream and berries for an eye-catching centerpiece.
Make Ahead and Storage
Storing Leftovers
Wrap leftover babka tightly in plastic wrap or place it in an airtight container. It will keep fresh at room temperature for up to 2 days, allowing those buttery, chocolate swirls to remain soft and delicious.
Freezing
If you want to savor this babka over a longer period, it freezes wonderfully. Wrap it well in plastic and foil, then freeze for up to 3 months. Thaw overnight at room temperature before enjoying.
Reheating
To revive the fresh-baked feel, warm slices gently in a low oven or toaster oven for 5 to 7 minutes. This brings back the softness and enhances that melty chocolate experience.
FAQs
Can I use dark chocolate instead of semi-sweet for the filling?
Absolutely! Dark chocolate will give your babka a more intense, slightly bitter flavor which pairs wonderfully with the sweet dough. Just make sure to chop it finely for easier spreading.
Is it necessary to let the dough rise twice?
Yes, the two rises are key to achieving the babka’s signature light and fluffy texture. The first rise develops the dough’s volume, while the second helps create a soft crumb with beautiful layers after baking.
Can I make this recipe vegan or dairy-free?
With some ingredient swaps, yes. Use non-dairy milk and a plant-based butter alternative. Keep in mind the texture might be slightly different, but the babka will still be delicious and satisfying.
How long can I keep the babka at room temperature?
Stored properly in an airtight container, your babka should stay fresh for about 2 days at room temperature. Beyond that, refrigeration or freezing can extend its life without sacrificing taste.
Can I add nuts or other fillings?
Definitely. Chopped walnuts or pecans add delightful crunch inside the babka. You can also experiment with cinnamon, or even a cream cheese swirl to make it extra special.
Final Thoughts
Making your own Homemade Chocolate Babka Recipe isn’t just about creating a delicious sweet bread—it’s about crafting moments of joy and sharing something truly special with the people you love. I hope this recipe inspires you to roll up your sleeves, fill your kitchen with irresistible aromas, and enjoy every heavenly bite of this wonderful treat. Trust me, once you try it, babka baking will become a beloved tradition.