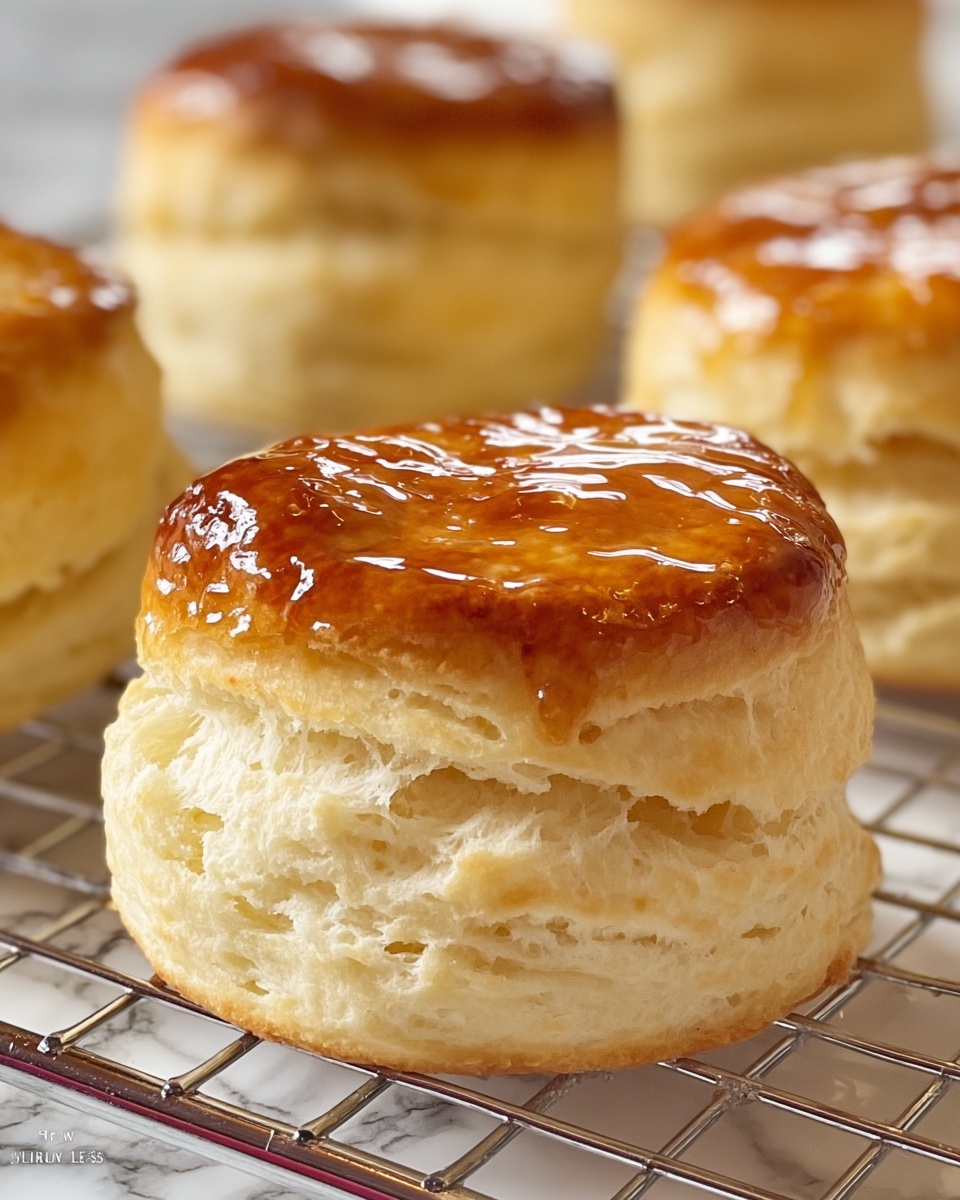
If you have been on the lookout for a light, fluffy, and utterly irresistible biscuit that elevates any meal, then you simply must try this Homemade Angel Biscuits Recipe. These biscuits strike the perfect balance between tender crumb and golden crust, offering a heavenly bite every time. The combination of yeast and buttermilk gives them that unique airy texture that feels like a warm hug from the inside out. Once you make these, they’ll become your go-to for breakfast, dinner, or any time you crave something special and comforting.
Ingredients You’ll Need
This recipe uses simple, classic ingredients that you likely already have on hand, yet each one plays a crucial role in building the biscuits’ delightful texture and flavor. From the tangy buttermilk to the cold fats, every component works in harmony to create something truly special.
- All-purpose flour (5 cups): The base that gives the biscuits structure and a soft crumb.
- Granulated sugar (1/4 cup): Just enough sweetness to gently balance the flavors without overpowering.
- Baking powder (1 tablespoon): Helps give lift alongside the yeast, creating tender layers.
- Baking soda (1 teaspoon): Reacts with the buttermilk to boost tenderness and browning.
- Salt (1 teaspoon): Enhances all the flavors and balances the sweetness.
- Cold unsalted butter (1/2 cup, cubed): Provides richness and flaky layers when properly cut in.
- Shortening (1/2 cup): Adds tenderness and a soft crumb.
- Active dry yeast (2 teaspoons): The secret to that wonderful airy texture and slight yeast flavor.
- Warm water (1/4 cup, about 110°F): Activates the yeast perfectly without killing it.
- Buttermilk (2 cups): Adds tang, moisture, and reacts with baking soda for a gentle rise and golden crust.
How to Make Homemade Angel Biscuits Recipe
Step 1: Mix the Dry Ingredients
Start by whisking together the flour, sugar, baking powder, baking soda, and salt in a large bowl. This ensures the leavening agents and salt are evenly distributed, which is key to a consistent rise and flavor in every biscuit.
Step 2: Cut in the Fats
Using a pastry blender or two forks, cut in the cold butter and shortening until the mixture looks like coarse crumbs. The cold fats create flaky layers in the biscuits by melting during baking, giving you that signature tender, layered bite.
Step 3: Prepare the Yeast Mixture
In a small bowl, dissolve the yeast in warm water and let it sit for 5 minutes until frothy. This little flourish wakes up the yeast, ensuring your biscuits will rise beautifully and have a subtle, delightful flavor.
Step 4: Combine Wet and Dry Ingredients
Add the yeast mixture along with the buttermilk to the flour mixture. Stir gently until the dough just starts to come together, being careful not to over mix as that can make the biscuits tough.
Step 5: Gently Knead the Dough
Turn the dough out onto a lightly floured surface and gently knead it 3 to 4 times. This step helps bring everything together while keeping the dough tender. Overworking at this stage can make your biscuits dense, so a light touch is important.
Step 6: Shape the Biscuits
Roll the dough to about 1-inch thickness and use a biscuit cutter to cut out your rounds. Don’t worry about scraps—just re-roll and cut again, making sure not to press down too hard with the cutter to keep the edges light and fluffy.
Step 7: Let the Biscuits Rise
Arrange the biscuits on a baking sheet, cover them with a clean towel, and let them rise for 30 minutes. This resting period allows the yeast to work its magic and create that airy, melt-in-your-mouth texture.
Step 8: Preheat the Oven
While your biscuits are rising, heat your oven to 400°F (200°C). A hot oven is crucial for that golden, slightly crisp exterior you want.
Step 9: Bake Until Golden
Bake the biscuits for 15 to 20 minutes or until they turn a beautiful golden brown. The smell while baking will practically hypnotize anyone nearby!
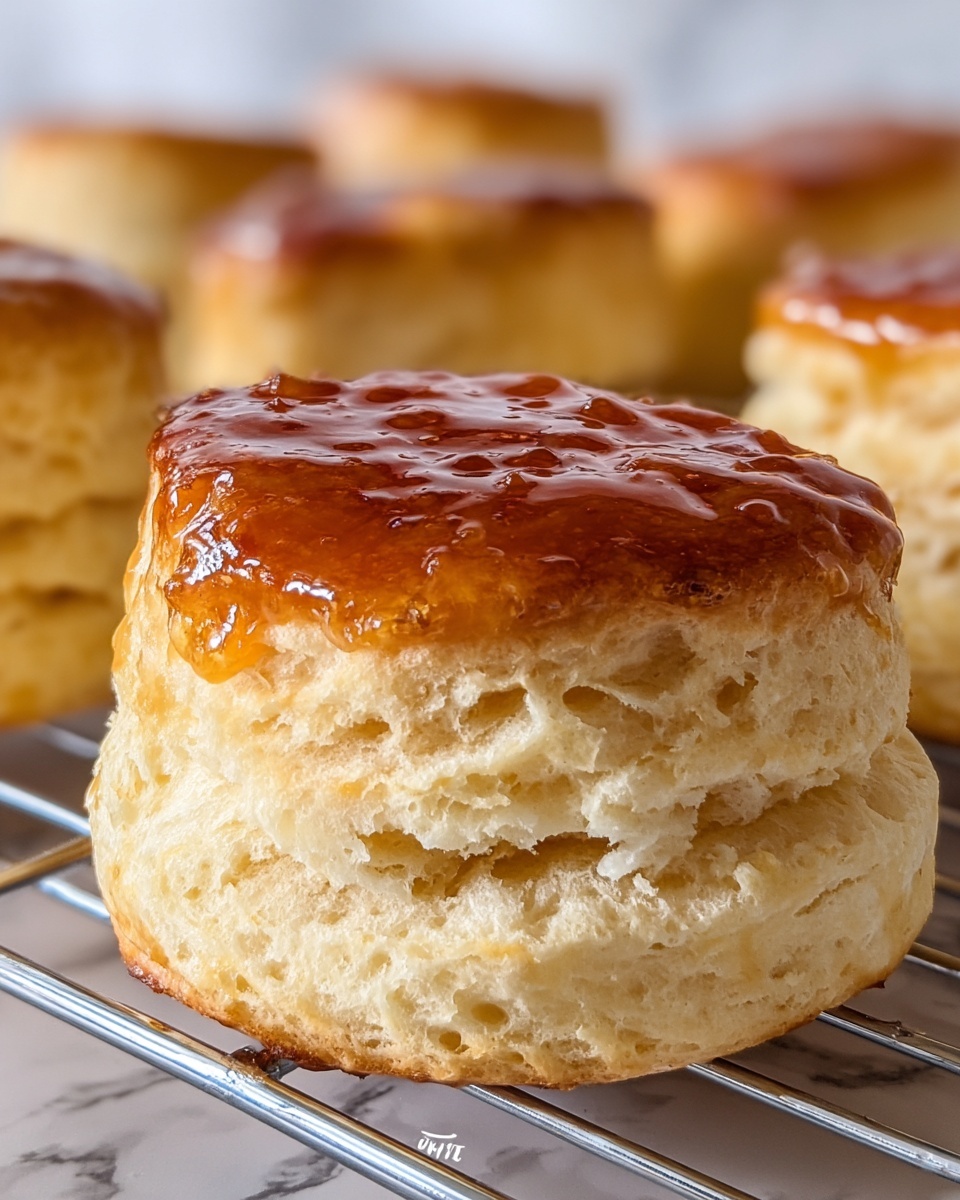
Step 10: Serve Warm
These biscuits are best enjoyed fresh from the oven with butter, honey, or your favorite spread. Their warmth and softness will make you want to go back for seconds immediately.
How to Serve Homemade Angel Biscuits Recipe
Garnishes
Simple garnishes like whipped butter, honey, or homemade jam enhance the biscuits’ natural flavor without masking their delicate texture. For a savory twist, try a pat of herb-infused butter or a dusting of grated sharp cheddar cheese right after baking.
Side Dishes
Angel biscuits are incredibly versatile; they pair wonderfully with hearty breakfasts like scrambled eggs and crispy bacon or complement smothered dishes such as chicken and gravy. Their light texture balances richer sides, making any meal feel complete.
Creative Ways to Present
Try slicing the biscuits in half and layering them with fresh berries and whipped cream for a fun take on shortcakes. Or serve them alongside a fresh salad and soup for a charming afternoon tea spread. Their elegant appearance can dress up even the simplest meals.
Make Ahead and Storage
Storing Leftovers
If you have leftovers, store them in an airtight container at room temperature for up to two days. This keeps their softness intact, so they’re just as delightful the next day.
Freezing
You can freeze these biscuits for longer storage by wrapping them individually in plastic wrap and placing them in a freezer bag. They maintain their flavor and texture well and are perfect for quick breakfasts or snacks on busy days.
Reheating
Reheat frozen or leftover biscuits in a warm oven (around 350°F) for 5 to 10 minutes, or briefly microwave them wrapped in a damp towel to revive their fluffy goodness. Avoid overheating to keep them soft and tender.
FAQs
What makes these biscuits “angel” biscuits?
The term “angel” refers to their exceptionally light and airy texture, achieved by the combination of yeast and buttermilk, making them floaty and tender like a heavenly treat.
Can I use regular milk instead of buttermilk?
Using regular milk won’t give the same tangy flavor or tender crumb since buttermilk reacts with the baking soda to create lift and softness. You can substitute by adding a tablespoon of lemon juice or vinegar to regular milk to mimic buttermilk.
Is it necessary to let the dough rise?
Yes, the 30-minute rise allows the yeast to ferment, producing air bubbles that give the biscuits their signature fluffy texture. Skipping this step will result in denser biscuits.
Can I make these biscuits dairy-free?
For a dairy-free version, substitute the butter and buttermilk with plant-based alternatives like vegan butter and a non-dairy milk mixed with a little lemon juice. This can alter the texture slightly but still yield tasty results.
How do I keep biscuits soft after baking?
Cover baked biscuits with a clean cloth towel right after they come out of the oven to trap steam, which keeps them moist and soft. Store them in airtight containers once cooled to preserve freshness.
Final Thoughts
Making this Homemade Angel Biscuits Recipe is one of those joyful cooking experiences that rewards you with incredible flavor and texture every time. Once you taste these biscuits fresh from your oven, you’ll be hooked and eager to share them with friends and family. They bring warmth and comfort in every bite, and I encourage you to make them your own kitchen treasure. Happy baking!