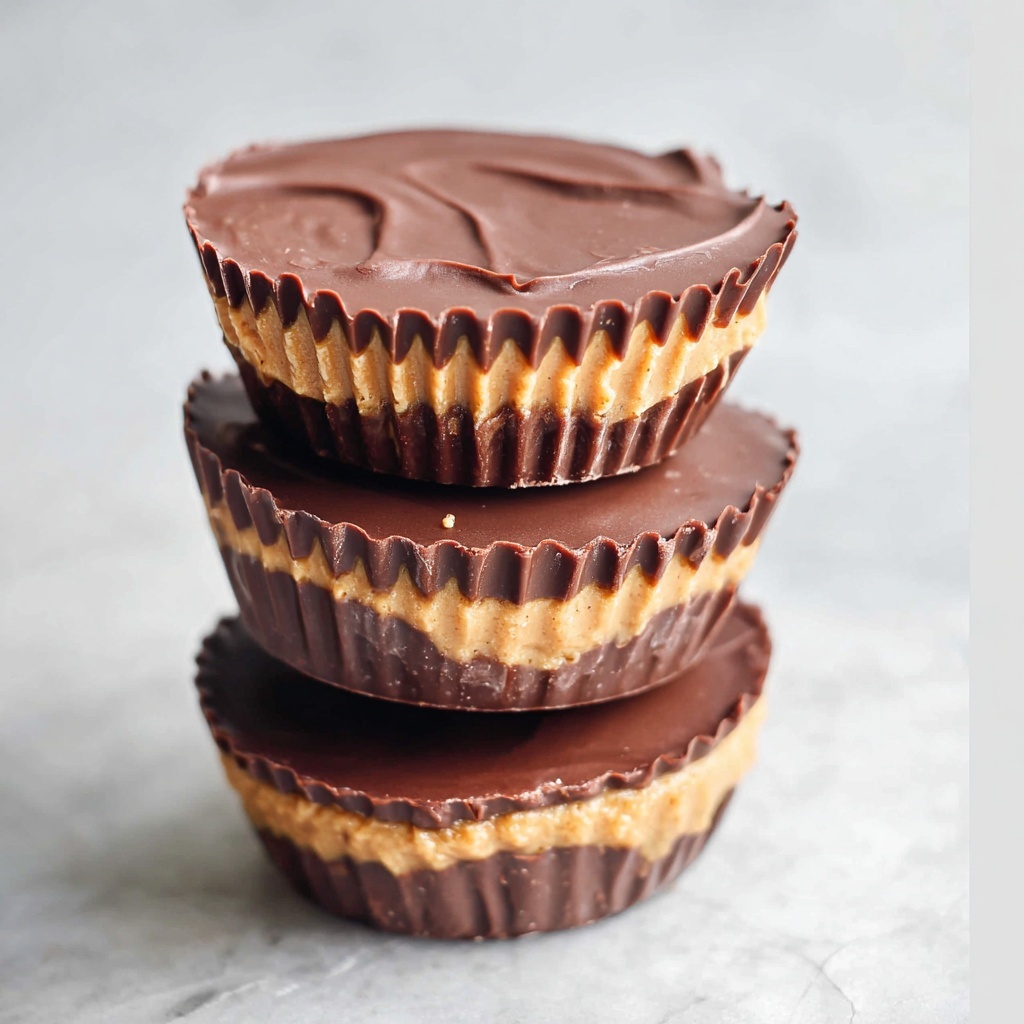
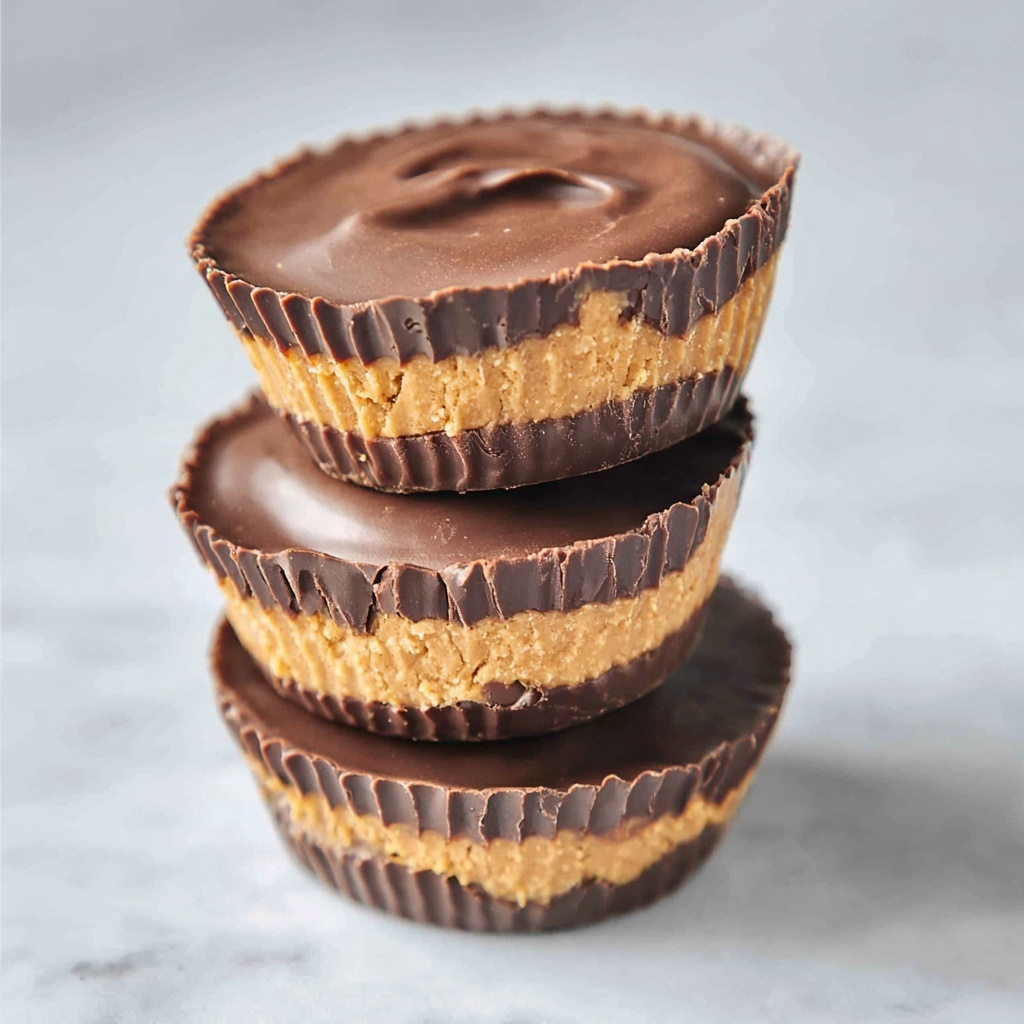
If you’ve been on the hunt for a delightful treat that satisfies your chocolate cravings without the guilt, this Healthier Peanut Butter Cups Recipe is the answer you’ve been waiting for. These little delights combine the rich, indulgent flavor of semi-sweet chocolate with the creamy goodness of natural peanut butter, but without the extra processed sugars and unhealthy fats found in many store-bought versions. Whether you’re looking for a quick snack or a homemade gift, these cups are simple, fun to make, and totally irresistible.
Ingredients You’ll Need
Every amazing recipe starts with the right ingredients, and this one is no different. The beauty of this Healthier Peanut Butter Cups Recipe is its simplicity, relying on just two main ingredients that come together to create a perfect balance of flavor, texture, and a naturally rich color that’s super inviting.
- 12-ounce bag of semi-sweet chocolate chips: These provide the smooth, melt-in-your-mouth chocolate exterior and base, lending just the right amount of sweetness without overpowering the natural flavors.
- 8 tablespoons natural peanut butter: Choosing natural peanut butter means you’re getting that creamy, nutty depth without added sugars or hydrogenated oils, making these treats healthier and more wholesome.
How to Make Healthier Peanut Butter Cups Recipe
Step 1: Melt and Spread the First Layer of Chocolate
Begin by melting half of your semi-sweet chocolate chips gently—using a microwave or a double boiler—to maintain a silky texture. Pour and evenly spread the melted chocolate between 8 silicone cupcake liners, making sure to cover the bottom and a little up the sides. This forms the sturdy, chocolatey foundation of each cup.
Step 2: Chill for Stability
Place the trays into the freezer for about 2 minutes. This quick chill sets the chocolate layer so it stays firm when you add the next delicious element—the peanut butter. It’s a small step that makes all the difference in creating that perfect layered effect.
Step 3: Add the Peanut Butter Filling
Now comes the creamy heart of your peanut butter cups. Spoon one tablespoon of natural peanut butter onto each chilled chocolate base. Spread it evenly over the chocolate to ensure every bite has that beautiful balance of flavors. The natural oils and creaminess will contrast wonderfully with the firm chocolate layer below.
Step 4: Freeze Again to Firm Up
Pop the peanut butter-topped cups back into the freezer for another 2 minutes. This solidifies the peanut butter layer so it doesn’t mix with the final chocolate coating, keeping each layer distinct and delicious.
Step 5: Melt the Remaining Chocolate
While your peanut butter is chilling, melt the remaining half of your chocolate chips, preparing the luscious top layer. This step ensures you can work quickly when adding the chocolate topping before everything melts together.
Step 6: Top with Chocolate and Add Swirls
Divide the melted chocolate evenly over the peanut butter layer in each cup. Spread it gently and then use the back of a spoon to create pretty little swirls on the surface for a touch of homemade charm. These swirls aren’t just beautiful; they add extra texture and visual appeal to your treats.
Step 7: Final Freeze and Serve
Place all the peanut butter cups back in the freezer for about 5 minutes to set the final chocolate layer. Once firm, they’re ready to enjoy! These cups should be firm but still have that lovely melt-in-your-mouth feel.
How to Serve Healthier Peanut Butter Cups Recipe

Garnishes
Although these peanut butter cups are fantastic on their own, adding a sprinkle of sea salt flakes on top right after the final chocolate layer is set can elevate the flavor, enhancing the chocolate and peanut butter contrast. For a bit of fun, try lightly dusting with cocoa powder or a few chopped roasted peanuts for a satisfying crunch.
Side Dishes
These treats shine as a sweet finish to a meal or a midday pick-me-up. Pair them with a cup of hot black coffee or a chilled glass of almond milk to complement the rich chocolatey flavors without overpowering them. They also play well alongside fresh fruit plates, offering a nice contrast between sweet and fresh.
Creative Ways to Present
Presentation can make these simple cups look like gourmet desserts. Serve them in cute mini cupcake liners placed on a decorative platter, or stack them in a clear glass jar tied with a ribbon for a wonderful homemade gift idea. For a party, placing each cup on a small doily adds a touch of elegance that your guests will appreciate.
Make Ahead and Storage
Storing Leftovers
If you find yourself with leftover peanut butter cups, they keep wonderfully in an airtight container in the refrigerator for up to a week. This keeps the chocolate firm and the peanut butter fresh, preserving that perfect texture and taste every time.
Freezing
Want to enjoy these treats over a longer period? Freeze any extras in a single layer on a baking sheet, then transfer them to an airtight container or freezer bag. This method prevents sticking and keeps them fresh for up to three months, making it easy to grab a healthy snack whenever the craving hits.
Reheating
Because these cups are best enjoyed cool and firm, reheating isn’t recommended. Instead, let them thaw in the refrigerator for 10-15 minutes before indulging, ensuring the perfect balance of creamy peanut butter and satisfying chocolate texture remains intact.
FAQs
Can I use crunchy peanut butter instead of natural smooth peanut butter?
Absolutely! Crunchy peanut butter adds a delightful texture to the cups, making the experience even more fun and interesting. Just be sure to use natural peanut butter to keep the recipe healthier.
Is it necessary to use silicone cupcake liners?
While silicone liners are great for easy removal, you can use paper liners as well. If you choose paper liners, refrigerate or freeze the cups until very firm before attempting to remove them to prevent breakage.
Can I substitute dark chocolate for semi-sweet chocolate?
Yes, dark chocolate works beautifully in this recipe and makes the cups even healthier by reducing sugar content. Choose a dark chocolate with at least 70% cacao for the best flavor balance.
How long does it take to make these peanut butter cups from start to finish?
The actual prep and assembly take about 12 minutes, with freezing time layered throughout for setting the chocolate and peanut butter. Altogether, you’re looking at around 15 to 20 minutes.
Are these peanut butter cups suitable for people with dietary restrictions?
This recipe is naturally gluten-free and can fit well into many diets. However, if you have nut allergies, it’s not suitable due to the peanut butter. For dairy-free options, ensure your chocolate chips are dairy-free as well.
Final Thoughts
Making your own Healthier Peanut Butter Cups Recipe at home is such a rewarding experience. Not only do you get to control every ingredient that goes into these delightful treats, but you also get to enjoy the unbeatable combination of chocolate and peanut butter in a much healthier way. I can’t wait for you to try this recipe and see just how easy, delicious, and satisfying homemade can be. Happy baking!