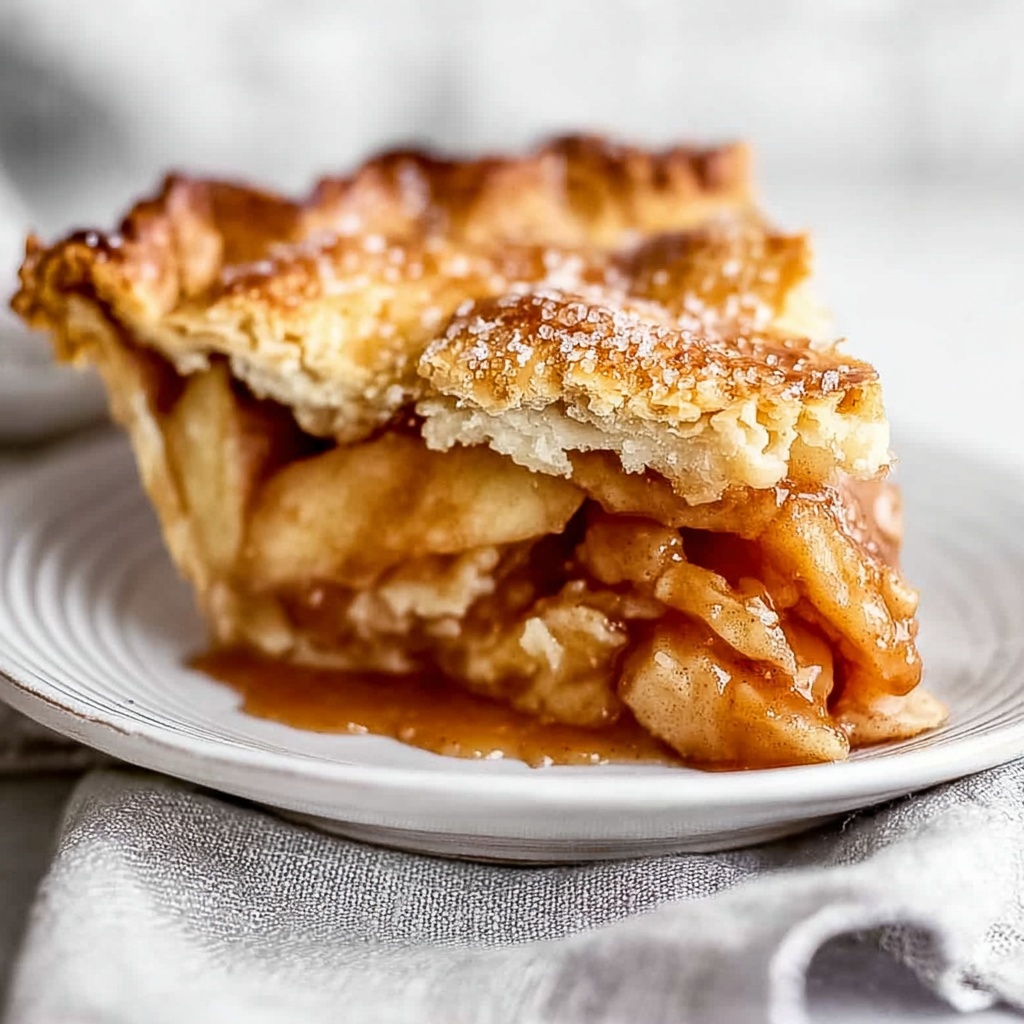
There is something undeniably magical about biting into a warm slice of classic apple pie, and this Classic Homemade Apple Pie Recipe captures that magic perfectly. With its tender, flaky crust and a luscious filling packed with cinnamon-scented apples, this recipe is a heartwarming celebration of simple ingredients coming together in a truly unforgettable way. Whether you’re baking for a cozy family gathering or just craving a comforting dessert, this pie promises a slice of pure happiness in every bite.
Ingredients You’ll Need
Each ingredient in this Classic Homemade Apple Pie Recipe plays a crucial role, carefully balancing taste, texture, and that beautiful golden color we all love. The beauty is in the simplicity—these pantry staples elevate the humble apple to pie perfection.
- 1 cup granulated sugar (200 grams): Sweetens the filling just right, balancing apple tartness without overpowering.
- 2 tablespoons all-purpose flour (15 grams): Helps thicken the apple juices, ensuring a luscious filling that isn’t runny.
- 1 teaspoon ground cinnamon (3 grams): Adds warm, fragrant spice that transforms the apples into a comforting delight.
- 6-8 apples (peeled and sliced): Your star ingredient, providing crispness and juiciness; tart varieties work excellently here.
- 2 homemade pie crusts: The flaky foundation and crowning glory, bringing buttery crispness to every bite.
- 2 tablespoons unsalted butter (28 grams, cubed): Dotted over the apples, it melts into pockets of rich flavor throughout the pie.
How to Make Classic Homemade Apple Pie Recipe
Step 1: Preheat Your Oven
Start by setting your oven to 400°F. This high heat is key to achieving a beautifully browned crust and perfectly baked apples inside.
Step 2: Mix the Dry Ingredients
In a large bowl, blend together the granulated sugar, all-purpose flour, and ground cinnamon. This mixture will coat the apples, lending sweetness, spice, and thickness to your filling.
Step 3: Toss the Apples
Add your peeled and sliced apples to the bowl and toss them well, ensuring every slice is evenly coated with that magical sugar and spice blend. This step keeps your filling flavorful and balanced.
Step 4: Prepare Your Pie Pan
Line your pie pan with one of the homemade pie crusts. Pour the apple mixture in, filling the pan nicely, and dot the top with the cubed unsalted butter. Those buttery pockets will give your pie an irresistibly rich finish.
Step 5: Seal and Vent the Pie
Carefully place the second crust over the apples and seal the edges to enclose your filling. Don’t forget to cut a few slits on top of the crust—these vents allow steam to escape, preventing a soggy top.
Step 6: Add the Finishing Touch
Brush the top crust with a small amount of milk using a fork, which helps avoid sogginess while adding moisture for browning. Then sprinkle with any leftover sugar to give your pie a charming, caramelized glow.
Step 7: Bake with Care
Bake your pie for 50 minutes. To be safe, place a cookie sheet on a lower rack to catch any drips—nothing ruins the joy of baking like an oven mess! Your pie is ready when the crust turns golden and the filling bubbles invitingly.
Step 8: Cool, Slice, and Enjoy
Let the pie cool before slicing. This waiting moment allows the juices to set beautifully so each slice holds its shape—a perfect reward after your baking efforts.
How to Serve Classic Homemade Apple Pie Recipe
Garnishes
A scoop of vanilla ice cream on a warm slice adds creamy sweetness that melts into the apple goodness. Alternatively, a dusting of powdered sugar or a drizzle of caramel sauce can elevate the presentation and taste to something spectacular.
Side Dishes
Classic apple pie shines on its own but pairs beautifully with a dollop of whipped cream or a sharp cheddar cheese slice for those adventurous palates who enjoy the sweet-savory combo. Warm spiced cider also complements the spices in the pie perfectly.
Creative Ways to Present
Try serving individual mini apple pies in ramekins for an elegant twist, or place a cinnamon stick in each slice when plated for an aromatic upgrade. You can also create a rustic presentation by serving the pie alongside fresh seasonal fruits and nuts.
Make Ahead and Storage
Storing Leftovers
Keep leftover slices wrapped in plastic wrap or stored in an airtight container in the refrigerator. They will stay moist and flavorful for up to four days—perfect for sneaky second helpings!
Freezing
This Classic Homemade Apple Pie Recipe freezes beautifully. Wrap tightly with plastic wrap and aluminum foil to prevent freezer burn, and freeze for up to three months. To enjoy, thaw overnight in the fridge before reheating.
Reheating
Warm leftover pie in a 350°F oven for about 15-20 minutes to regain that fresh-baked aroma and flaky crust texture. Avoid microwaving if you want to maintain crispness, but it works well to quickly warm a single bite.
FAQs
Can I use different types of apples for this pie?
Absolutely! A mix of tart and sweet apples—like Granny Smith and Fuji—creates a balanced flavor and texture. Just make sure to peel and slice them evenly for consistent cooking.
Do I have to make my own pie crust?
While homemade crust is ideal for that buttery flakiness, store-bought crusts are a convenient option that still yield delicious results, especially when you’re short on time.
How can I prevent the crust from getting soggy?
Ensure to cut steam vents on the top crust, use the milk brushing technique with a fork, and bake at the recommended high temperature to help your crust stay crisp and golden.
What’s the best way to slice the pie evenly?
Use a sharp, serrated knife and clean it between slices. Cooling the pie before slicing helps the filling set, allowing you to get neat, beautiful wedges every time.
Can I add other spices or ingredients to the filling?
Definitely! Nutmeg, allspice, or a splash of vanilla extract can add extra depth. You could also mix in raisins or chopped nuts for texture and flavor variety.
Final Thoughts
Making this Classic Homemade Apple Pie Recipe is truly a rewarding experience, bringing together simple ingredients and time-honored techniques to create a dessert that feels like a warm hug. I encourage you to give it a try, savor every step, and most importantly, enjoy every delicious slice with your favorite people. Trust me, this pie has a way of turning any day into a special occasion.