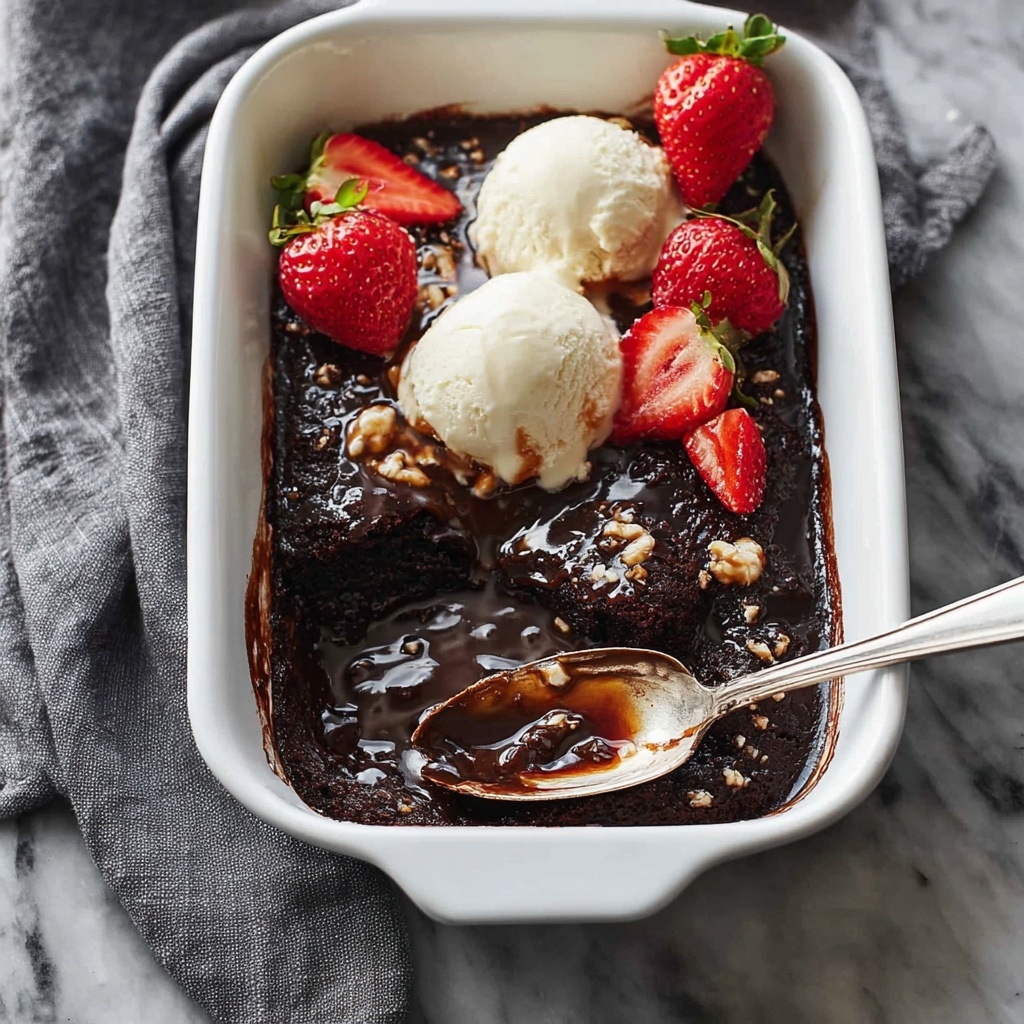
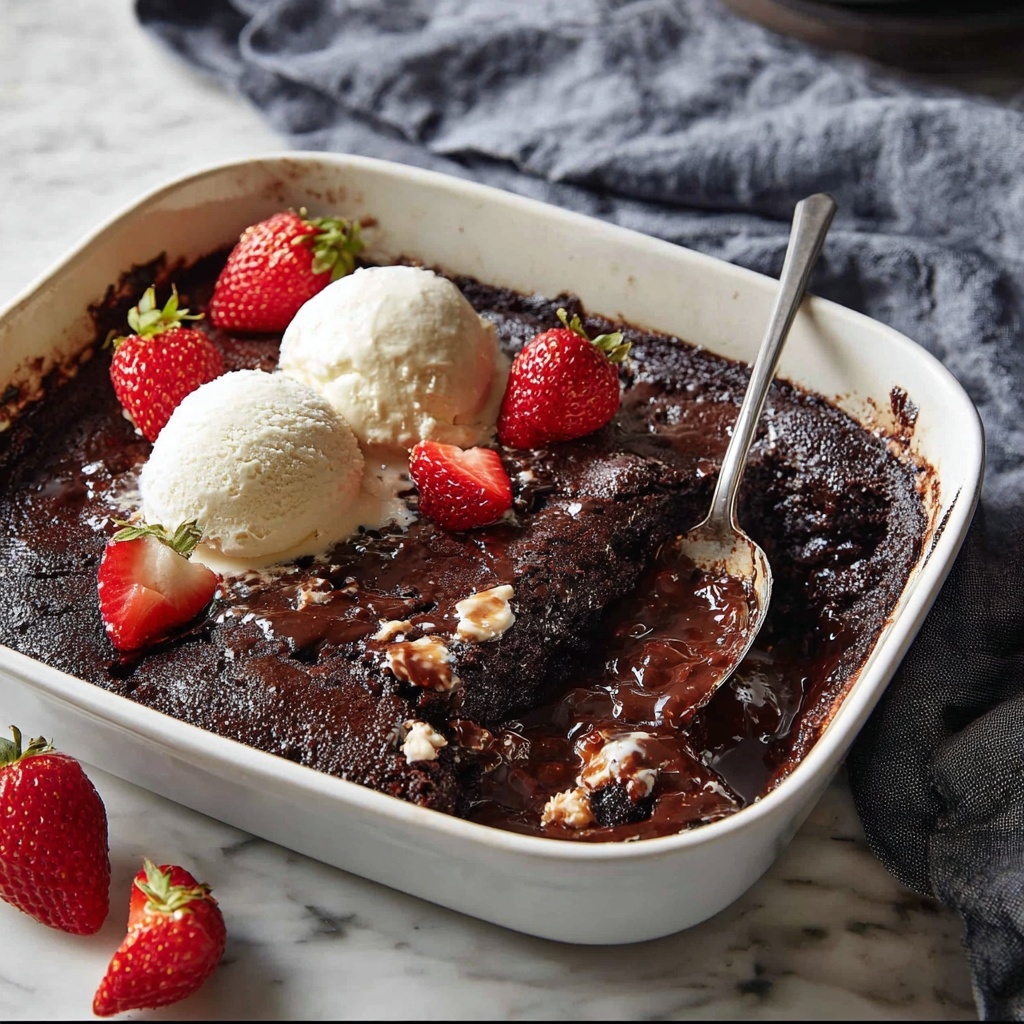
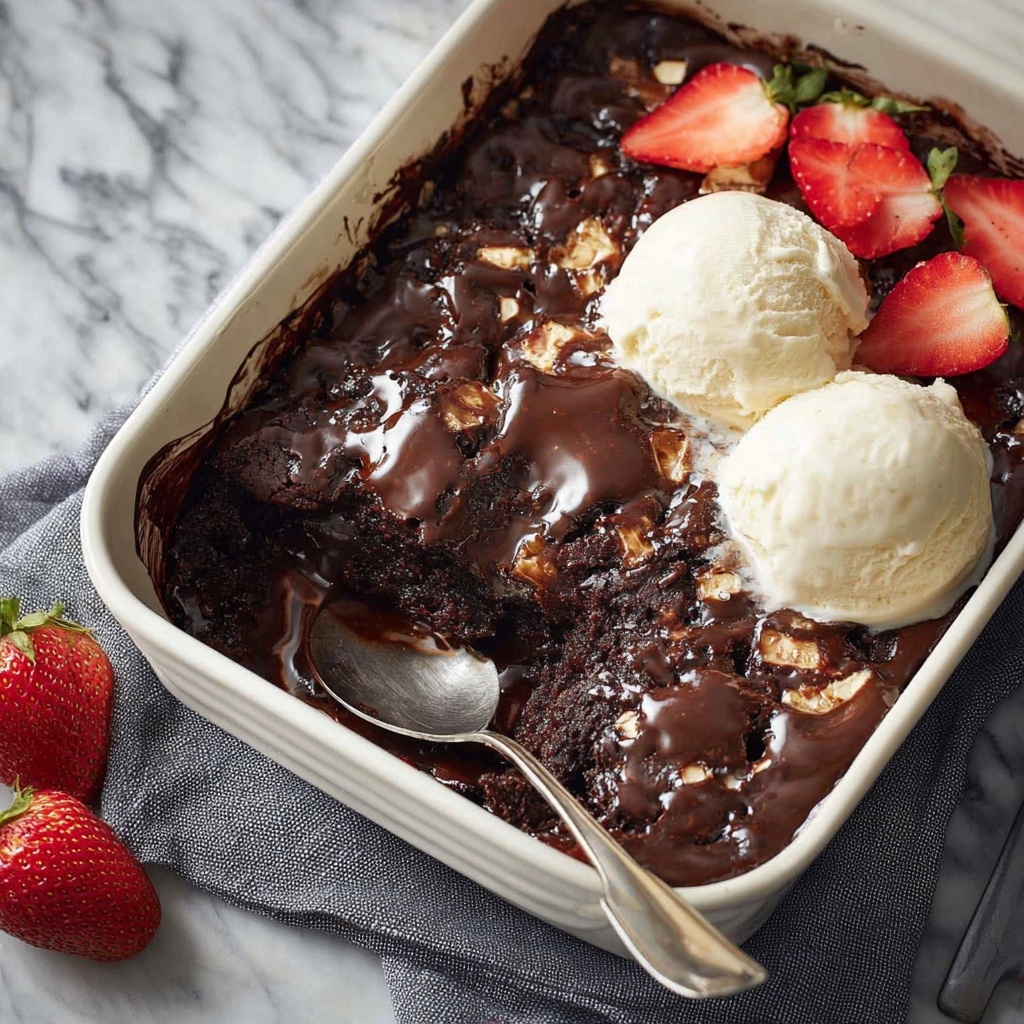
If you have a soft spot for comforting chocolate desserts that feel like a warm hug on a plate, then this Chocolate Self-Saucing Pudding Recipe is going to become your new best friend. Picture this: a luscious, cakey top layer that gives way to a rich, gooey chocolate sauce underneath, all baked effortlessly in one dish. It’s an absolute crowd-pleaser, surprisingly simple to make, and offers just the right balance of deep chocolate flavor and comforting texture, perfect for any occasion that calls for a sweet delight.
Ingredients You’ll Need
Getting the perfect Chocolate Self-Saucing Pudding Recipe starts with a handful of simple, pantry-friendly ingredients. Each one plays a key role — from enhancing flavor to creating that irresistible sauce that makes this pudding so special.
- Brown sugar: Adds warmth and a subtle molasses note that deepens the chocolate taste beautifully.
- Cocoa powder: Unsweetened cocoa is essential here, providing rich chocolate flavor without extra sweetness.
- Boiling water: Creates the magic self-saucing effect by combining with the sugar and cocoa.
- Plain flour: Forms the soft, cakey base that soaks up the luscious sauce beneath.
- Baking powder: Lightens the batter, ensuring a tender texture perfect for sinking into that sauce.
- White sugar: Sweetens just enough to balance cocoa’s bitterness while keeping it refined and smooth.
- Pinch of salt: Enhances all the flavors, including the chocolate, by adding a touch of contrast.
- Milk: Brings moisture and richness to the batter without weighing it down.
- Butter: Melted butter adds creaminess and a subtle depth to the overall pudding.
- Egg: Binds everything together while adding tenderness to the cake layer.
- Vanilla extract: A hint of fragrance that rounds out the chocolate flavor with sweet warmth.
How to Make Chocolate Self-Saucing Pudding Recipe
Step 1: Preheat Your Oven Consistently
First things first: set your oven to 170C (335F) if you’re using a standard oven, or 150C (305F) if using a fan-forced/convection one. Warming the oven early ensures even baking right from the get-go.
Step 2: Prepare Your Baking Dish
Grab a 5 to 6 cup baking dish and grease it well with butter to prevent sticking. This step helps the pudding slide out easily and keeps a lovely crust from forming too tightly on the edges.
Step 3: Make the Topping Mixture
In a bowl, whisk together the brown sugar and 1/4 cup of cocoa powder until evenly combined. This mixture will sit on top of the batter before going into the oven and create that signature self-saucing chocolate layer.
Step 4: Combine the Dry Ingredients
In a separate bowl, whisk together plain flour, baking powder, white sugar, 1/4 cup of cocoa powder, and a pinch of salt. Mixing these dry components well ensures even distribution of leavening and chocolate flavor in the batter.
Step 5: Mix the Wet Ingredients
In another bowl or jug, whisk the melted butter and milk until blended. Then add in the egg and vanilla extract, whisking again until the mixture is smooth and glossy. These wet ingredients bring richness and moisture to the pudding.
Step 6: Combine Wet and Dry Mixtures
Pour the wet ingredients into the dry mix and stir gently until just combined. The batter will be thick, which is exactly what you want to create that domed, cakey top.
Step 7: Assemble the Pudding
Spread the batter evenly into the greased baking dish. Then sprinkle the brown sugar and cocoa topping across the surface. Give the dish a gentle shake or tilt to spread the topping evenly, setting the stage for the luscious sauce underneath.
Step 8: Add the Magical Boiling Water
Carefully pour the boiling water over the back of a spoon held just above the batter’s surface to avoid disturbing it. This technique allows the water to gently settle on top and seep down during baking, forming the pudding’s signature sauce.
Step 9: Bake to Perfection
Pop the dish into the preheated oven and bake for about 30 minutes. The pudding is ready once the cake top springs back lightly when poked, with a slightly crusty brown surface reminiscent of your favorite brownies.
Step 10: Serve with Love
After baking, let the pudding stand for just a few minutes but don’t let it sit too long — it’s best enjoyed warm and fresh from the oven when the sauce is at its richest and most tempting.
How to Serve Chocolate Self-Saucing Pudding Recipe
Garnishes
To elevate your Chocolate Self-Saucing Pudding Recipe, consider adding a dollop of whipped cream, a scoop of vanilla ice cream, or even a sprinkle of chocolate shavings or chopped nuts on top. These little extras bring freshness, crunch, or creamy contrast that make each bite unforgettable.
Side Dishes
Although this pudding shines on its own, pairing it with fresh berries or a vibrant berry compote adds a zingy brightness that balances its deep chocolate richness. Alternatively, a simple drizzle of salted caramel sauce can also turn it into a truly indulgent dessert experience.
Creative Ways to Present
For a fun presentation, serve individual portions in ramekins or small ovensafe bowls so each guest has their own personal chocolate delight. You can also sprinkle a bit of edible gold dust or serve it with mint leaves for a fancy touch that impresses at dinner parties.
Make Ahead and Storage
Storing Leftovers
If you happen to have leftovers (which doesn’t happen often!), cover the pudding tightly with plastic wrap or foil and keep it in the refrigerator for up to 3 days. The sauce might thicken a bit, but reheating brings back that gooey magic.
Freezing
This Chocolate Self-Saucing Pudding Recipe can be frozen successfully. Wrap it well in airtight containers or heavy-duty freezer bags. When you want a chocolate treat, thaw overnight in the fridge and warm gently for the best experience.
Reheating
Reheat by placing portions in the microwave for 30-60 seconds or warming the whole dish in the oven at 160C (320F) until heated through. Adding a splash of milk before reheating can revive the sauce’s luscious consistency.
FAQs
What makes a pudding “self-saucing”?
A self-saucing pudding creates its own sauce during baking. In this recipe, the boiling water mixed with sugar and cocoa powder settles beneath the batter while it bakes, turning into a rich chocolate sauce all by itself.
Can I use Dutch-processed cocoa powder instead of natural cocoa?
Yes, but natural unsweetened cocoa powder is preferred because it reacts better with the baking powder for lift and flavor. Dutch-processed cocoa can mellow the taste, so expect a slightly different texture and flavour.
Is it possible to make this pudding gluten-free?
Absolutely! Substitute the plain flour with a gluten-free flour blend designed for baking. Make sure it contains a leavening agent or add a bit more baking powder for the same rise and texture.
Can I prepare the batter ahead of time?
You can mix the batter and keep it in the fridge for up to 24 hours, but it might rise less during baking if left too long. For best results, bake soon after mixing to enjoy the full self-saucing effect.
How do I ensure the boiling water doesn’t disturb the batter?
Pouring the water over the back of a spoon held just above the batter helps gliding the water gently on top without mixing all the layers, which is key to achieving that distinct sauce under the cake.
Final Thoughts
There’s nothing quite like the joy of cutting into a warm, chocolatey pudding that surprises you with a rich sauce beneath its cake-like top. This Chocolate Self-Saucing Pudding Recipe is a timeless comfort dessert that’s easy enough for weeknights yet special enough for celebrations. I can’t wait for you to experience how simple ingredients turn into a luscious treat that will have everyone asking for seconds. So, grab your ingredients, warm up the oven, and treat yourself to this heavenly dessert—you deserve it!