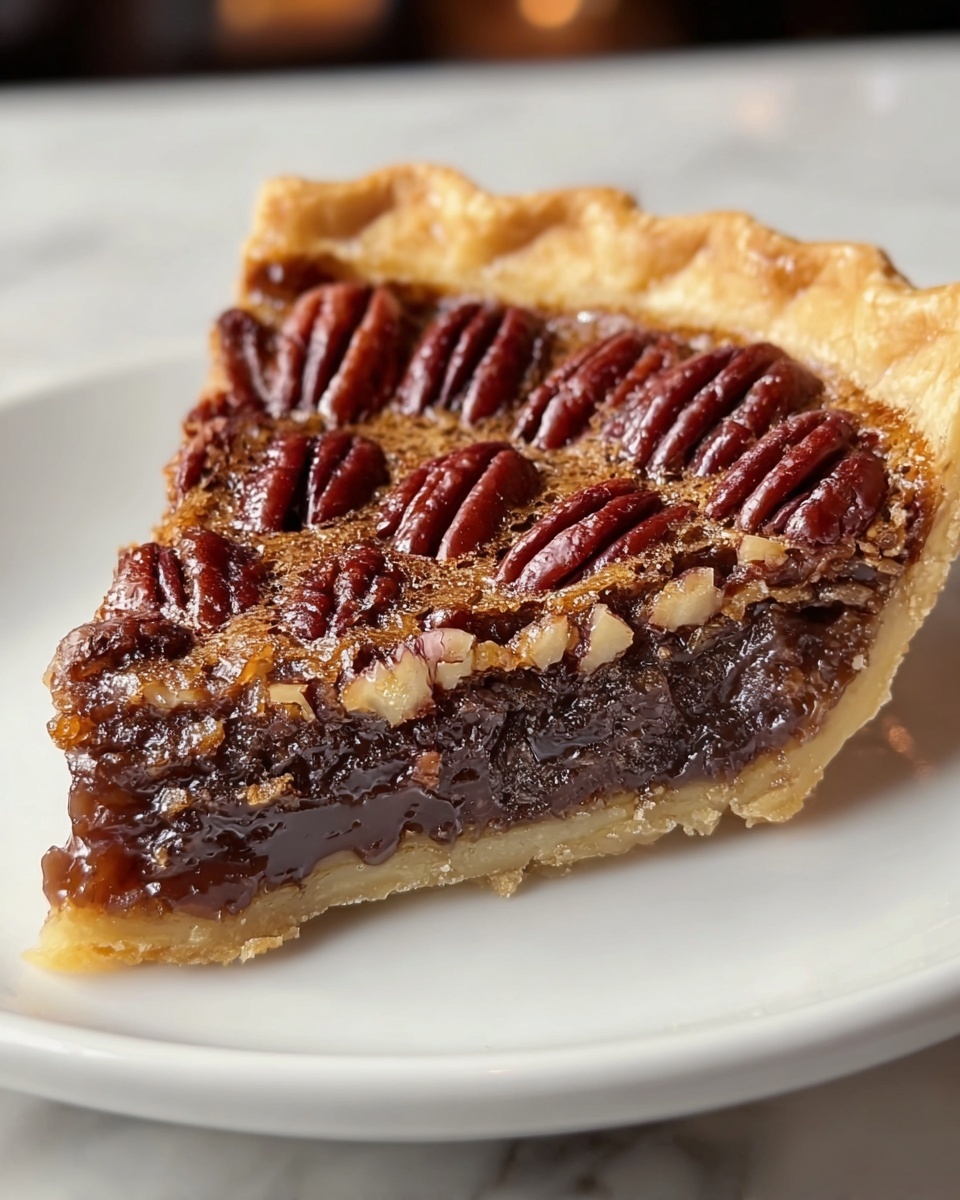
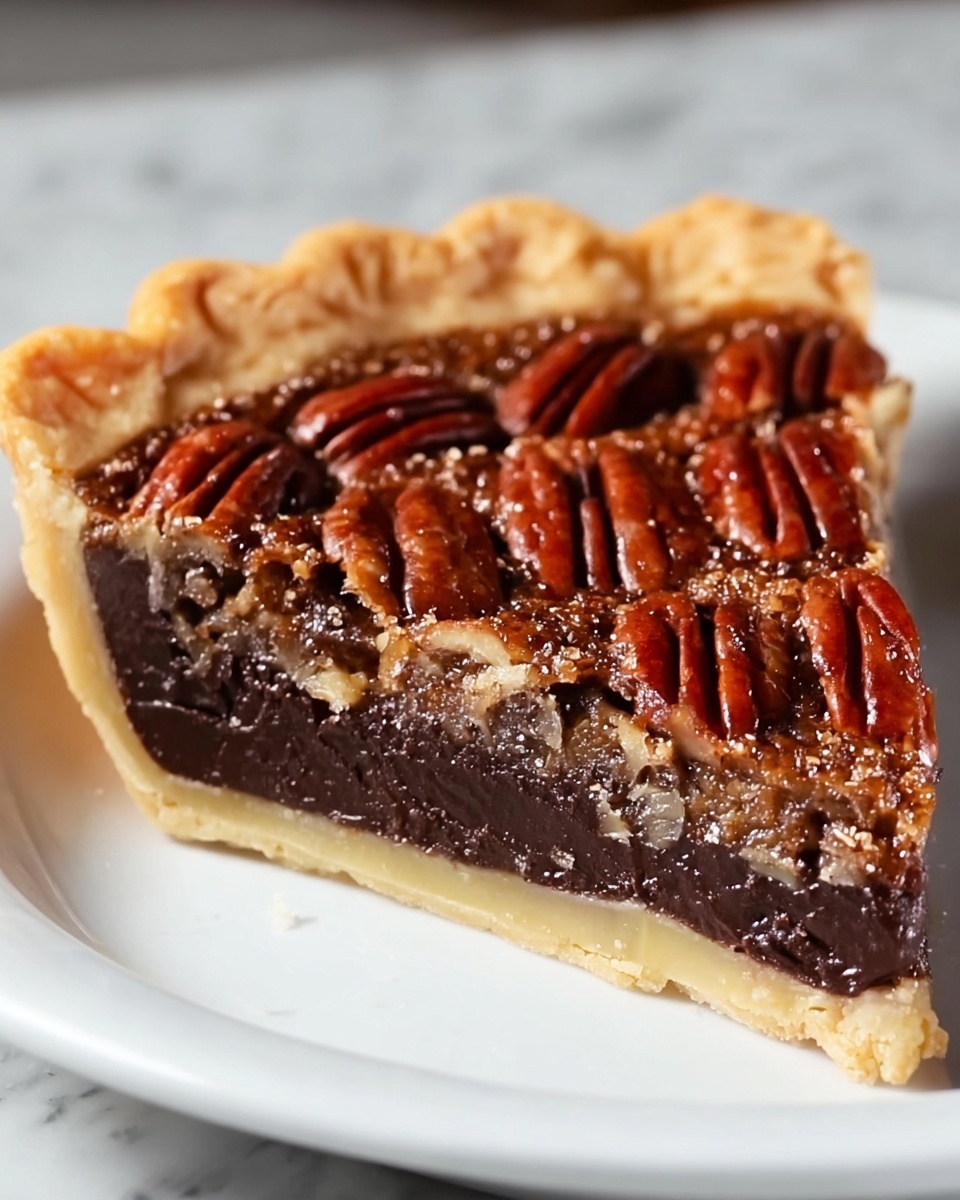
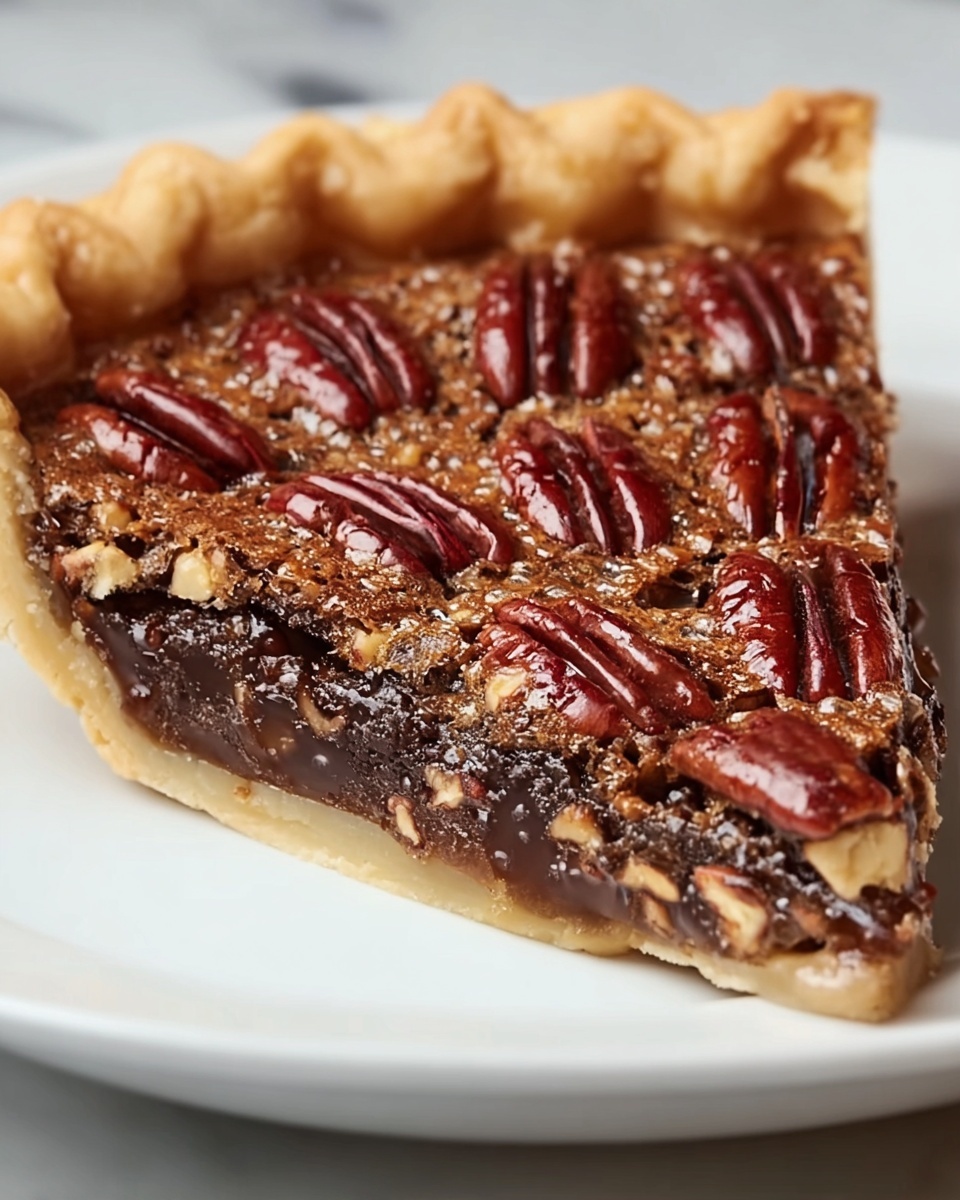
If you have a sweet tooth and a love for rich, nutty desserts, this Chocolate Fudge Pecan Pie Recipe is going to become your new favorite indulgence. Picture a buttery, flaky crust cradling a luscious, fudgy chocolate filling studded with toasted pecans that add the perfect crunch. Every bite is a heavenly blend of deep chocolate, caramel-like sweetness from the corn syrup, and the unmistakable warmth of pecans. It’s not just any pie; it’s a showstopper that’ll transform any gathering into a celebration of flavors you won’t soon forget.
Ingredients You’ll Need
This Chocolate Fudge Pecan Pie Recipe uses simple, pantry-friendly ingredients that come together beautifully to create an irresistible dessert. Each component plays an important role, from the flaky crust to the gooey filling with its nutty topping, ensuring balance in taste and texture.
- 1 ¼ cups all-purpose flour: The foundation for a tender, flaky pie crust that holds everything together.
- ¼ teaspoon salt: Enhances all the flavors, giving a subtle savory balance to the sweet pie.
- 1/3 cup unsalted butter, cold and cubed: The key to flaky layers in the crust and a rich mouthfeel.
- 2-4 tablespoons ice water: Helps bring the dough together without warming the butter, ensuring flakiness.
- 1 cup semi-sweet chocolate chips: Melts into a smooth, decadent chocolate fudge filling.
- ½ cup unsalted butter: Added to the chocolate for extra richness and silkiness.
- 3 large eggs: Binds the filling and provides structure as it bakes.
- 1 cup light corn syrup: Gives the pie its signature chewy, glossy texture and sweet depth.
- 1 cup granulated sugar: Adds sweetness that balances the intense chocolate and nuts.
- 1 teaspoon vanilla extract: Brings warmth and a subtle complexity to the filling.
- ¼ teaspoon salt: Highlights the sweetness and enhances the chocolate flavor.
- 2 cups pecan halves: For that perfect nutty crunch and flavor contrast in every bite.
How to Make Chocolate Fudge Pecan Pie Recipe
Step 1: Prepare the Crust
Begin by creating the crust, as this forms the delicious edge holding all the filling inside. In a food processor, pulse flour and salt together, then add your cold butter cubes. Keep pulsing until the mixture resembles coarse crumbs. Add ice water one tablespoon at a time, pulsing until the dough just starts sticking together. This process ensures that your crust will be beautifully flaky and not tough.
Step 2: Chill the Dough
Once the dough forms, turn it onto a floured surface, shape it into a disk, and wrap it up tightly with plastic wrap. Refrigerating for at least an hour is crucial because it relaxes the gluten and firms up the butter, making the dough easier to roll out and less likely to shrink when baked.
Step 3: Roll Out and Fit the Crust
Preheat your oven to 350°F (175°C). Roll out the chilled dough to a size that fits your 9-inch pie dish, about 12 inches in diameter. Press the dough gently but firmly into the dish and trim the edges neatly. This step ensures your pie base is even and ready to support the luscious filling.
Step 4: Melt the Chocolate and Butter
On the stovetop, melt the unsalted butter and semi-sweet chocolate chips together over low heat, stirring frequently to prevent burning. Once smooth and glossy, remove the mixture from heat. This rich chocolate base gives the pie its characteristic fudgy texture.
Step 5: Mix the Filling
Whisk together eggs, corn syrup, sugar, vanilla extract, and salt in a separate bowl. Slowly pour the melted chocolate mixture into the egg mixture while whisking constantly to blend everything smoothly without scrambling the eggs. This careful combination ensures the filling sets perfectly with a creamy fudge-like consistency.
Step 6: Assemble the Pie
Pour your luscious chocolate filling into the prepared pie crust, spreading it evenly. Then, scatter pecan halves evenly on top, which will toast while baking and add a satisfying crunch to every forkful.
Step 7: Bake to Perfection
Slide the pie into the preheated oven and bake for 45 to 50 minutes. You’ll know it’s done when the filling is set and the top has developed elegant cracks. The texture should be firm but not dry, inviting you to a slice of pure comfort.
Step 8: Cool Completely
Once baked, remove the pie and let it cool fully at room temperature. This waiting period allows the filling to finish setting so your slices come out neat and luscious, perfect for serving.
Step 9: Serve and Enjoy
You can serve this masterpiece on its own to savor every rich bite or dress it up with whipped cream or vanilla ice cream for an extra special treat. Either way, it’s a dessert that will have everyone asking for seconds.
How to Serve Chocolate Fudge Pecan Pie Recipe
Garnishes
Consider lightly whipped cream, a sprinkle of cocoa powder, or a drizzle of caramel sauce to complement the deep chocolate and nutty pecans. Fresh mint leaves add a pop of color and a fresh scent that heightens the appeal of your dessert plate.
Side Dishes
This pie pairs beautifully with simple, light sides such as a scoop of vanilla bean ice cream or a fresh berry compote. These accompaniments introduce refreshing contrasts to the rich, sweet pie and keep your palate energized throughout the dessert experience.
Creative Ways to Present
For extra flair, try serving individual slices on elegant plates with a pecan half perched atop each slice or even make mini tart versions for bite-sized indulgence at holiday parties. Use decorative pie crust edges or a dusting of powdered sugar to make your presentation unforgettable.
Make Ahead and Storage
Storing Leftovers
Wrap any leftover pie tightly with plastic wrap or store it in an airtight container in the refrigerator. It will stay fresh for up to 4 days, making it a great make-ahead dessert that tastes just as good the next day.
Freezing
You can freeze your baked pie by wrapping it well with plastic wrap followed by aluminum foil. When properly stored, it can be frozen for up to 2 months. Thaw overnight in the refrigerator before serving to maintain texture and flavor.
Reheating
To bring back that just-baked warmth, reheat slices in a 350°F oven for about 10-12 minutes. Avoid microwaving too long or the filling may become grainy. A warm slice tastes heavenly with a scoop of ice cream melting on top.
FAQs
Can I use chopped pecans instead of halves?
Absolutely! Chopped pecans distribute more evenly through the pie and can make every bite crunchy, while halves give a bold, decorative look. Both taste wonderful, so it’s a matter of your preference.
Is it possible to make this pie gluten-free?
Yes, you can substitute the all-purpose flour with a gluten-free flour blend designed for baking. The texture might vary slightly but will still be tasty and enjoyable for those avoiding gluten.
Can I prepare the crust and filling ahead of time?
Definitely! You can make the crust a day in advance and keep it refrigerated. The filling can be mixed and stored overnight as well, but it’s best to bake the pie fresh on the day you plan to serve it for optimal texture.
What does the corn syrup do in this recipe?
Corn syrup adds moisture and chewiness to the filling and prevents crystallization of sugar. It helps create that perfect gooey texture characteristic of traditional pecan pies with a fudge chocolate twist.
How do I know when the pie is fully baked?
The pie is ready when the filling is set but still slightly jiggles in the center and the top shows cracks. The edges should be firm to the touch, and a toothpick inserted near the center will come out mostly clean except for a few moist crumbs.
Final Thoughts
There’s nothing quite like the cozy comfort of a homemade pie, especially when it’s this Chocolate Fudge Pecan Pie Recipe that combines all the best flavors in one stunning dessert. Simple to make yet richly impressive, it’s perfect for both holiday gatherings and everyday treats. I can’t wait for you to try it and fall in love with its fudgy, nutty goodness just like I have!