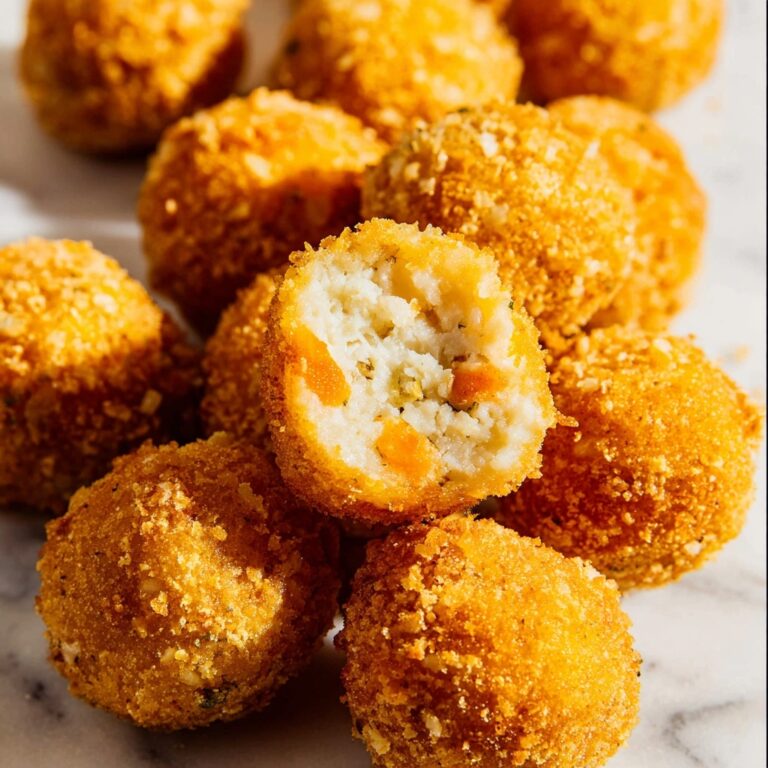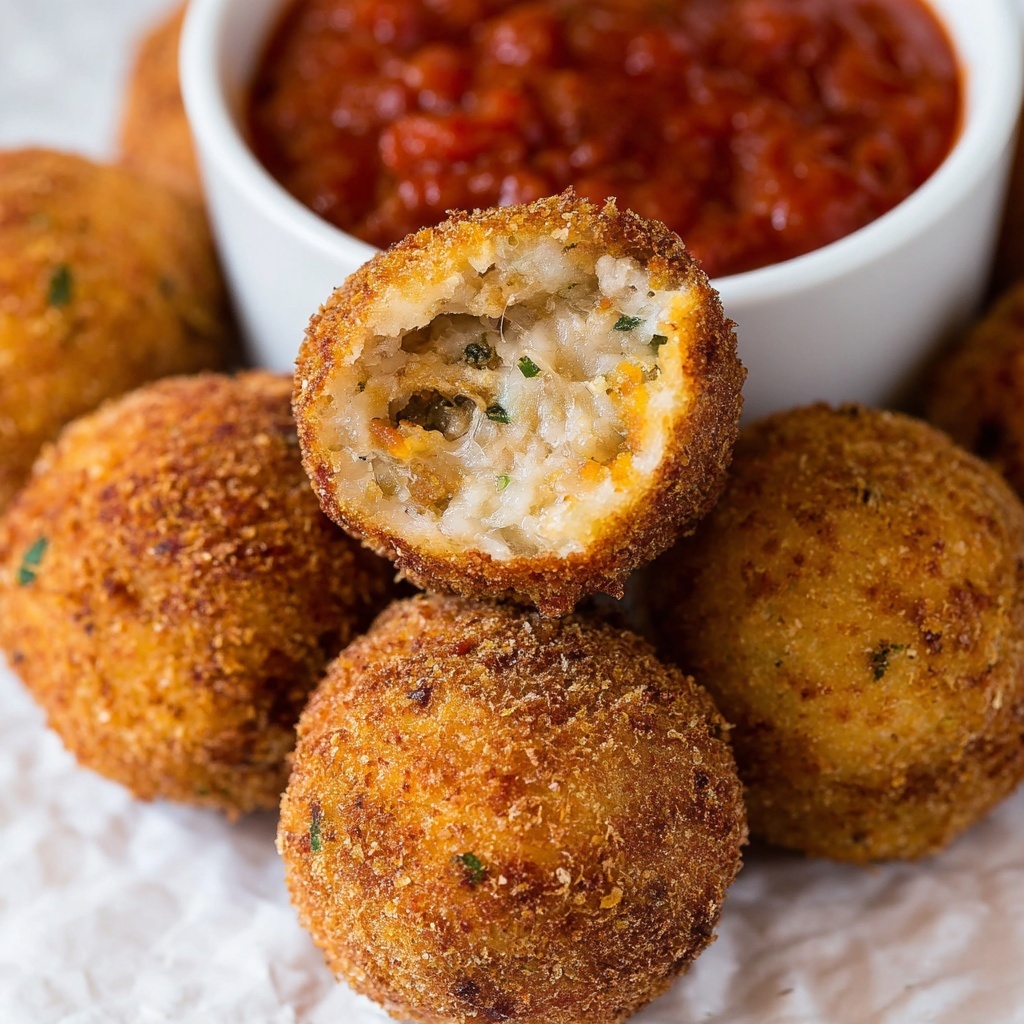
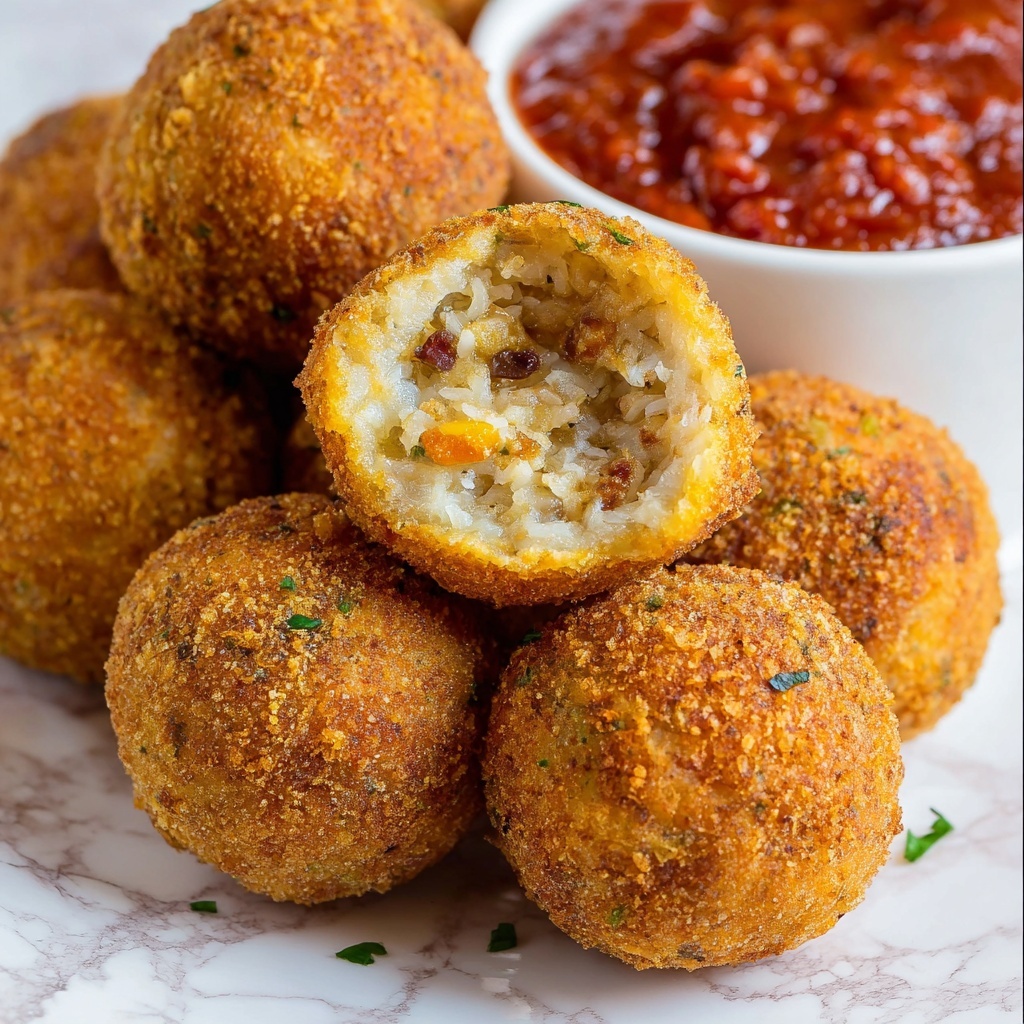
If you love the nostalgic comfort of a classic tuna melt but want to jazz it up with a fun, bite-sized twist, then this Cheesy Tuna Melt Balls Recipe is exactly what your taste buds have been waiting for. Imagine golden, crispy on the outside, tender, and packed with creamy tuna and sharp cheddar cheese on the inside—each ball bursting with flavor and perfect for parties, snacks, or a delightful meal. This recipe delivers a perfect balance of cheesy goodness and savory tuna with a crispy coating that will leave you craving more.
Ingredients You’ll Need
These ingredients might be simple, but trust me, each one plays an essential part in building the incredible taste, texture, and vibrant look of these cheesy tuna balls. From the sharpness of cheddar to the freshness of parsley, they all come together to create pure magic.
- 4 cans tuna in water (drained): The star protein of the dish, providing moisture and that classic flavor base.
- 1 1/4 cups bread crumbs (divided): Adds crucial binding and a crispy crust when frying, plus a lovely golden color.
- 1 tablespoon garlic powder: Gives a subtle pungency that deepens every bite.
- 1 tablespoon onion powder: Complements the garlic with a sweet, savory depth.
- 1/4 teaspoon kosher salt: Enhances all the natural flavors and balances the seasoning.
- 1/4 teaspoon ground black pepper: Adds a mild kick without overpowering the delicate tuna.
- Zest of 1 lemon (optional): Brightens the mixture with a fresh citrus aroma and light tang.
- 2 tablespoons fresh parsley (chopped): For a burst of color and a fresh herbal note.
- 2 large eggs (beaten): Acts as the perfect binder to hold everything together.
- 1 1/2 cups shredded cheddar cheese: Brings that essential gooey, melty cheesiness that makes these balls irresistible.
- 1/3 cup mayo: Adds creaminess and helps keep the tuna mixture moist.
- Vegetable oil for frying: Ensures a crisp, golden crust with a neutral flavor that doesn’t compete.
How to Make Cheesy Tuna Melt Balls Recipe
Step 1: Prepare Your Coating
Start by placing 1 cup of bread crumbs into a medium bowl and set it aside. This will be the coating that gives your tuna balls that perfect crunchy outer texture once fried.
Step 2: Drain the Tuna
Open all four cans of tuna and carefully drain them in a colander to remove excess water. Properly draining the tuna is so important to avoid soggy balls and to help the mixture bind well.
Step 3: Mix the Tuna Base
Transfer the drained tuna into a large mixing bowl. Add 1/4 cup bread crumbs, garlic powder, onion powder, kosher salt, black pepper, and the optional lemon zest. Then toss in the freshly chopped parsley, the two beaten eggs, shredded cheddar, and mayo. Use a spatula or your hands to fold everything together until well combined. This mixture should be moist yet firm enough to shape.
Step 4: Form the Tuna Melt Balls
Using a cookie scoop or a tablespoon, scoop out portions of the mixture and drop each into the prepared bread crumbs. Roll the scoop gently to coat every side evenly, forming smooth balls about the size of golf balls. Place each on a cutting board or plate, leaving a bit of space between them.
Step 5: Chill for Stability
Pop your perfectly rolled tuna balls into the refrigerator for at least one hour. This chilling process is a game-changer because it helps the balls hold their shape during frying, preventing them from falling apart in the hot oil.
Step 6: Fry to Golden Perfection
Heat vegetable oil in a deep frying pan over medium heat. Once hot, carefully add the tuna balls in batches, frying them for about 3-4 minutes on each side or until they are beautifully golden and crispy. Use a slotted spoon to transfer them to a paper towel-lined plate to drain any excess oil. Trust me when I say the crispy crust combined with the cheesy interior is the ultimate combo.
How to Serve Cheesy Tuna Melt Balls Recipe

Garnishes
Sprinkle some finely chopped fresh parsley or chives on top of the balls just before serving. A light drizzle of lemon aioli or a dollop of tangy ketchup on the side can also enhance the flavors and add that vibrant touch everyone loves.
Side Dishes
These tuna melt balls pair wonderfully with fresh garden salads, crunchy coleslaw, or even crispy sweet potato fries. They also shine alongside a creamy cucumber yogurt dip or a zesty marinara sauce for dipping.
Creative Ways to Present
Turn these into the star of any party by serving them on wooden skewers with alternating cherry tomatoes and small mozzarella balls. Or arrange them on a platter with mini slider buns for a playful finger-food twist. The possibilities are endless and as fun as you want them to be!
Make Ahead and Storage
Storing Leftovers
If you happen to have leftovers (though they might disappear fast), store them in an airtight container in the refrigerator. They’ll stay fresh for up to 3 days, maintaining their flavor and texture well.
Freezing
You can freeze the uncooked tuna balls by placing them on a baking sheet lined with parchment paper, freezing until solid, and then transferring them to a freezer-safe bag. They keep best for up to 2 months and are perfect to have on hand for a quick snack fix.
Reheating
To reheat, bake the frozen tuna balls in a preheated oven at 375°F (190°C) for 12-15 minutes or until heated through and crisp again. This method avoids sogginess that happens with microwaving and keeps them deliciously crunchy.
FAQs
Can I use canned salmon instead of tuna for this recipe?
Absolutely! Canned salmon works just as well and provides a slightly different but equally delicious flavor profile. Just make sure to drain it thoroughly like the tuna.
What can I use instead of mayo in the Cheesy Tuna Melt Balls Recipe?
If you prefer to avoid mayo, Greek yogurt or sour cream make great substitutes to add moisture and a slight tangy creaminess to the balls.
Is it possible to bake these instead of frying?
Yes, baking is a healthier alternative! Arrange the balls on a greased baking sheet and bake at 400°F (200°C) for 15-18 minutes, turning halfway through until golden and cooked through.
Can I make these gluten-free?
Definitely. Use gluten-free bread crumbs and ensure your seasonings and additives don’t contain gluten. The flavor will be just as amazing!
How long can I refrigerate the tuna mixture before forming the balls?
It’s best to form the balls right after mixing or within a few hours. The mixture can hold overnight in the fridge, but the texture might change slightly, so shorter is better.
Final Thoughts
If you’ve been searching for a fresh, fun twist on a beloved classic, the Cheesy Tuna Melt Balls Recipe is your new go-to. It’s simple to make, packed with flavor, and versatile enough to dress up or down for any occasion. Give this recipe a try and watch how fast these little golden bites disappear — your friends and family will be asking for seconds in no time!