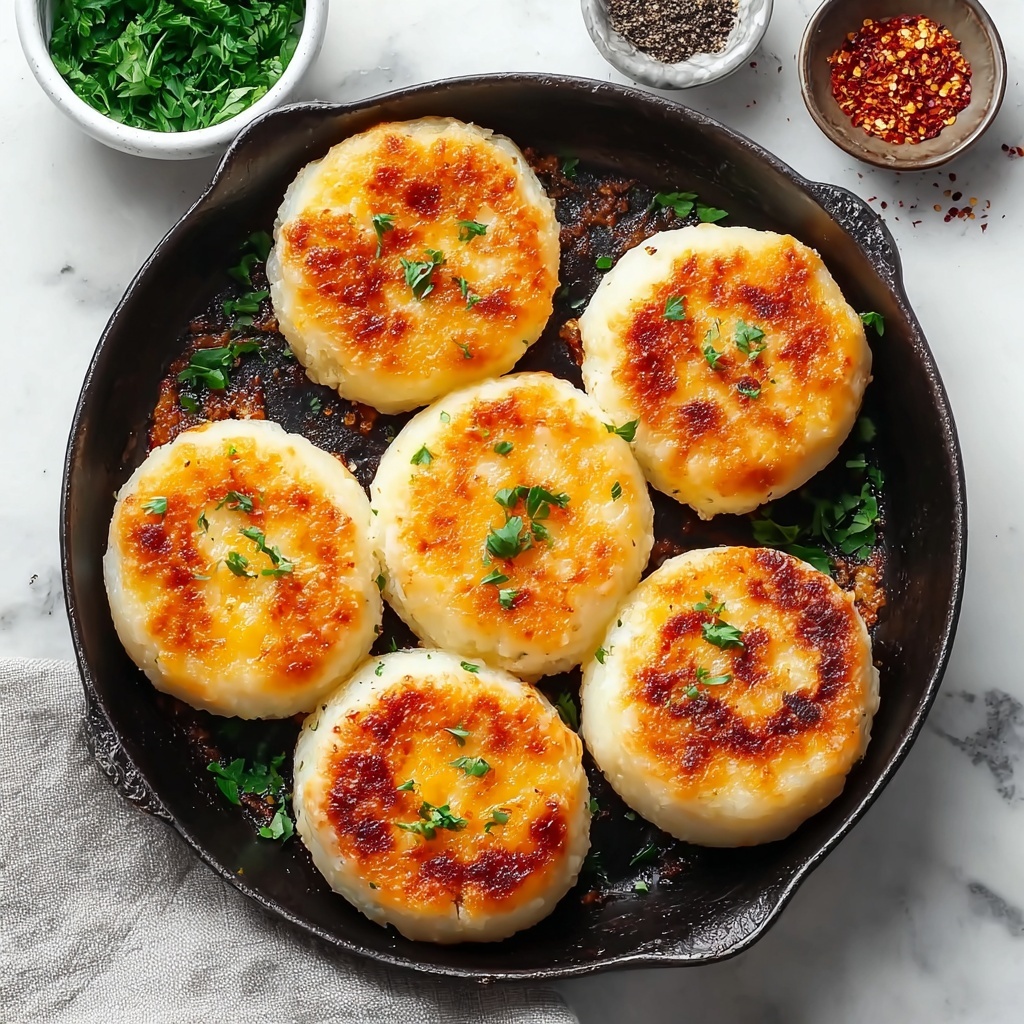
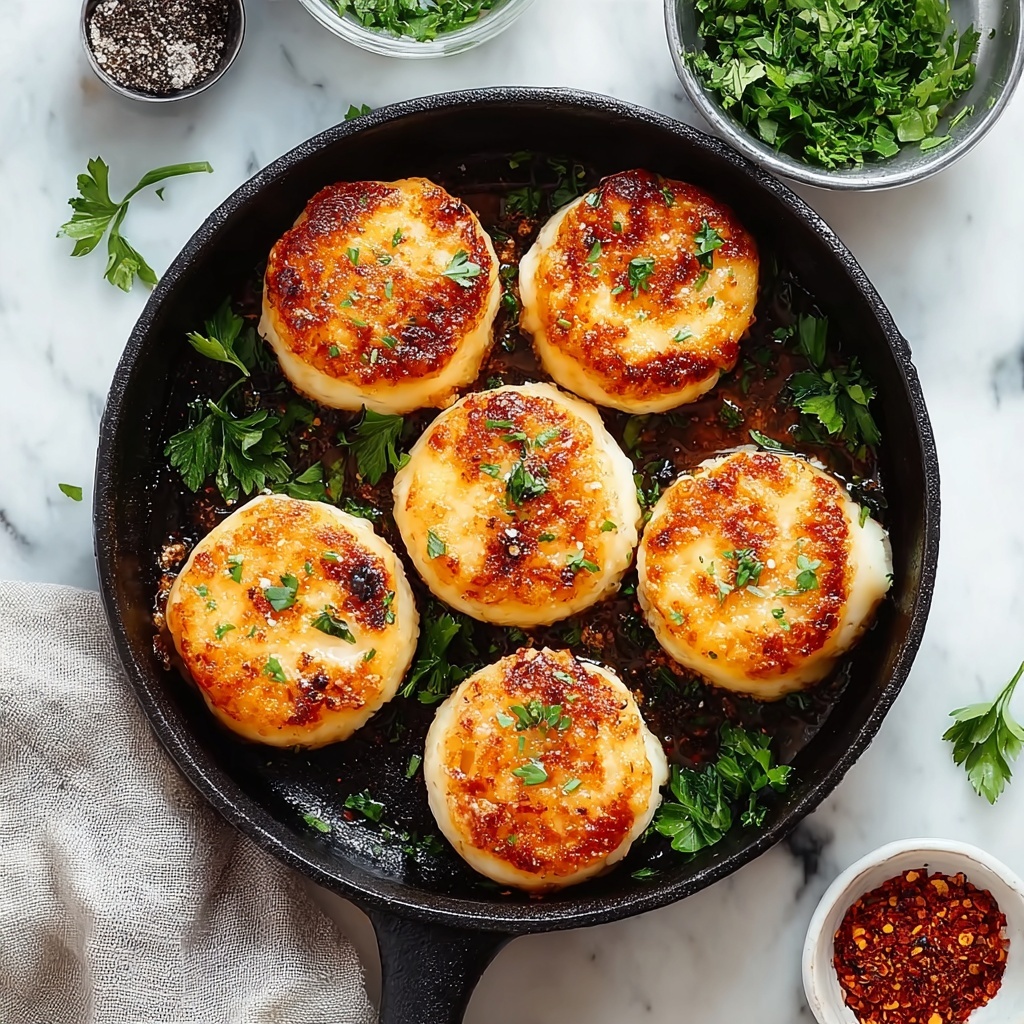
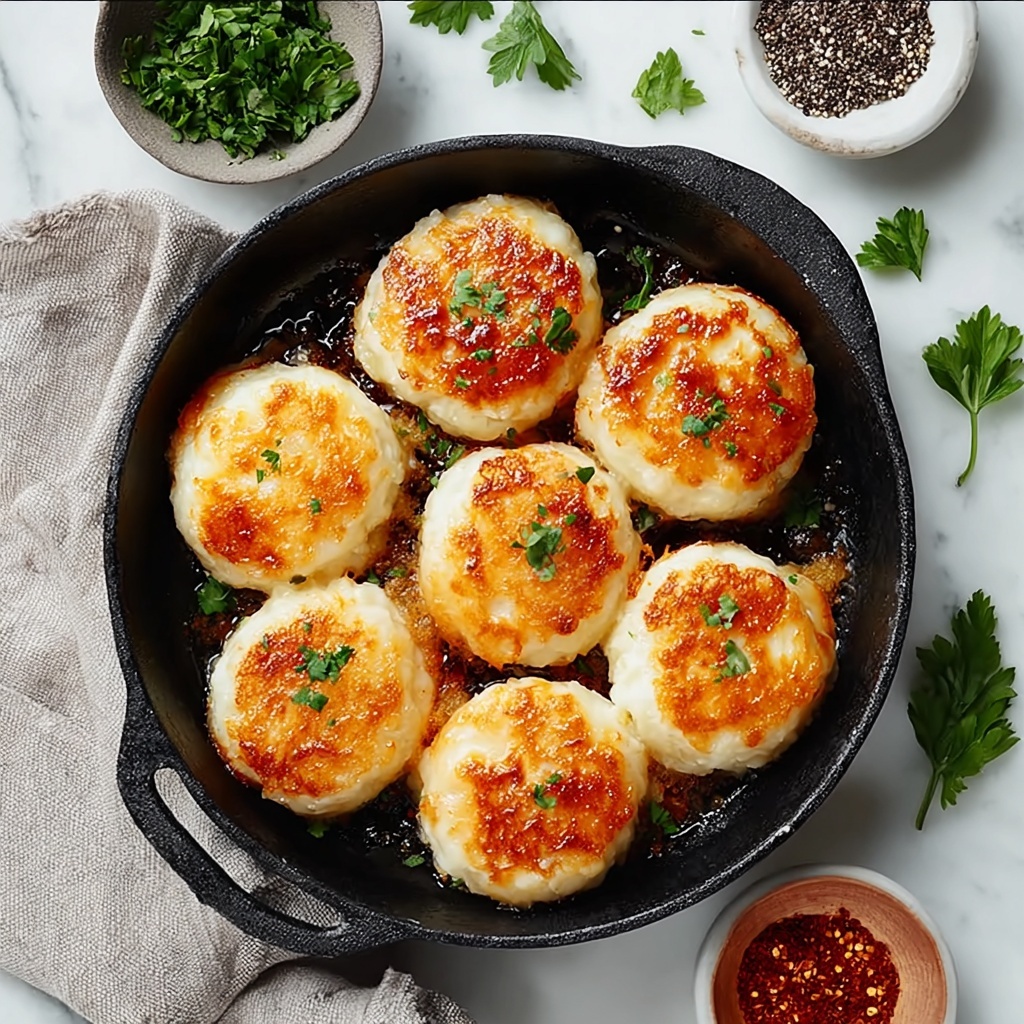
If you are ready to elevate your comfort food game, then you are going to love this Cheesy Mashed Potato Puffs Recipe. These little golden bites are perfectly crisp on the outside and irresistibly creamy inside, packed with the cozy flavors of mashed potatoes and melty cheese. They make a delightful snack, appetizer, or side dish that can win over everyone at the table. Trust me, once you try this recipe, these puffs will become an instant favorite in your kitchen rotation.
Ingredients You’ll Need
The beauty of this recipe lies in its simplicity and the quality of each ingredient that comes together to create a truly delicious dish. Every ingredient is essential, creating the perfect balance of flavor, richness, and texture in your Cheesy Mashed Potato Puffs Recipe.
- Mashed potatoes: Use smooth, creamy mashed potatoes for the best fluffiness in each puff.
- Shredded cheese: Sharp cheddar or your favorite cheese adds depth of flavor and gooey texture.
- Butter: Adds richness and helps bind the ingredients smoothly.
- Milk: Keeps the mixture moist and creamy without being too runny.
- Eggs: Act as a binder to hold the puffs together during baking.
- Salt and pepper: Essential for seasoning and bringing out the savory flavors.
How to Make Cheesy Mashed Potato Puffs Recipe
Step 1: Preheat Your Oven
Start by preheating your oven to 400°F (200°C). This temperature is perfect for getting that golden-brown crispness on the outside of the potato puffs while keeping the inside soft and cheesy.
Step 2: Combine the Ingredients
In a large mixing bowl, toss together the mashed potatoes, shredded cheese, butter, milk, eggs, salt, and pepper. This step is where the magic begins by mixing all these simple ingredients into one harmoniously rich mixture.
Step 3: Mix Until Smooth
Whisk or stir everything thoroughly until you have a uniform batter. Make sure the cheese is evenly distributed so every puff gets that delicious cheesy goodness.
Step 4: Prepare Your Muffin Tin
Lightly grease a mini muffin tin using cooking spray or butter. This ensures your potato puffs don’t stick and come out perfectly formed after baking.
Step 5: Fill the Muffin Cups
Spoon the mashed potato mixture into each muffin cup, filling them up almost to the top but leaving a little space for expansion. This helps the puffs bake evenly and maintain a nice shape.
Step 6: Bake to Perfection
Pop the tin into your preheated oven and bake for about 20 to 25 minutes. Watch for a beautiful golden brown color on top and edges. That’s your cue that the puffs are set and ready.
Step 7: Cool and Remove the Puffs
Once baked, let the puffs cool slightly for a few minutes. Then, carefully run a knife around the edges of each muffin cup to loosen the puffs. Using a spoon helps you gently lift them out without breaking.
Step 8: Serve Warm and Enjoy
Serve these fabulous Cheesy Mashed Potato Puffs Recipe warm for the best texture and taste. They are wonderful as a snack or an accompaniment to your favorite main dishes.
How to Serve Cheesy Mashed Potato Puffs Recipe
Garnishes
A sprinkle of fresh chopped herbs like parsley or chives adds a beautiful pop of color and a fresh taste that contrasts perfectly with the creamy cheese and potatoes. You can also add a light dusting of paprika or cracked black pepper for an extra touch of flavor.
Side Dishes
Cheesy Mashed Potato Puffs make a versatile side dish. Pair them with grilled chicken, roasted vegetables, or a crisp salad for a balanced and satisfying meal. Their rich texture complements anything from a juicy steak to a hearty soup.
Creative Ways to Present
For parties, serve the puffs on a platter with a variety of dipping sauces like sour cream, spicy aioli, or sweet chili sauce to delight your guests. You can even stuff the puffs with extra cheese or cooked bacon bits before baking to add an unexpected burst of flavor and surprise.
Make Ahead and Storage
Storing Leftovers
If you have any leftover Cheesy Mashed Potato Puffs Recipe, store them in an airtight container in the refrigerator. They will stay fresh and delicious for up to 3 days, ready to be enjoyed as a quick snack or side.
Freezing
For longer storage, freeze the cooled puffs in a single layer on a baking sheet until firm, then transfer them to a freezer-safe bag or container. This way, they can last for up to 2 months. When you want a quick treat, just reheat directly from frozen.
Reheating
To bring your saved puffs back to life, warm them in a preheated oven at 350°F (175°C) for 10-15 minutes. This helps retain their crisp exterior while reheating the cheesy, creamy interior to perfection.
FAQs
Can I use instant mashed potatoes for this recipe?
Absolutely! Instant mashed potatoes will work fine, especially if you prefer a quicker prep time. Just make sure they are creamy and not too dry to keep the puffs from becoming crumbly.
What type of cheese is best for the puffs?
Sharp cheddar is a classic choice because it melts well and adds a nice tangy flavor. However, feel free to experiment with mozzarella, gouda, or a combination of cheeses for different flavors and textures.
Can I add other ingredients to the potato mixture?
Yes! You can mix in finely chopped cooked bacon, green onions, or even some sautéed mushrooms to personalize your cheesy mashed potato puffs.
Are these puffs gluten-free?
Since the recipe doesn’t include any flour, the puffs are naturally gluten-free, making them a great option for those with gluten sensitivities. Just double-check any added ingredients like cheese and cooking spray to be sure.
What can I serve these puffs with?
They pair wonderfully with roasted meats, grilled vegetables, or a crisp garden salad. They also work well as party appetizers with dips like ranch or spicy ketchup.
Final Thoughts
There’s something so comforting and satisfying about this Cheesy Mashed Potato Puffs Recipe. Whether you’re making a cozy family dinner or want to impress guests with an easy appetizer, these puffs deliver every time. I encourage you to give this recipe a try—you’ll be amazed at how such simple ingredients can come together to create something truly special. Enjoy the smiles and compliments that follow!