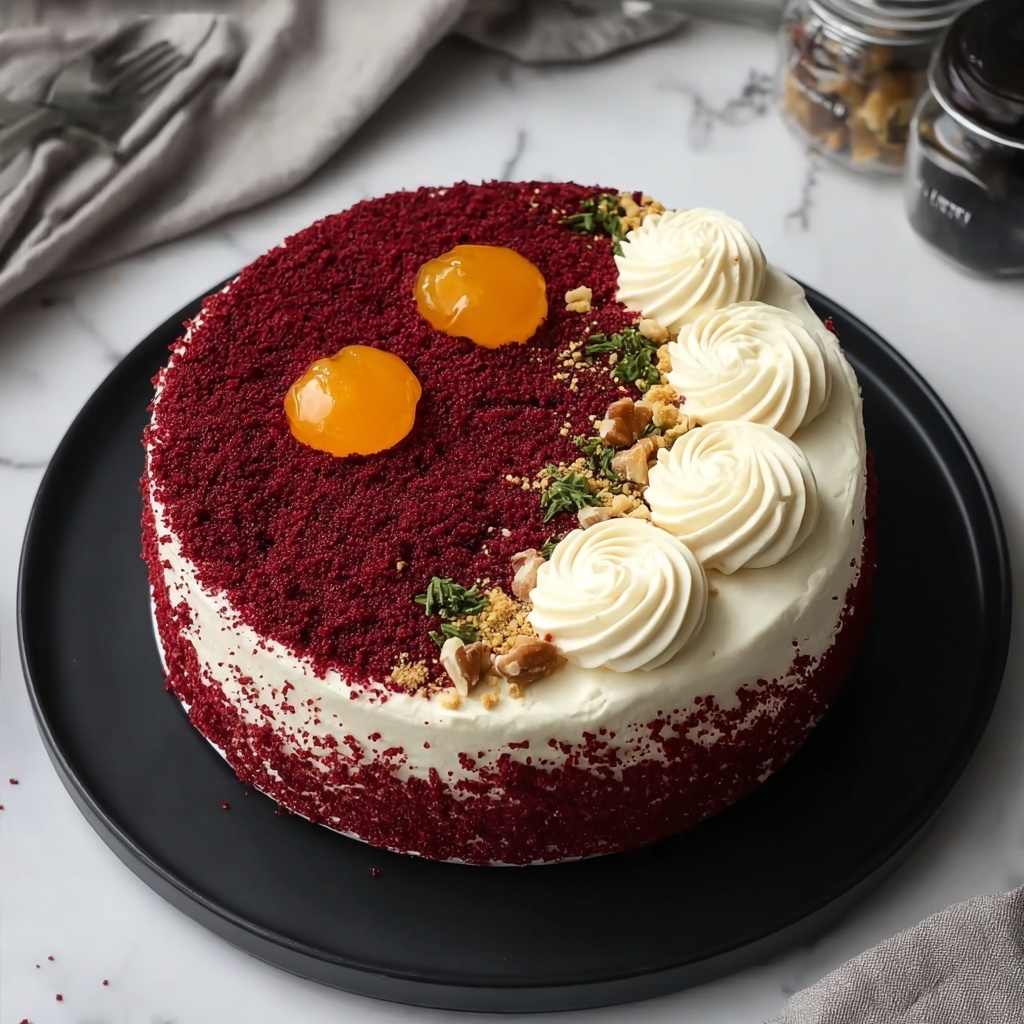
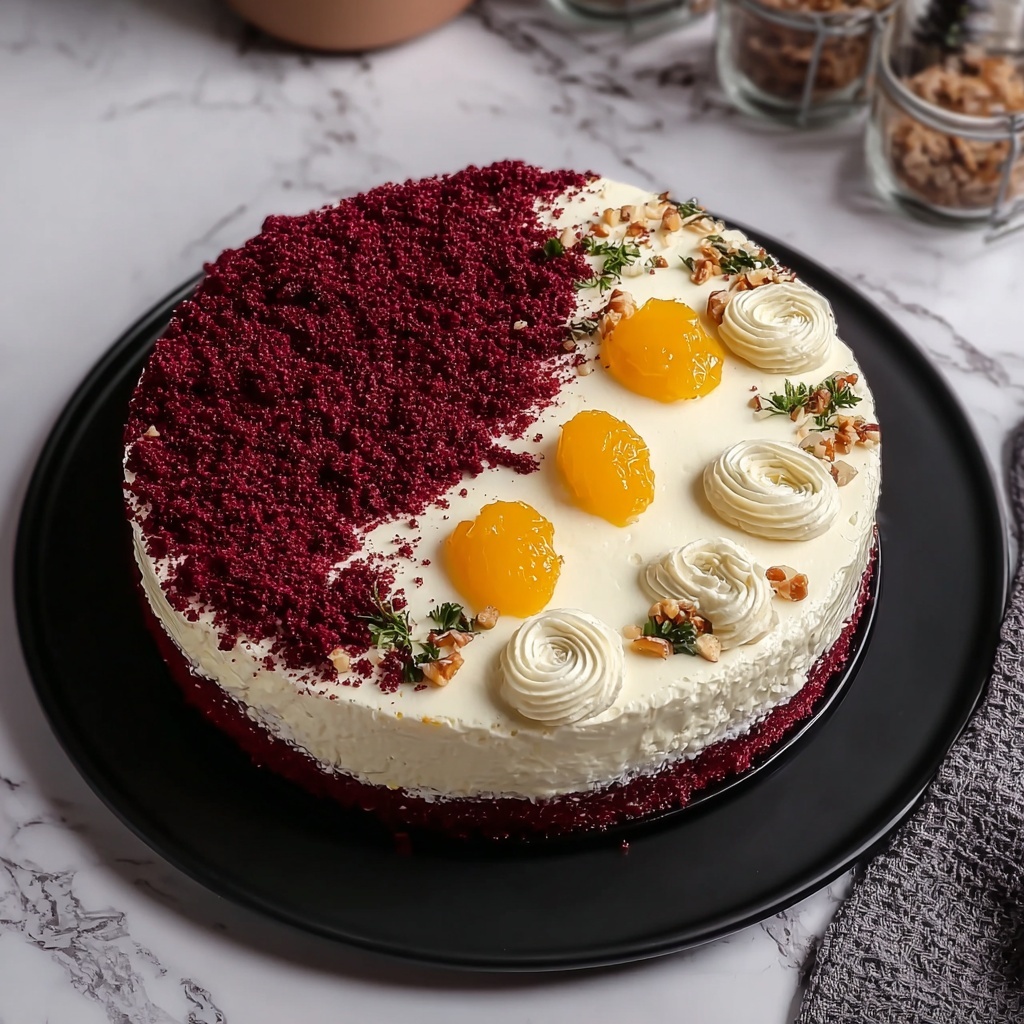
If you’re looking for a show-stopping dessert that combines a visually stunning hue with a delicate, tender crumb and a luscious velvety tang, this Red Velvet Cake with Cream Cheese Frosting Recipe is exactly what you need. It’s a classic that never fails to bring smiles, with its deep red layers perfectly complemented by the creamy, slightly tangy frosting. Every bite is a dreamy balance of sweetness, softness, and just the right hint of cocoa, making it a beloved treat for special occasions or whenever you want to brighten your day.

Ingredients You’ll Need
Getting the ingredients right is key to nailing this Red Velvet Cake with Cream Cheese Frosting Recipe. Each addition plays a crucial role: some for texture, others for flavor, and of course, that iconic color that makes this cake unforgettable.
- All-purpose flour: The foundation of the cake, providing structure and an irresistible crumb.
- Baking powder and baking soda: These leavening agents work together to make the cake light and fluffy.
- Salt: Enhances all the flavors, balancing sweetness perfectly.
- Cocoa powder: Adds a subtle chocolate undertone to deepen the flavor.
- Granulated sugar: Sweetens the batter and contributes to the cake’s moisture.
- Buttermilk: Gives the cake its signature tender texture and helps activate the baking soda.
- Vegetable oil: Keeps the cake moist and soft.
- Large eggs: Bind everything together and add richness.
- Red food coloring: Creates the vibrant, eye-catching color that’s the cake’s trademark.
- Vanilla extract: Adds a warm, aromatic note enhancing overall flavor.
- White vinegar: Reacts with baking soda to help the cake rise and adds a subtle tang.
- Cream cheese: The star ingredient in the frosting, providing tangy creaminess.
- Unsalted butter: Adds richness and helps achieve that smooth frosting texture.
How to Make Red Velvet Cake with Cream Cheese Frosting Recipe
Step 1: Prepare Your Pans and Oven
Start by preheating your oven to 350°F (175°C). Greasing and lightly flouring your cake pans creates the perfect non-stick surface, helping your beautiful red velvet layers come out flawlessly every time.
Step 2: Mix the Dry Ingredients
In a medium bowl, sift together the flour, baking powder, baking soda, salt, and cocoa powder. This ensures your batter will be perfectly smooth and free from lumps, resulting in a tender crumb that’s just right.
Step 3: Blend the Wet Ingredients
In a large bowl, whisk together sugar, buttermilk, vegetable oil, and eggs until everything is fully incorporated and silky smooth. This combination is what gives your cake its moist, tender quality.
Step 4: Add Color and Flavor
Stir in the red food coloring and vanilla extract—two ingredients that give the cake its signature appearance and rich flavor. Mixing them evenly ensures a vibrant, consistent color throughout.
Step 5: Combine Wet and Dry Mixtures
Gradually add the dry ingredients into the wet bowl, folding gently until the batter is smooth and no flour streaks remain. Be careful not to overmix, or you might lose some of that wonderful lightness.
Step 6: Activate the Rise
Adding white vinegar at this stage ignites a little magic with the baking soda, helping your cake layers to rise beautifully and stay tender and fluffy.
Step 7: Share the Batter Between Pans
Divide the batter evenly between your prepared pans, smoothing it out so each layer bakes uniformly and looks picture perfect.
Step 8: Bake Until Perfect
Bake your layers for 25 to 30 minutes, or until a toothpick inserted into the center comes out clean. This ensures the cake is cooked through but still moist and tender.
Step 9: Cool Before Frosting
Allow your cake layers to cool in their pans briefly before turning them out onto a wire rack to cool completely. This step is crucial for the frosting to spread smoothly without melting.
Step 10: Make the Cream Cheese Frosting
Beat cream cheese and butter together until silky and creamy. This buttery tangy mix is what sets this frosting apart, making it insanely good.
Step 11: Sweeten and Whip
Gradually add powdered sugar and beat until fluffy. The final frosting is luscious and light, perfectly balancing the cake’s richness.
Step 12: Frost the First Layer
Place one cooled cake layer on a plate and generously spread frosting on top, smoothing it out to the edges. This creates a soft, delicious cushion for the next layer.
Step 13: Add the Second Layer
Gently place the second cake layer on top and press lightly, securing the layers together without squishing the frosting out.
Step 14: Cover the Cake in Frosting
Apply a thick, even layer of frosting on the top and sides, smoothing it out evenly. This is your chance to create that signature polished look that makes this cake irresistible.
Step 15: Chill to Set
Refrigerate the cake for about 30 minutes to let the frosting firm up before slicing. A nicely chilled cake cuts clean and looks beautiful on the plate.
Step 16: Serve and Enjoy
Now comes the best part. Slice into your masterpiece and enjoy the joyful blend of tender, moist cake with creamy, tangy frosting that makes this Red Velvet Cake with Cream Cheese Frosting Recipe such a classic.
How to Serve Red Velvet Cake with Cream Cheese Frosting Recipe
Garnishes
Fresh garnishes can elevate the appearance and flavor of your red velvet cake. Think bright red berries, a sprinkle of finely chopped pecans, or even edible rose petals for a stunning presentation that matches the cake’s elegance.
Side Dishes
Pair this cake with light accompaniments like a dollop of whipped cream, fresh fruit slices, or a simple cup of coffee or tea to balance the richness and make your dessert moment extra special.
Creative Ways to Present
Try serving the cake as individual mini trifle jars layered with extra frosting and berries for a fun twist, or create red velvet cupcakes using the same recipe when you want a portable version of this luscious treat.
Make Ahead and Storage
Storing Leftovers
Once frosted, keep the cake covered in the refrigerator to preserve freshness and prevent the frosting from drying out. Properly stored, it stays delightful for up to 4 days.
Freezing
You can freeze unfrosted cake layers wrapped tightly in plastic wrap and then foil for up to 3 months. Thaw completely before frosting for the best texture and taste.
Reheating
This cake is best enjoyed chilled or at room temperature. If you prefer it slightly warm, allow a slice to sit briefly at room temp—avoid microwaving to preserve the frosting’s creamy texture.
FAQs
Can I use regular milk instead of buttermilk?
While regular milk can be substituted, buttermilk’s acidity is important in activating the baking soda and giving the cake its tender crumb and slight tang. You can make a buttermilk substitute by adding a tablespoon of vinegar or lemon juice to a cup of milk and letting it sit for 5 minutes.
Is red food coloring necessary?
The red food coloring gives red velvet cake its iconic color, but if you prefer less artificial ingredients, natural options like beet juice can work. Just keep in mind the color might be less vibrant.
Why is vinegar added to the batter?
The vinegar reacts with baking soda to create carbon dioxide bubbles that help the cake rise and become fluffy. It also enhances the cake’s slight tangy flavor that pairs beautifully with the cream cheese frosting.
How do I get a smooth cream cheese frosting?
Ensure the cream cheese and butter are room temperature before beating. Beat them thoroughly to a creamy consistency before slowly adding the powdered sugar, then whip at high speed until fluffy for that silky finish.
Can I make this cake gluten-free?
Yes, by substituting the all-purpose flour with a gluten-free baking blend designed for cakes, you can enjoy this Red Velvet Cake with Cream Cheese Frosting Recipe gluten-free. Just check that all other ingredients are gluten-free as well.
Final Thoughts
This Red Velvet Cake with Cream Cheese Frosting Recipe is truly a treasure to have in your baking repertoire. The vibrant color, tender crumb, and irresistibly creamy frosting come together in a way that feels both classic and comforting. Whether you make it for a celebration or just because, it’s sure to become a favorite go-to dessert that brings joy every time. Give it a try and watch it disappear fast!