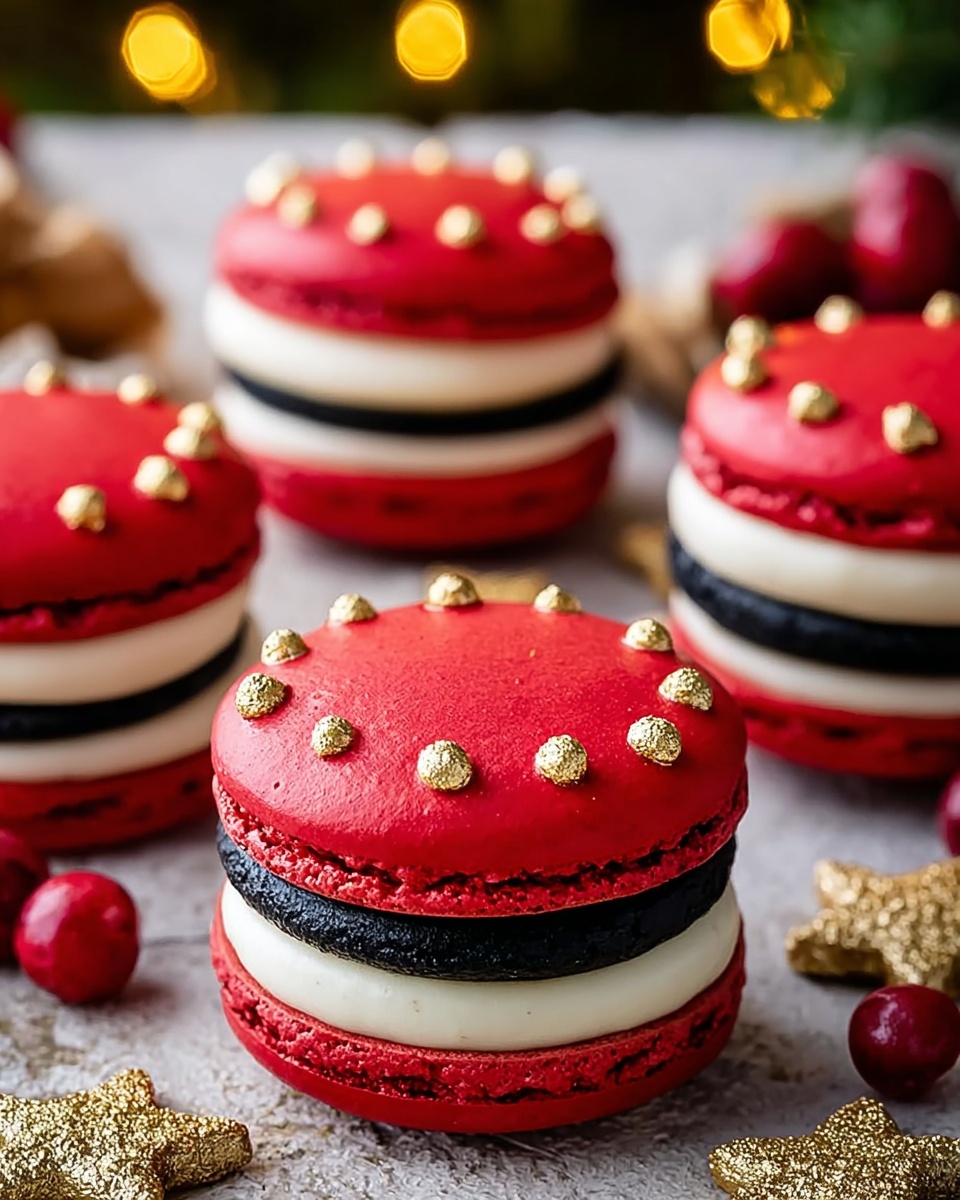
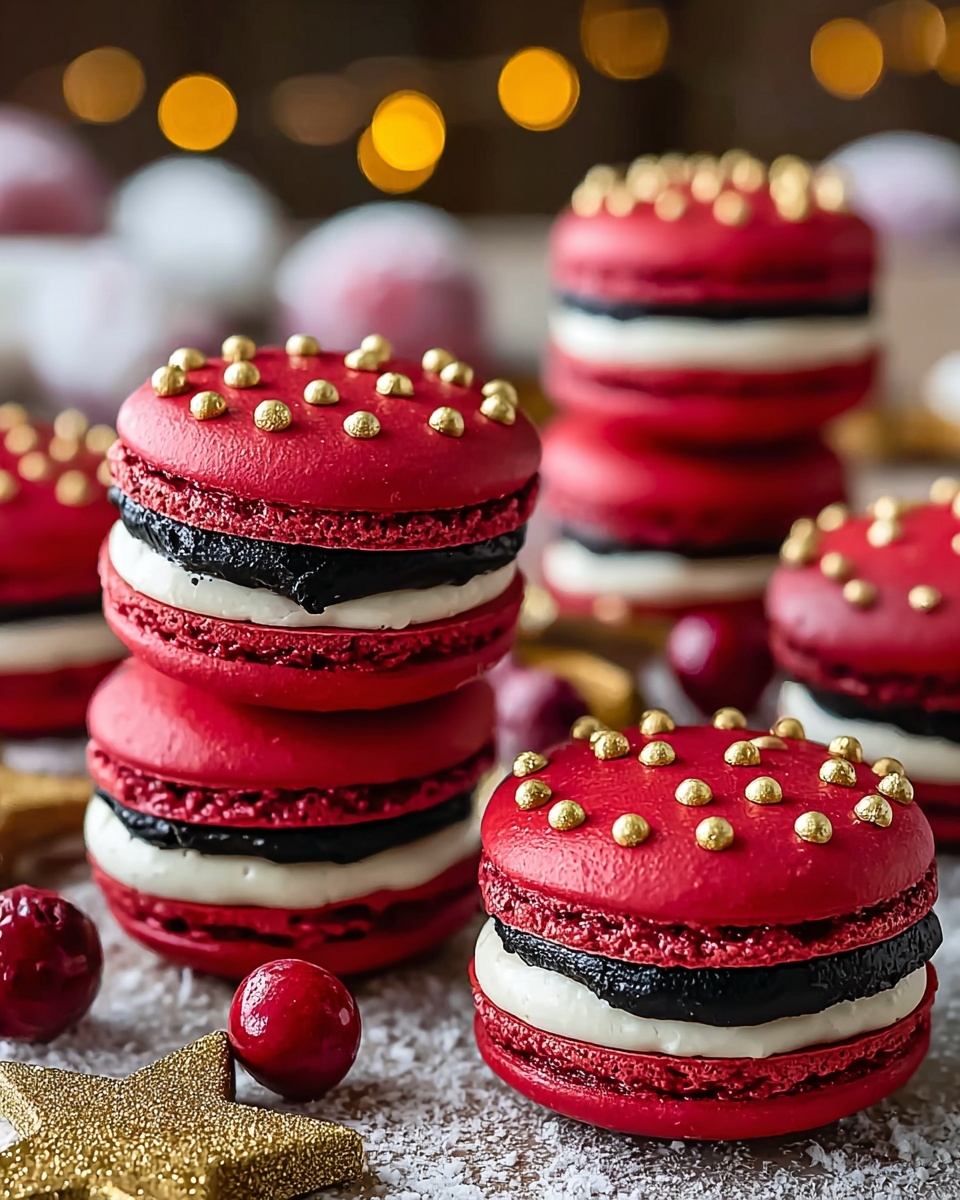
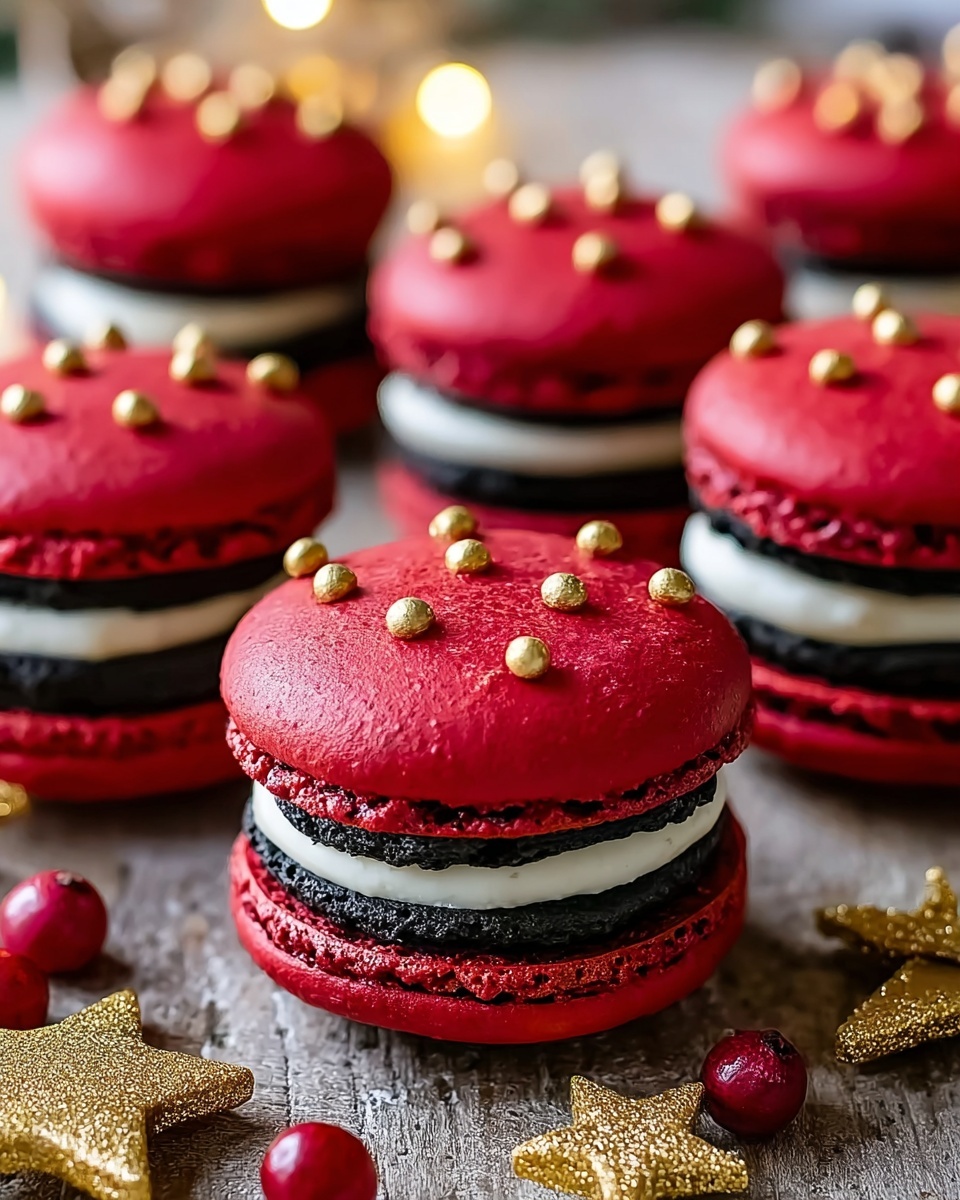
If you’re dreaming of a festive treat that dazzles both in taste and appearance, look no further than the Santa Claus Macarons Recipe. These charming little cookies bring that classic, melt-in-your-mouth French macaron texture together with merry holiday flair. Bright red shells, creamy luscious filling, and playful Santa face decorations make these macarons a joyful centerpiece at any holiday gathering or a delightful gift that’s sure to spread smiles. I can’t wait to share this recipe with you—it’s genuinely one of my seasonal favorites!
Ingredients You’ll Need
Gathering your ingredients is a breeze for this Santa Claus Macarons Recipe. Each component is simple but essential, creating that perfect balance of texture, sweetness, and festive color that makes these macarons so unforgettable.
- 100g egg whites (aged at room temperature): Helps achieve the ideal meringue base for smooth, airy shells.
- 100g granulated sugar: Sweetens and stabilizes the meringue for glossy, strong peaks.
- 105g almond flour: Provides the rich, nutty foundation for tender macaron shells.
- 105g powdered sugar: Adds refined sweetness and smoothness to the dry mix.
- Red gel food coloring: Gives that vibrant Santa red color without watering down the batter.
- 113g unsalted butter, softened: Makes the filling creamy and indulgent.
- 200g powdered sugar: Sweetens the filling and ensures a silky texture.
- 1–2 tablespoons heavy cream or milk: Adjusts the filling’s consistency, making it perfectly spreadable.
- 1 teaspoon vanilla or peppermint extract: Adds warm or refreshing flavor notes to the buttercream.
- Pinch of salt: Balances the sweetness and enhances flavor depth.
- White royal icing or melted white chocolate: Perfect for piping Santa’s beard and hat trim with precision.
- Black food coloring gel or edible pen: Essential for drawing expressive Santa eyes.
- Mini marshmallows or red sprinkles: Cute accents to finish off Santa’s fluffy hats.
- Optional: edible glitter or sugar pearls: Adds an extra festive sparkle to your creations.
How to Make Santa Claus Macarons Recipe
Step 1: Prepare the Dry Ingredients
Start by sifting the almond flour and powdered sugar together. This step is crucial to remove any lumps and create a fine, light mixture that will combine perfectly with your meringue. It sets the foundation for those signature smooth, shiny macaron shells.
Step 2: Whip the Egg Whites
Beat your aged egg whites until foamy, then gradually add the granulated sugar while continuing to whip. Keep going until you achieve stiff peaks that hold their shape beautifully. At this point, gently fold in the red gel food coloring, making sure you don’t deflate the meringue but still get that rich, festive color.
Step 3: Fold the Dry Mixture Into the Meringue
Carefully fold your sifted almond flour mixture into the colored meringue. The goal is a batter that flows slowly off your spatula in thick ribbons and can form a delicate figure-8 without breaking. This technique, known as macaronage, ensures your shells bake with the perfect rise and texture.
Step 4: Pipe the Macarons
Transfer your batter to a piping bag and pipe 1.5-inch circles onto lined baking sheets. Tap the trays firmly on the counter a few times to release any trapped air bubbles, which helps prevent cracks and creates even shells.
Step 5: Rest the Shells
Let your piped macarons rest at room temperature for 30 to 60 minutes until a dry skin forms on the surface. This step is essential – it helps your shells develop their iconic “feet” when baked and stops them from cracking.
Step 6: Bake the Macarons
Bake at 300°F (150°C) for 15 to 18 minutes. Keep an eye on them—the shells should be firm to the touch and easily peel off the parchment paper or silicone mat. Allow them to cool completely before handling further.
Step 7: Prepare the Buttercream Filling
Beat your softened butter until fluffy, then gradually add powdered sugar, heavy cream, extract, and a pinch of salt. Whip everything together until wonderfully smooth and creamy—this filling is the decadent counterpoint to your crisp shells.
Step 8: Assemble the Macarons
Pipe the buttercream onto half of your cooled shells and gently sandwich them with the remaining macarons. Match up similarly sized shells for the best presentation and balance of flavors.
Step 9: Decorate Your Santa Macarons
Now comes the fun part—decorating! Use white royal icing or melted white chocolate to pipe Santa’s iconic beard and the trim of his hat. With black food coloring gel or an edible pen, draw on eyes full of holiday cheer. Finish by adding mini marshmallows or red sprinkles to mimic Santa’s fluffy hat pom-poms. If you’re feeling fancy, scatter a pinch of edible glitter or sugar pearls for magical sparkle.
How to Serve Santa Claus Macarons Recipe
Garnishes
For an extra touch of holiday spirit, dust your Santa Claus macarons lightly with edible glitter, or serve them on a platter lined with festive holiday leaves or evergreen sprigs. You can also place a small candy cane beside each macaron for a sweet and colorful accent that guests will adore.
Side Dishes
Pair these delicate macarons with other holiday treats like spiced hot chocolate, peppermint bark, or a warm gingerbread latte. The buttery richness of the macaron filling complements the warm spiciness of these drinks and treats beautifully, enhancing the whole festive experience.
Creative Ways to Present
Consider packaging your Santa Claus Macarons Recipe as charming holiday gifts by arranging them in clear boxes tied with red and white ribbons or placing them in decorative tins with some festive confetti. For parties, build a mini macaron tower or display them on a tiered cake stand surrounded by twinkling fairy lights to really capture that holiday magic.
Make Ahead and Storage
Storing Leftovers
Store any leftover macarons in an airtight container in the refrigerator for up to a week. Make sure they’re protected from humidity to keep the shells crisp and the filling fresh, so each bite stays as delightful as the day you made them.
Freezing
You can freeze assembled macarons for up to a month. Place them in a single layer on a baking sheet initially, freeze until solid, then transfer to an airtight container to avoid moisture buildup. Thaw them gently in the fridge before serving, allowing their flavors and textures to come alive again.
Reheating
Since macarons are best enjoyed cool or at room temperature, skip reheating. If you want to refresh them slightly, let them sit at room temperature for about 30 minutes after removing from the fridge to bring out their full flavor and texture without risking melting the delicate filling or decorations.
FAQs
Can I use a different color for the macarons other than red?
Absolutely! While red is perfect for the Santa Claus Macarons Recipe, you can experiment with colors like green for an elf theme or white for snowy snowmen. Just remember gel food colors work best to keep the batter’s consistency intact.
What if I don’t have almond flour?
Almond flour is key to the texture and flavor of macarons, so it’s best not to substitute it. However, if you have finely ground almond meal without skins, that can work in a pinch. For gluten-free baking, stick with almond flour for best results.
How important is aging egg whites?
Aging egg whites at room temperature helps reduce moisture and results in more stable meringue, which means better rise and smooth shells. If you’re short on time, you can try using fresh whites, but aged whites often yield the most consistent success.
Can I make these macarons vegan or dairy-free?
Traditional macarons rely on egg whites and butter, but you can find vegan meringue substitutes and dairy-free butter alternatives. Keep in mind this can change the texture and flavor slightly, so experimentation is key!
How long does it take to decorate each macaron?
Depending on your decorating skill level, it can take around 2-3 minutes per cookie to pipe the beard, hat trim, eyes, and add the finished touches. It’s a relaxing and festive activity that’s worth every extra minute for the smile it brings!
Final Thoughts
Once you try this Santa Claus Macarons Recipe, I promise it’ll become a joyful part of your holiday traditions. These little merry masterpieces are as fun to make as they are to share, bringing smiles with every bite. Don’t hesitate to dive in and create some festive magic in your kitchen—you’ll be so glad you did!