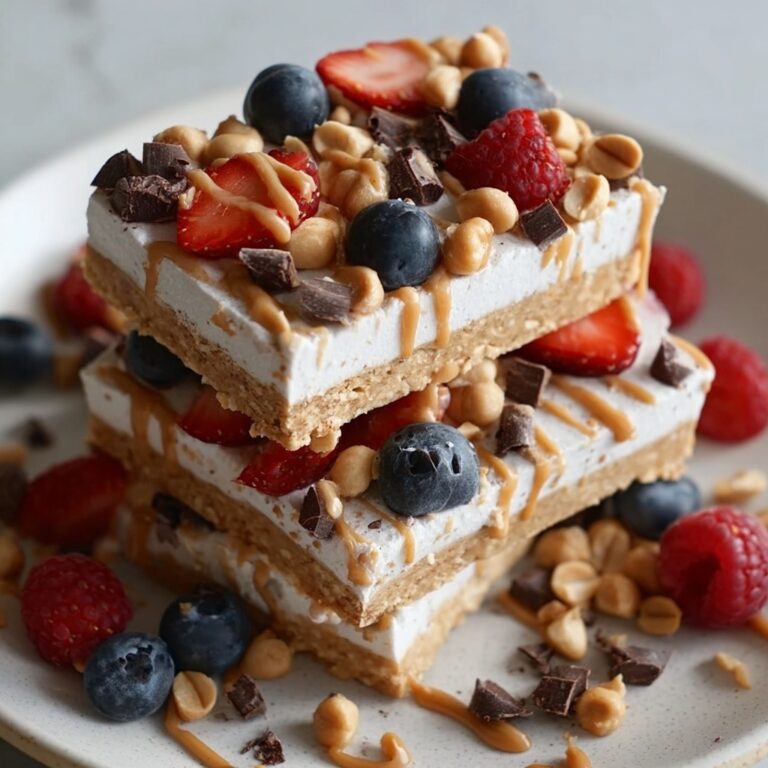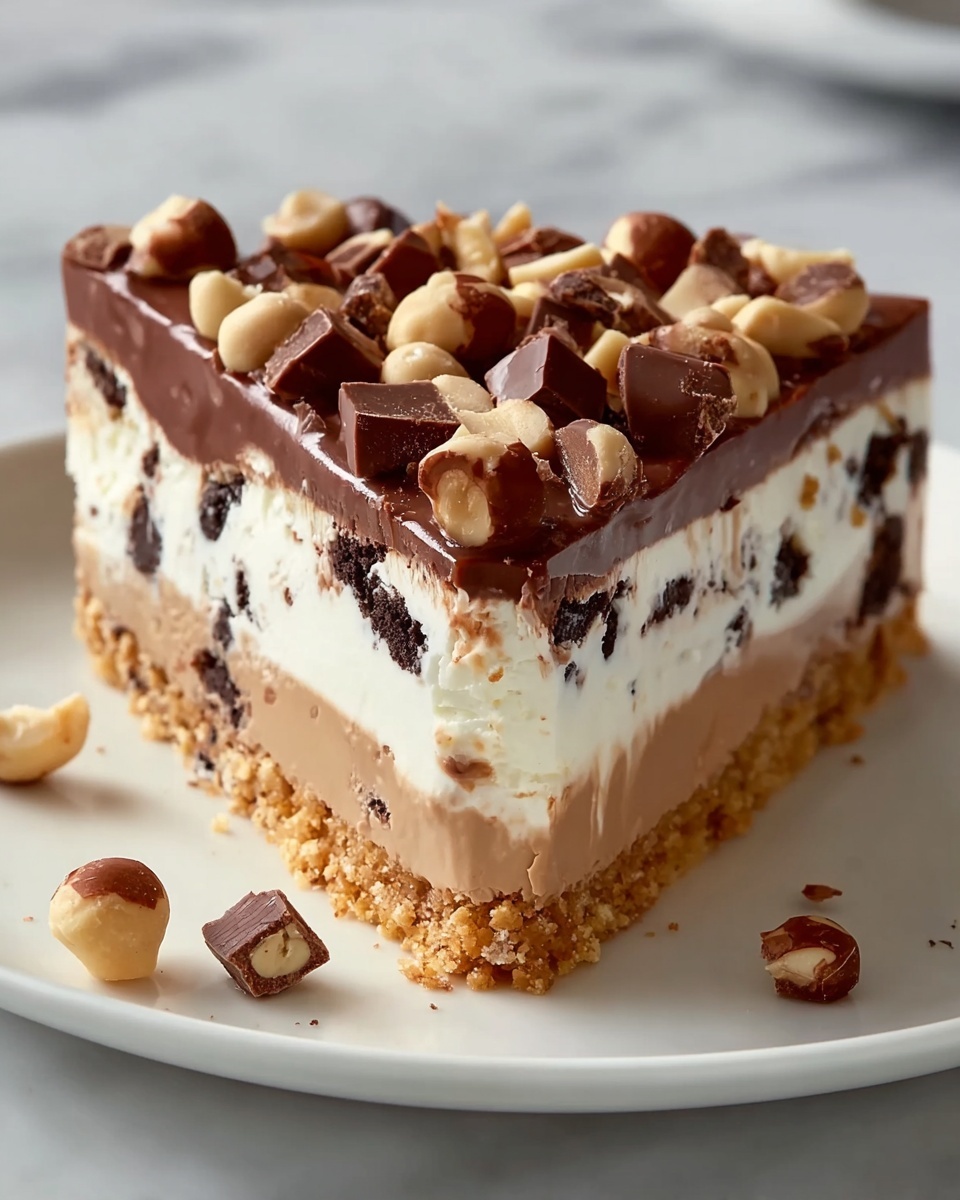
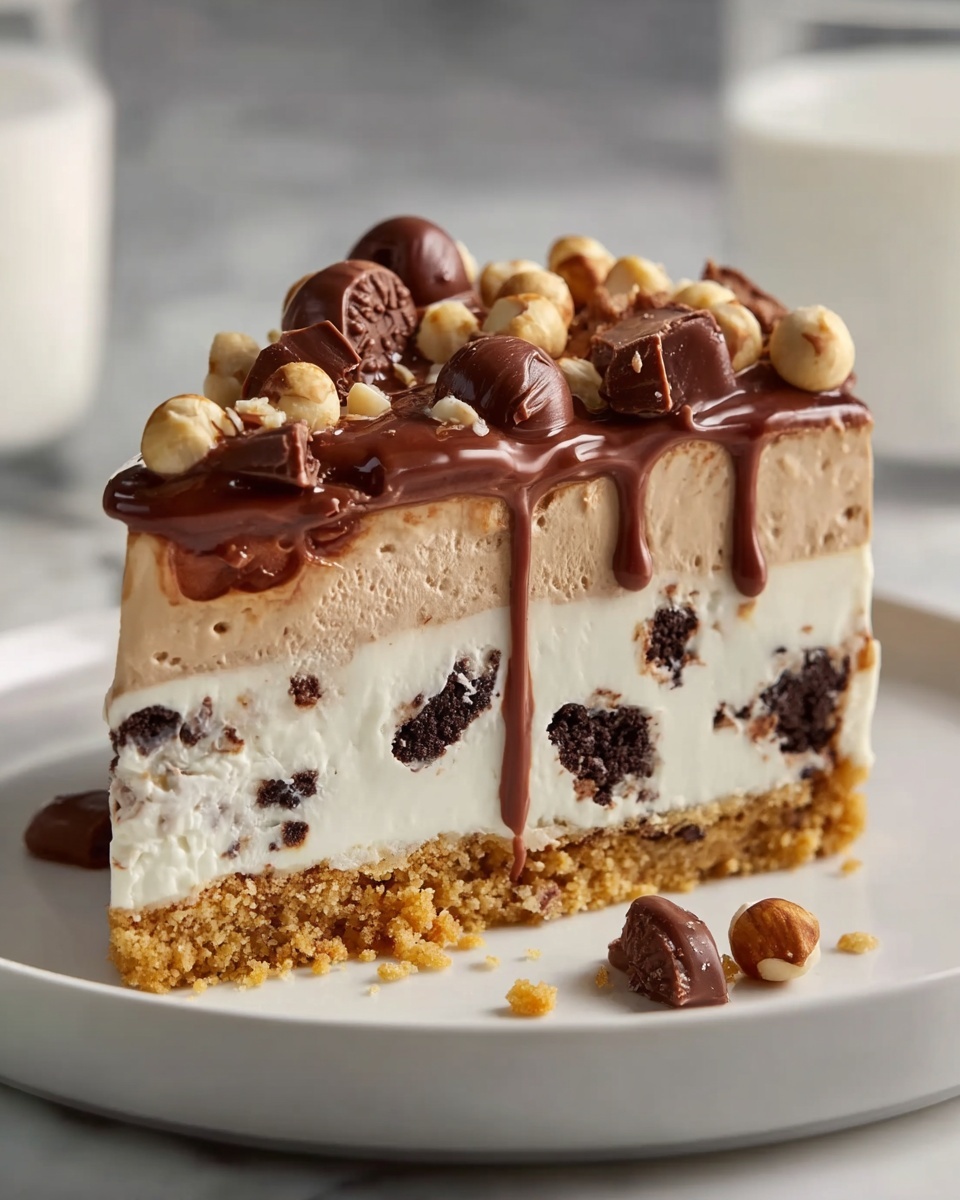
Nothing screams delight quite like a creamy, crunchy, and caramel-drizzled treat, and that is exactly what the Buster Bar Ice Cream Cake Recipe delivers. This luscious dessert layers ice cream sandwiches with rich chocolate, crunchy peanuts, gooey caramel, and a final cool scoop of vanilla ice cream, creating a sensational bite every single time. Whether you’re celebrating a special occasion or just craving something indulgent on a sunny day, this cake is your new best friend in the kitchen.

Ingredients You’ll Need
Gathering these simple yet essential ingredients is the first step to making your own irresistible Buster Bar Ice Cream Cake. Each item plays a key role, from the creamy ice cream sandwiches forming the base to the crunchy peanuts adding texture and the caramel sauce lending a glossy, sweet finish.
- Ice cream sandwiches: The creamy and chocolatey foundation that makes assembly a breeze.
- Chocolate chips: Melted to create a smooth, rich chocolate layer that enhances every bite.
- Unsalted butter: Adds smoothness and helps blend the chocolate perfectly.
- Peanuts, chopped: They introduce a satisfying crunch and a salty contrast.
- Caramel sauce: Drizzled generously for that sticky, sweet appeal that keeps you coming back.
- Vanilla ice cream: A creamy top layer that balances all the flavors with smooth sweetness.
How to Make Buster Bar Ice Cream Cake Recipe
Step 1: Lay the Foundation
Begin by lining your 9×13-inch baking dish completely with ice cream sandwiches. This forms a sturdy and creamy base that defines the cake’s structure and flavor profile. Make sure the sandwiches fit snugly to avoid gaps.
Step 2: Create the Chocolate Blanket
Melt the butter and chocolate chips together either in the microwave or over a stovetop, stirring gently until the mixture is glossy and smooth. Pour this rich layer evenly over your ice cream sandwich base. This chocolate “blanket” adds an irresistible richness that binds the cake together.
Step 3: Add Crunch with Peanuts
Sprinkle the chopped peanuts directly onto the melted chocolate layer. These add a wonderful texture and a slightly salty counterbalance to the sweetness, mimicking the classic Buster Bar bar’s signature crunch.
Step 4: Drizzle with Caramel
Generously drizzle caramel sauce over the peanut layer. This sticky, sweet topping brings a gooey richness that pairs beautifully with the chocolate and peanuts, making the cake utterly indulgent.
Step 5: Top with Vanilla Ice Cream
Add the vanilla ice cream on top, spreading it evenly with a spatula to create a smooth, creamy crown for your cake. This final layer provides a cool, mellow flavor that ties all the other vibrant textures and tastes together.
Step 6: Freeze Until Firm
Place your assembled cake in the freezer and let it chill for at least 4 hours. This step is crucial to allow the layers to set firmly, so the cake slices cleanly and holds its shape perfectly.
Step 7: Serve and Enjoy
Once frozen solid, slice the cake into generous squares and serve immediately. Every bite gives you a bit of everything—cool ice cream, crunchy nuts, smooth chocolate, and luscious caramel.
How to Serve Buster Bar Ice Cream Cake Recipe
Garnishes
Elevate your presentation by topping each serving with a sprinkle of extra chopped peanuts or a drizzle of caramel sauce. For a festive touch, add whipped cream or a few chocolate shavings to make your dessert look as good as it tastes.
Side Dishes
This cake pairs wonderfully with fresh berries or a simple fruit salad. The tartness of berries adds a refreshing contrast to the rich, sweet flavors, keeping the overall experience balanced and invigorating.
Creative Ways to Present
For a fun twist, serve the cake in individual mason jars layered with whipped cream and extra nuts for a parfait-inspired Buster Bar Ice Cream Cake experience. You can also create mini versions using small ramekins, perfect for parties or individual servings.
Make Ahead and Storage
Storing Leftovers
Store any leftover Buster Bar Ice Cream Cake in an airtight container in the freezer to keep it fresh and prevent freezer burn. Keeping it well covered locks in the delicious flavors and textures, so it tastes just as amazing later.
Freezing
The cake freezes beautifully, making it an ideal make-ahead dessert. Just be sure to cover it tightly with plastic wrap or foil, in addition to an airtight container, to protect it from absorbing any freezer odors and to maintain its moist, creamy texture.
Reheating
Since this is an ice cream-based dessert, reheating is not necessary or recommended. Instead, let slices sit for a few minutes at room temperature before serving if they’ve been frozen for a long time—this softens the ice cream and makes cutting easier.
FAQs
Can I use different types of nuts for this cake?
Absolutely! While peanuts are classic for the Buster Bar flavor, you can substitute with almonds, pecans, or cashews to suit your taste or dietary needs.
Is it possible to make this cake dairy-free?
Yes, by using dairy-free ice cream sandwiches, dairy-free chocolate chips, and dairy-free caramel sauce, you can enjoy a vegan-friendly version of this delicious cake.
How long does the cake last in the freezer?
The Buster Bar Ice Cream Cake will keep well for up to two weeks in the freezer without losing quality, so feel free to make it ahead of time for your events.
Can I use homemade caramel sauce?
Definitely! Homemade caramel sauce adds a lovely personal touch and can be customized for sweetness or texture, making your cake truly one of a kind.
What is the best way to cut the cake to avoid mess?
Use a sharp knife dipped in hot water and wiped dry before cutting. This method helps you slice cleanly through the frozen layers without sticking or tearing the cake apart.
Final Thoughts
There is something undeniably joyful about the Buster Bar Ice Cream Cake Recipe. It’s incredibly easy to make but impressively indulgent, combining flavors and textures that bring a smile to everyone’s face. I can’t wait for you to give this a try and share it with your loved ones—it’s guaranteed to become a cherished favorite in your dessert repertoire.