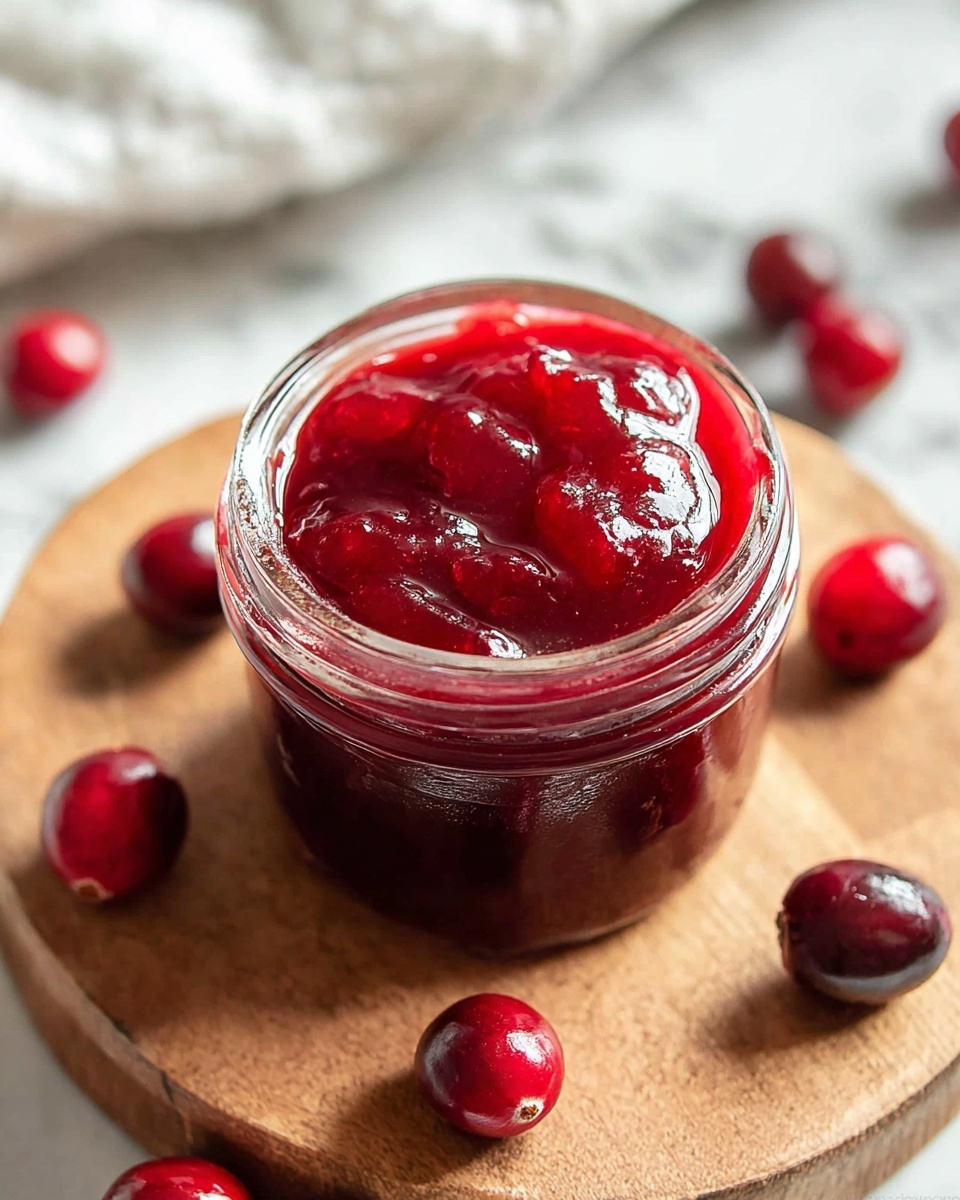
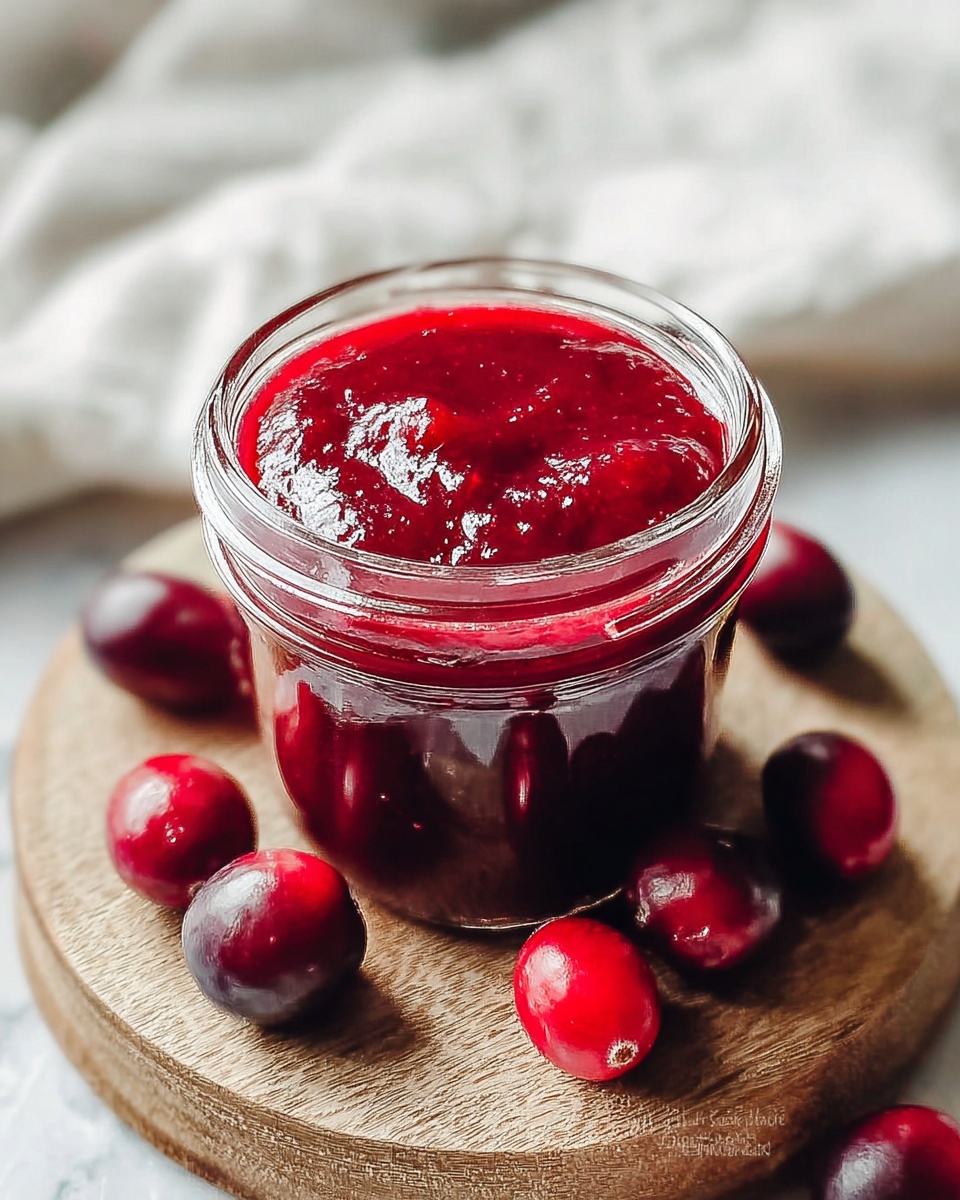
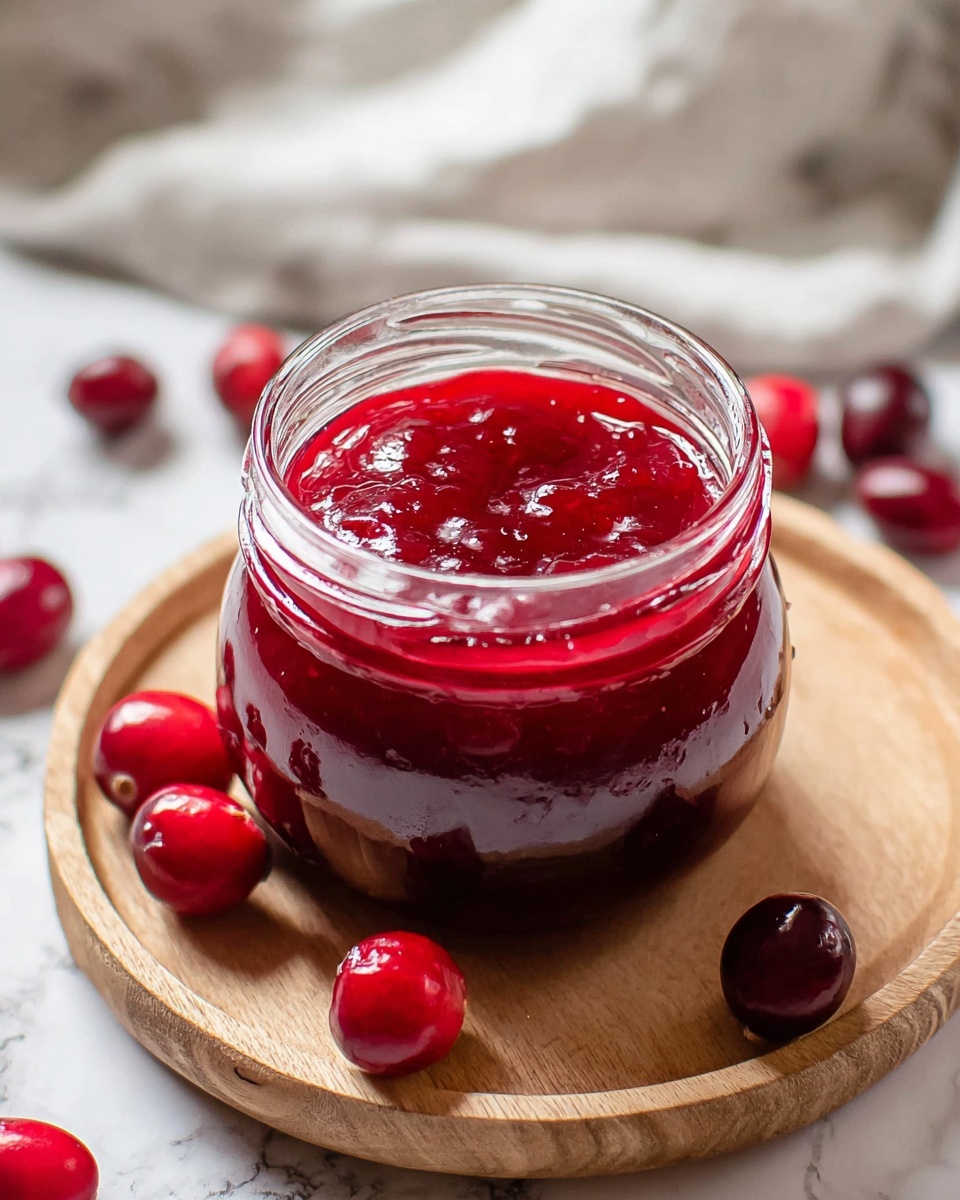
If you have a soft spot for anything sweet, tangy, and bursting with summer flavor, then you’re going to absolutely adore this Homemade Cherry Jam Recipe. Imagine spooning vibrant, jewel-toned cherry jam onto toast, dolloping it onto yogurt, or even swirling it into your favorite desserts. This recipe turns fresh cherries into a luscious, thick preserve that captures all their natural sweetness and that perfect hint of tartness. It’s a delightful way to savor cherries long after their season ends, bringing a little sunshine to your mornings or afternoon snacks.
Ingredients You’ll Need
Preparing this Homemade Cherry Jam Recipe is wonderfully simple thanks to a handful of thoughtfully chosen ingredients. Each one plays an essential role, from building the body and sweetness of the jam to ensuring it sets perfectly with a vibrant taste and glossy texture.
- 4 cups fresh cherries (pitted): These juicy, ripe cherries form the star of the show, providing natural sweetness and beautiful color.
- 1 ½ cups granulated sugar: Balances the tartness of cherries and helps with the jam’s preservation.
- 2 tablespoons lemon juice (freshly squeezed): Adds brightness and helps the pectin gel properly while enhancing flavor.
- 1 package (1.75 oz) fruit pectin: Crucial for achieving the perfect jam consistency without lengthy cooking.
How to Make Homemade Cherry Jam Recipe
Step 1: Prepare Your Cherries
First things first, wash your cherries thoroughly to remove any impurities, then pit them. You can use a cherry pitter to make this quick and easy, or simply cut them in half if you prefer. Getting the cherries ready fresh ensures your jam will shine with natural flavor and texture.
Step 2: Combine and Macerate
Place your pitted cherries in a large pot along with the sugar and freshly squeezed lemon juice. Stir everything well so the sugar starts to dissolve and the cherries begin releasing their juices. Let this mixture sit for about 30 minutes—this resting step is key as it softens the cherries and deepens the flavor.
Step 3: Heat the Cherry Mixture
Turn on medium heat and warm the cherry mixture. Stir frequently to prevent sticking, and bring it gently to a boil. This cooks the cherries slightly and helps meld the flavors just right before adding the pectin.
Step 4: Add Pectin and Boil Again
Carefully stir in the fruit pectin, following the package instructions for mixing. Return the mixture to a vigorous rolling boil, stirring constantly for about a minute. This step helps the pectin activate, so your jam sets beautifully.
Step 5: Test for the Perfect Set
To know if your jam is ready, do the classic “cold plate test.” Drop a small spoonful onto a chilled plate and let it rest for a moment. When you push it gently with your finger, the jam should wrinkle without running. This signals the perfect consistency—a luscious, spreadable jam.
Step 6: Jar and Preserve
Ladle the hot jam into sterilized jars, leaving just a bit of headspace. Seal the jars tightly, then process them in boiling water for 5 to 10 minutes to ensure long-term preservation. Once cooled, your homemade cherry jam is ready to enjoy or gift to friends and family.
How to Serve Homemade Cherry Jam Recipe
Garnishes
Although this jam is amazing on its own, sprinkling a few fresh mint leaves or a tiny pinch of cinnamon can elevate it to something special. The mint adds a refreshing aroma while cinnamon brings warmth that beautifully complements the cherries.
Side Dishes
This Homemade Cherry Jam Recipe pairs wonderfully with a variety of dishes. Spread it over warm buttery toast, swirl it into creamy ricotta cheese for a light appetizer, or add a spoonful over vanilla ice cream for a decadent treat. It’s also fantastic paired with sharp cheeses like cheddar or brie on a snack board.
Creative Ways to Present
Think beyond simple spreads—try using this cherry jam as a glaze for roasted meats like pork or chicken, or dollop it on top of pancakes and waffles with a generous drizzle of syrup. You can also create delightful thumbprint cookies or swirl it into cheesecake batter before baking for a burst of fruity goodness.
Make Ahead and Storage
Storing Leftovers
If you happen to have any leftover jars (though that rarely happens!), keep them sealed and store in a cool, dark place. After opening, refrigerate the jam and try to use within three weeks for the best flavor and texture.
Freezing
To enjoy your Homemade Cherry Jam Recipe for even longer, freezing is a great option. Use freezer-safe containers or jars with some room for expansion. Thaw in the refrigerator when needed and stir well before serving to restore the smooth consistency.
Reheating
If you like your jam warm for spreading or adding to recipes, gently warm small portions in the microwave or on the stovetop over low heat. Avoid overheating as that may change the texture or flavor intensity.
FAQs
Can I use frozen cherries for this recipe?
Absolutely! Frozen cherries work well here; just make sure to thaw and drain excess liquid before starting. This helps prevent a watery jam and keeps the flavors rich.
What if I don’t have fruit pectin on hand?
You can still try making the jam without pectin, but it will require longer cooking time to thicken. The final texture may be a bit runnier, so if you prefer a firmer jam, pectin is recommended.
How long does homemade cherry jam last?
Unopened and properly sealed jars can last up to a year stored in a cool, dark place. Once opened, consume within three weeks for optimal freshness and safety.
Is it necessary to sterilize jars?
Yes, sterilizing your jars is very important to prevent bacteria growth and spoilage. Clean jars thoroughly and boil them or use a dishwasher cycle with a sterilize option before filling with hot jam.
Can I adjust the sweetness level?
Definitely! If you prefer less sweet jam, reduce the sugar slightly, but keep in mind that sugar helps with preservation and texture. Balancing flavors with lemon juice can also help maintain brightness.
Final Thoughts
There’s something magical about making your own preserves from fresh fruit, and this Homemade Cherry Jam Recipe truly captures that joy. It’s straightforward, satisfying, and delivers bursts of homemade goodness in every spoonful. I can’t wait for you to try it and experience how just a few simple ingredients turn into something that feels like a taste of summer, any time of year.