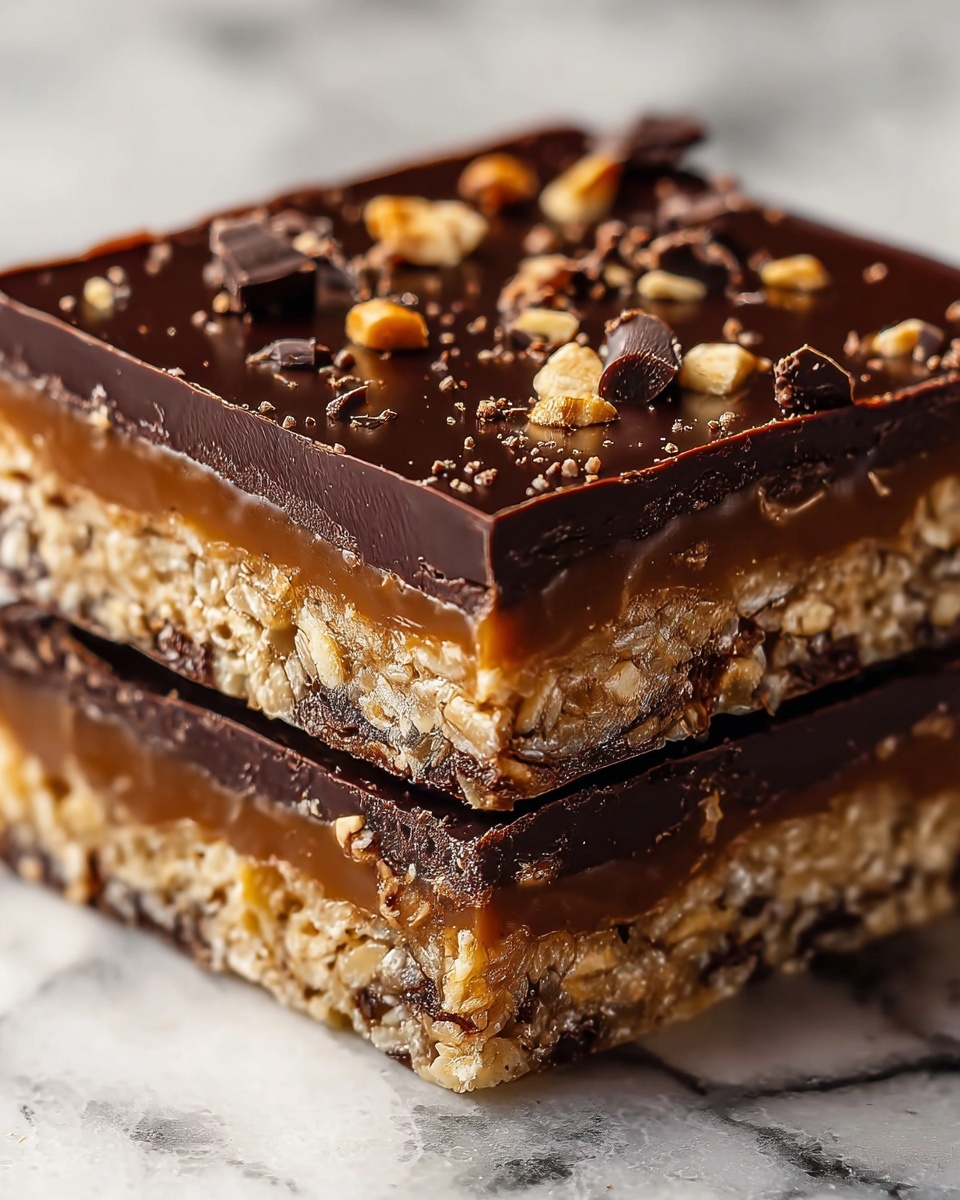
If you’re searching for a delightful treat to dazzle your Halloween guests, let me guide you through making the most addictive and nostalgic Homemade Butterfingers: A Spooky Halloween Sweet Treat Recipe. This recipe perfectly balances the crunch of corn flakes with the rich, creamy peanut butter base, all enveloped in luscious dark chocolate. It’s a charming twist on the classic candy bar that’s simple to make, irresistibly tasty, and sure to bring a festive vibe to your spooky celebrations. Whether you’re prepping for a Halloween party or just craving a wholesome homemade sweet, these butterfinger bars are the ultimate crowd-pleaser.
Ingredients You’ll Need
Gathering just a handful of pantry staples, this recipe keeps things straightforward while ensuring every bite bursts with flavor and texture. Each ingredient plays a special role, from the crispy corn flakes that add an essential crunch to the deep notes of molasses enriching the peanut butter mixture.
- 2 cups corn flakes (or corn chex cereal): Provides the signature crunch and texture for your bars.
- 3/4 cup peanut butter: The creamy, nutty base that binds everything deliciously together.
- 1/4 cup pure maple syrup: Adds a natural sweetness with a subtle hint of earthiness.
- 1 tsp blackstrap molasses (or regular molasses): Deepens the flavor with its rich, slightly bittersweet complexity.
- Pinch of salt: Balances the sweetness and enhances the peanut butter’s flavor (add more if your peanut butter isn’t salted).
- 1 cup dark chocolate chips: For coating the bars in a smooth, decadent chocolate layer.
- 2 tsp butter: Helps create a glossy, silky chocolate coating when melted.
How to Make Homemade Butterfingers: A Spooky Halloween Sweet Treat Recipe
Step 1: Crush the Corn Flakes
Start by placing your corn flakes into a ziplock bag or a bowl, then crush them until they break into fine, little pieces. Aim for a texture that keeps some crunch without turning them into powder—this gives the bars that iconic butterfinger bite.
Step 2: Melt and Mix the Wet Ingredients
In a small pot over medium-low heat, gently combine the peanut butter, maple syrup, and molasses. Stir frequently until everything melts together into a smooth, silky mixture. Be attentive to avoid burning. Add a pinch of salt, especially if your peanut butter lacks saltiness, and stir it in well. If you prefer, you can also do this gently in the microwave by heating in short 20-30 second bursts, stirring in between.
Step 3: Combine Crispy and Creamy
Pour the crushed corn flakes into a large mixing bowl, then drizzle the warm peanut butter mixture over them. Carefully stir until every piece of crisp cereal is evenly coated, creating a sticky, irresistible blend.
Step 4: Shape and Chill the Mixture
Transfer the combined mixture into a parchment-lined loaf pan. Press it down firmly and evenly to pack everything tightly—this helps the bars hold their shape once chilled. Pop the pan into your freezer for 45 to 60 minutes or, for an even firmer texture, overnight works wonders.
Step 5: Prepare the Chocolate Coating
As your bars chill, place the dark chocolate chips and butter into a microwave-safe bowl. Heat in 30-second intervals, stirring after each to prevent burning. Continue until you have a perfectly smooth and glossy chocolate sauce ready for dipping.
Step 6: Dip and Set Your Butterfinger Bars
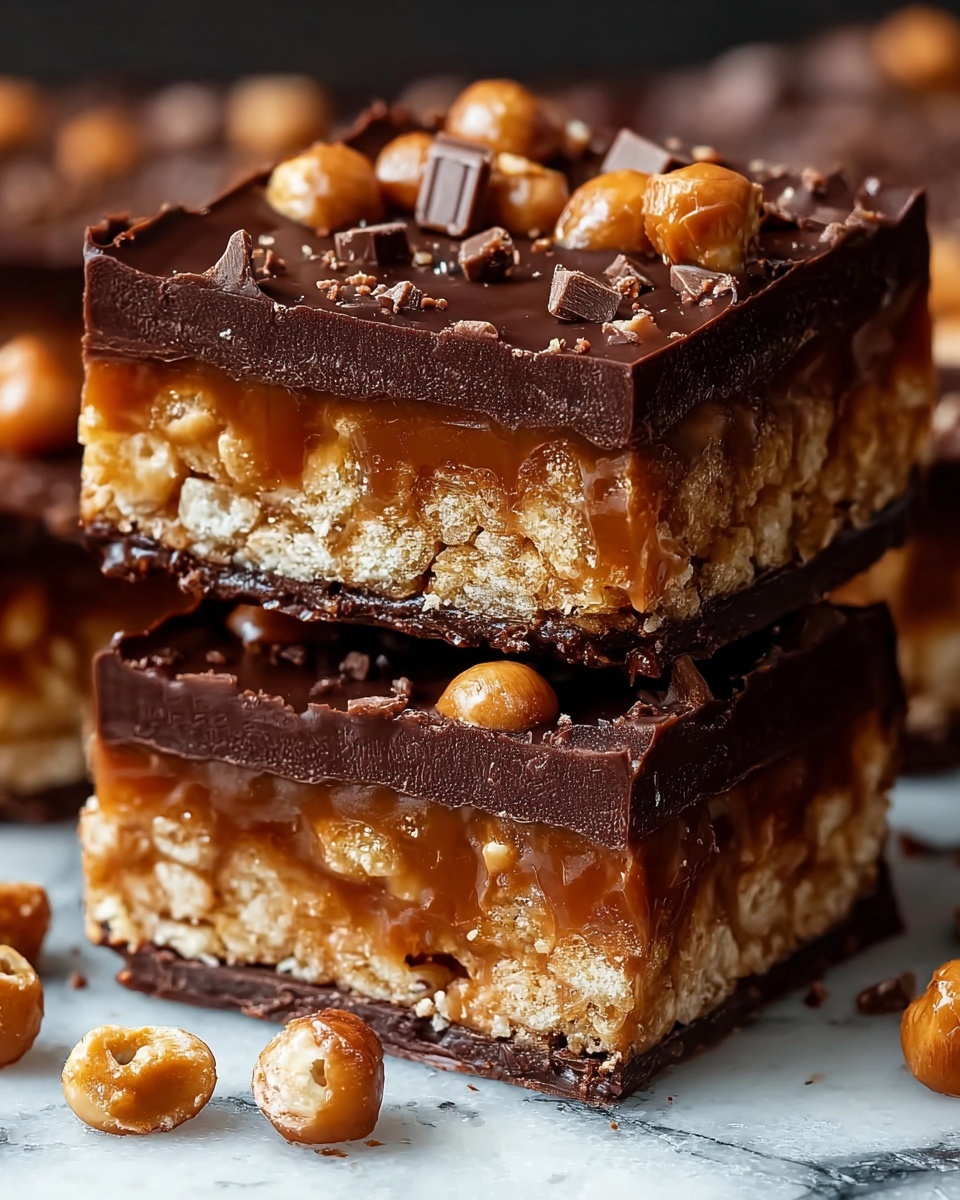
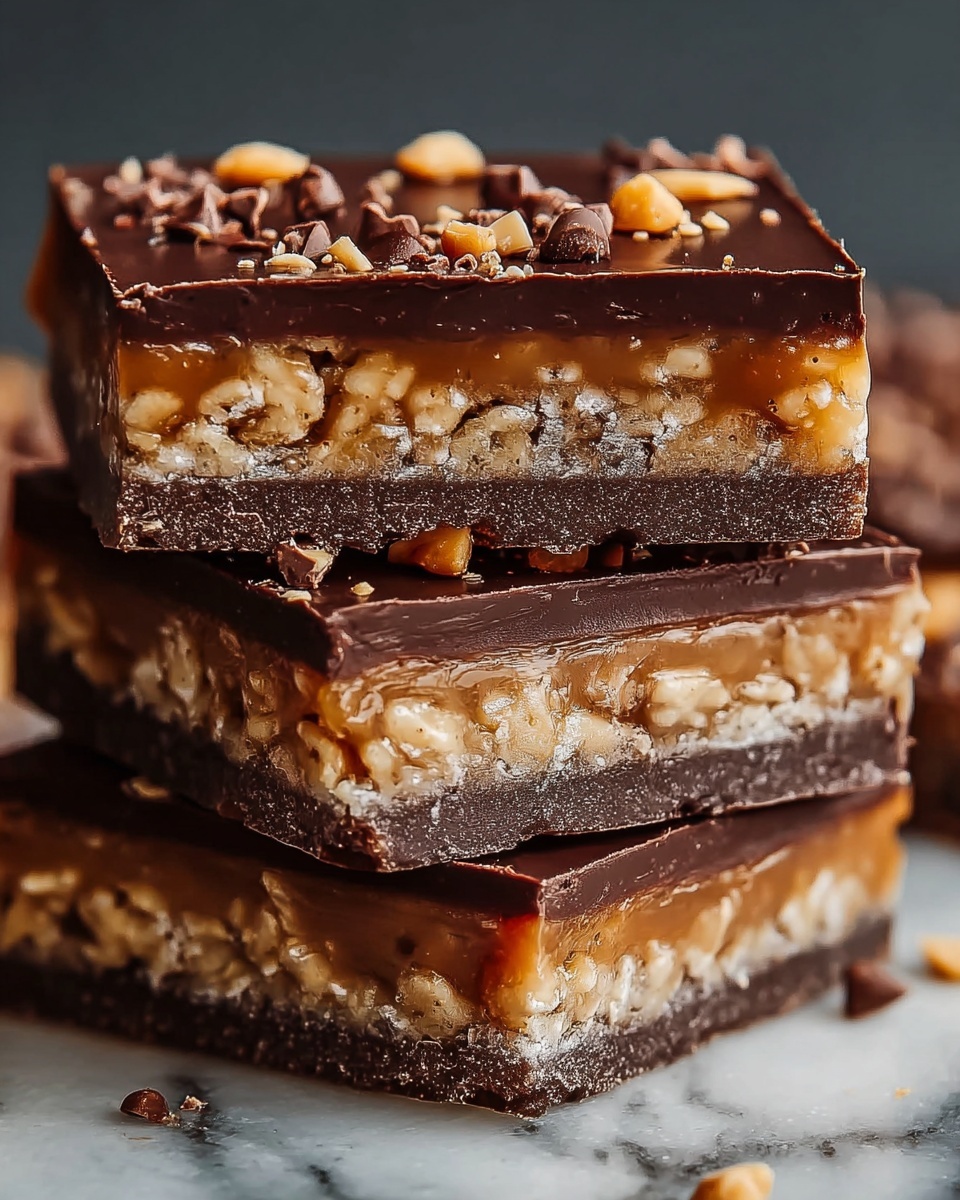
Remove the firmed mixture from the pan and slice it into bars of your desired size. Dip each bar thoroughly into the melted chocolate, ensuring full coverage. Lay the coated bars on a parchment-lined sheet or plate, then refrigerate until the chocolate sets, about 30-60 minutes. And voilà, your homemade buttery, chocolatey bars are ready to be devoured!
How to Serve Homemade Butterfingers: A Spooky Halloween Sweet Treat Recipe
Garnishes
Keep it simple or embrace the spooky spirit with creative garnishes like edible glitter, Halloween-themed sprinkles, or a drizzle of white chocolate for a ghostly contrast. A sprinkle of crushed candy corn or finely ground toasted peanuts adds both festive flair and extra crunch.
Side Dishes
Pair your Homemade Butterfingers: A Spooky Halloween Sweet Treat Recipe with hot apple cider or a creamy pumpkin spice latte to complement the nutty sweetness perfectly. For a savory balance, a small bowl of roasted pumpkin seeds offers a wonderful textural contrast and seasonal appeal.
Creative Ways to Present
Presentation can elevate these bars from delicious to unforgettable. Arrange bars on a platter decorated with faux cobwebs or mini pumpkins to enhance your Halloween spread. Wrapping individual bars in wax paper tied with black and orange twine makes for charming party favors or trick-or-treat giveaways.
Make Ahead and Storage
Storing Leftovers
Once your homemade butterfingers are set, store them in an airtight container in the refrigerator. They stay fresh and crunchy for up to a week, perfect for snacking all week long or sharing with friends who just can’t get enough.
Freezing
If you want to make these ahead for a party or future cravings, freezing is a great option. Wrap the bars individually in wax paper or plastic wrap, then place them in a freezer-safe bag. They keep well for up to three months and thaw beautifully without losing their texture.
Reheating
While these bars are best enjoyed cold to keep that snap in the chocolate and crunch in the core, if you prefer a softer bite, allow them to come to room temperature for 10-15 minutes before serving. Avoid microwaving as it can melt the chocolate unevenly and ruin the crispness.
FAQs
Can I use a different type of nut butter?
Absolutely! Almond butter, cashew butter, or sunflower seed butter work well and offer a unique twist while maintaining that creamy binding effect. Just keep in mind the flavor will shift accordingly.
Is there a way to make these bars vegan?
Yes! Use a vegan peanut butter, make sure to select dairy-free chocolate chips, and substitute the butter with coconut oil for the chocolate coating. The rest of the recipe stays the same, making it a perfect vegan-friendly treat.
How crunchy should the cereal be?
The cereal should be crushed but still retain some crunch. This contrasts nicely with the smooth peanut butter mixture, creating that iconic Butterfinger texture that’s crispy and chewy at the same time.
Can I make these without molasses?
If you don’t have molasses, you can omit it or add a little more maple syrup instead. Molasses adds depth and a hint of bitterness that balances the sweetness, but the recipe will still be delicious without it.
What’s the best way to serve these at a Halloween party?
Serve chilled on decorative plates or in Halloween-themed cupcake liners. You can even stick small Halloween picks into each bar for easy grabbing, making them as fun to eat as they are tasty.
Final Thoughts
There’s something wonderfully nostalgic and comforting about making your own candy bars, especially when it’s this simple and tasty Homemade Butterfingers: A Spooky Halloween Sweet Treat Recipe. It’s such a joyful, hands-on way to celebrate Halloween, with flavors that will delight everyone from kids to adults. Give these bars a try—you’ll be hooked on their perfect crunch, rich peanut butter flavor, and chocolatey finish in no time!