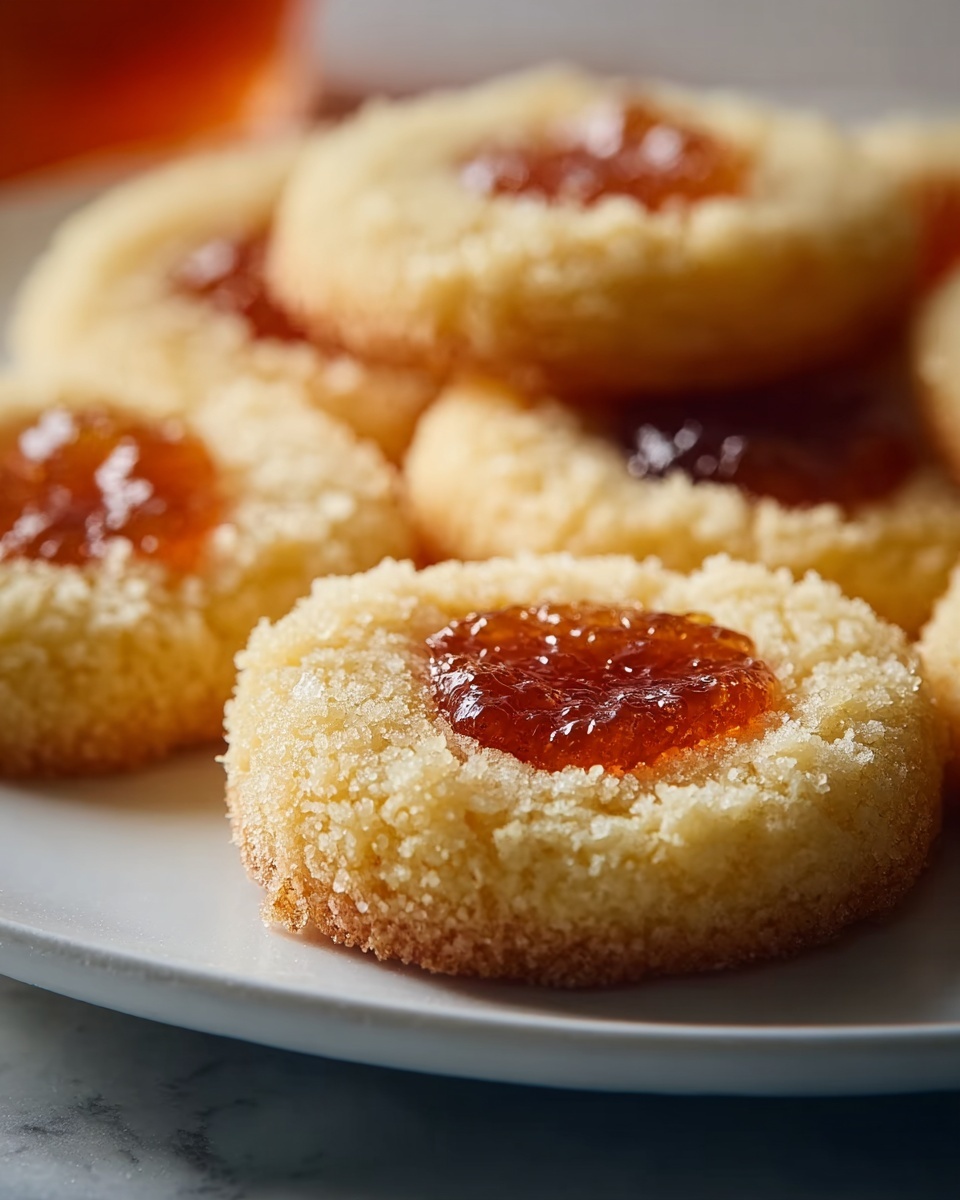
If you’re searching for a delightful way to transform fresh, crisp apples into a luscious treat, this Homemade Apple Jelly Recipe is an absolute winner. With its clear, amber glow and smooth, spreadable texture, this jelly captures the pure essence of apples, brightened by a hint of lemon’s tanginess. It’s a simple yet magical kitchen project that turns everyday ingredients into a jar of sunshine ready to brighten breakfasts, snacks, and gifts alike.
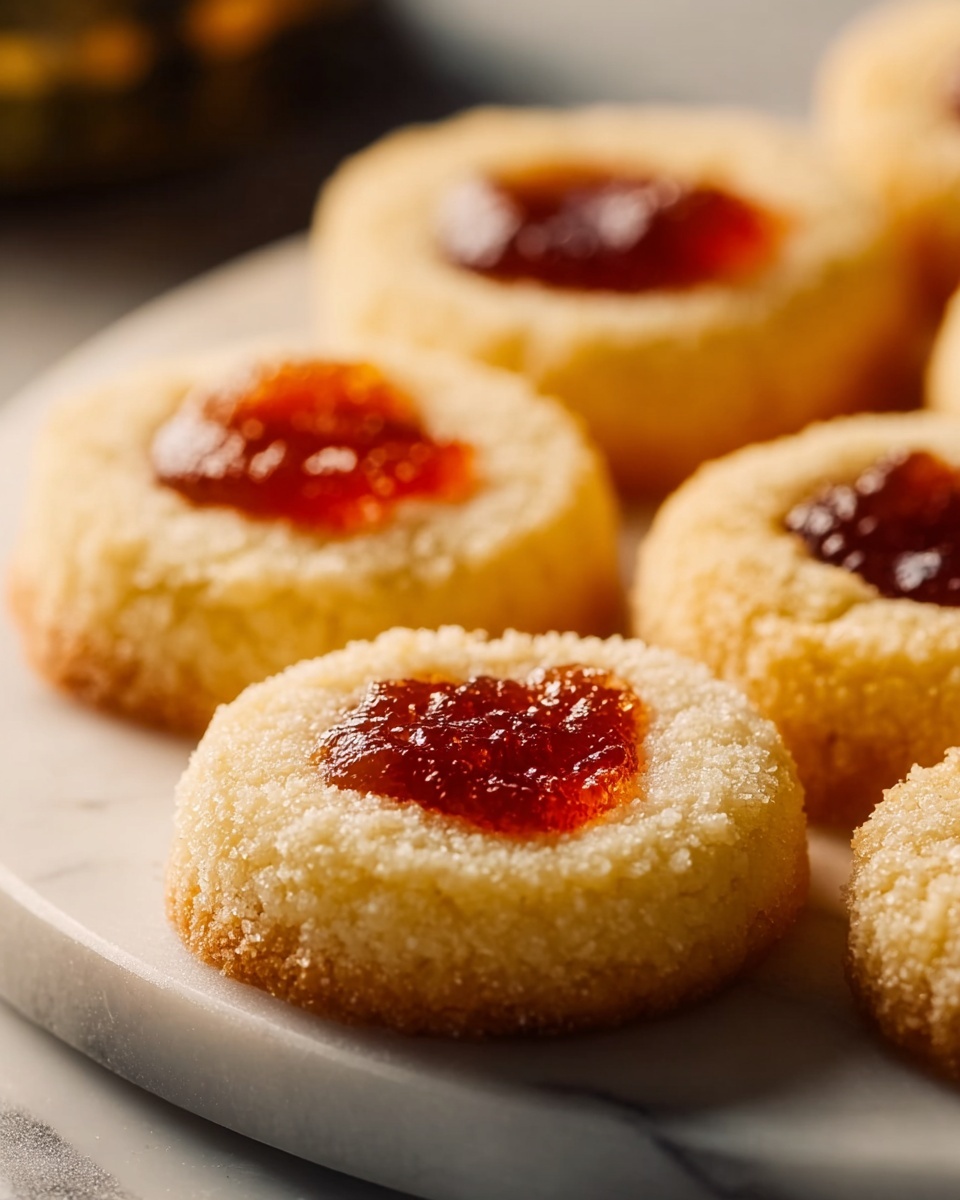
Ingredients You’ll Need
Gathering just a few straightforward ingredients can yield this stunning apple jelly, where each component plays a key role in balancing flavor, texture, and color perfectly.
- Fresh apples, 3 pounds: Using whole apples including skins and cores adds natural pectin and body to your jelly.
- Water, 5 cups: Essential for simmering the apples to extract their juice and delicate flavor.
- Granulated sugar, 3 1/2 to 4 cups: Added in a volume equal to your strained juice, sugar sweetens and helps the jelly set beautifully.
- Freshly squeezed lemon juice, 2 tablespoons: This brightens the taste and enhances the natural pectin’s ability to gel.
How to Make Homemade Apple Jelly Recipe
Step 1: Prepare Your Jars
Start by washing and sterilizing your jars and lids in hot water. Keeping them warm until filling prevents glass breakage when pouring in hot jelly later, ensuring your preserves are safe and shelf-stable.
Step 2: Cook the Apples
Add your chopped apples and water to a large pot and bring to a boil. Once boiling, reduce the heat and let the mixture simmer gently for 30 to 40 minutes, until the apples are incredibly soft and bursting with juice. Patience here extracts all those wonderful flavors.
Step 3: Strain the Juice
Pour the cooked apple mix through a jelly bag or cheesecloth into a bowl. Allow it to drip without pressing so the juice remains clear and your jelly sets with a pristine, translucent appearance.
Step 4: Measure and Sweeten
Now measure the strained juice carefully. For every cup of juice, add equal parts granulated sugar into a clean pot. Stir in the fresh lemon juice, which adds brightness and ensures the jelly will firm up nicely.
Step 5: Boil and Test
Bring your mixture to a vigorous rolling boil over medium-high heat. Keep skimming off any foam that forms to keep your jelly crystal clear. Continue boiling until the jelly reaches 220°F (104°C), or use the cold plate test—drop a spoonful on a chilled plate and check for wrinkling when pushed with a finger.
Step 6: Jar Your Jelly
Once your jelly reaches the perfect set, ladle it carefully into your warm sterilized jars. Wipe the rims clean, seal with lids, and let the jars cool undisturbed until the jelly is fully set. This resting stage helps everything gel to the ideal consistency.
Step 7: Label and Store
Finally, add labels and store your beautiful jars in a cool, dark place to maintain freshness. After opening, keep your homemade creation refrigerated to enjoy it at its very best.
How to Serve Homemade Apple Jelly Recipe
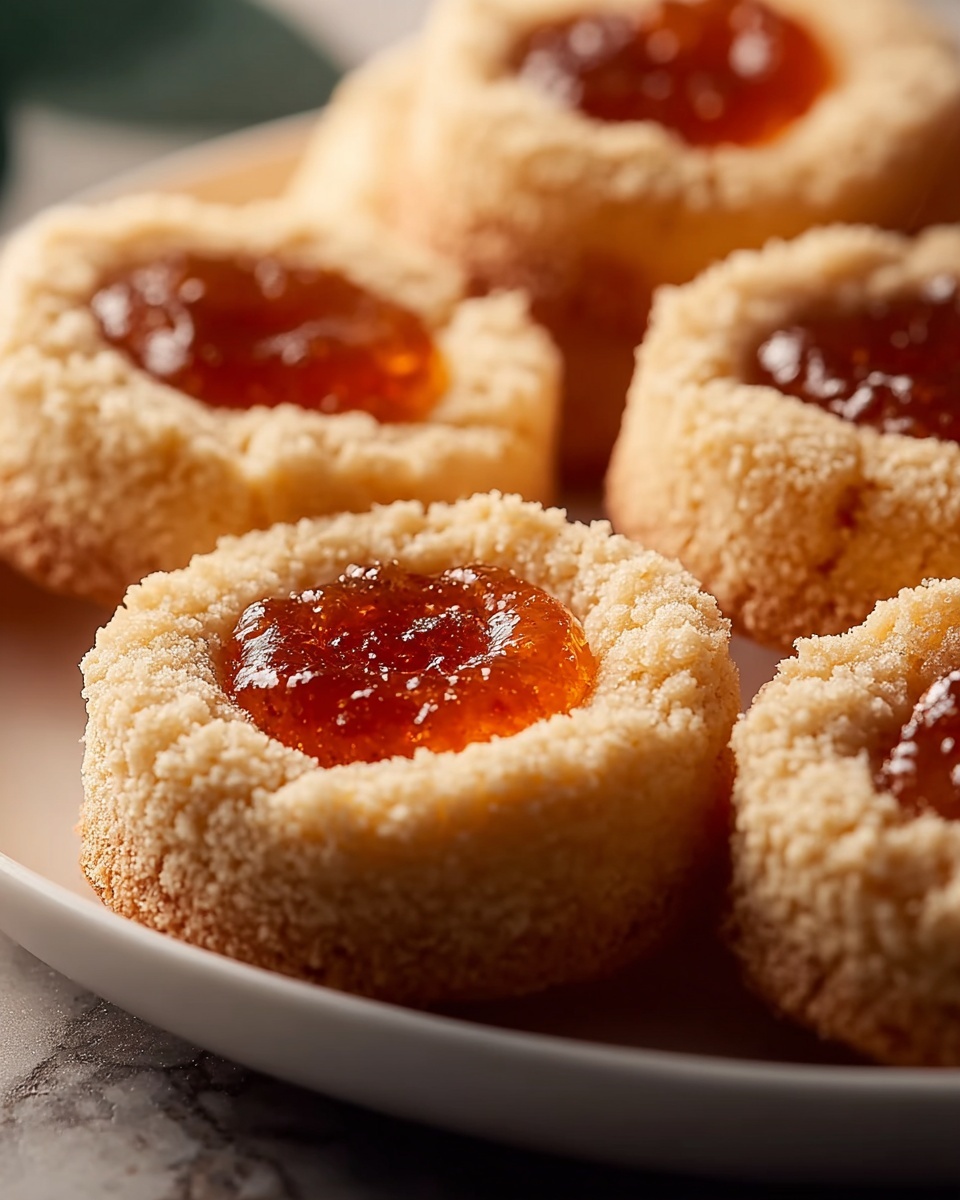
Garnishes
Elevate your apple jelly with a sprig of fresh mint or a thin apple slice on top of each serving. These simple touches add a pop of color and a subtle herbal note that complements the jelly’s sweet tang.
Side Dishes
This jelly pairs wonderfully with fluffy buttermilk pancakes, warm biscuits, or creamy cheeses like Brie or sharp cheddar. The sweet-tart contrast brings out the best in every bite, whether for breakfast or a cozy snack.
Creative Ways to Present
Why not spread your Homemade Apple Jelly Recipe on a crusty baguette and sprinkle with chopped toasted nuts for texture? Or use it as a glaze for roasted pork or chicken to infuse a hint of fruity sweetness that’s both unexpected and irresistible.
Make Ahead and Storage
Storing Leftovers
If you have any jelly left after your initial jar-opening, simply store it tightly sealed in the refrigerator. Properly kept, it will retain its fresh flavor and texture for several weeks, ready whenever you crave a sweet touch.
Freezing
While jellies generally freeze well, it is best to freeze smaller portions in airtight containers to avoid the risk of texture changes. Thaw in the refrigerator and stir gently before using to restore smoothness.
Reheating
You usually do not need to reheat apple jelly for spreading, but if you want to use it as a glaze, warm it gently in a saucepan or microwave to soften and enhance its glossy sheen. Avoid boiling to preserve its fresh flavor.
FAQs
Can I use any type of apple for this jelly?
Yes, but for the best flavor and natural pectin, a mix of tart and sweet apples works beautifully. Granny Smiths and Gala or Fuji apples are excellent choices.
Why do I need to include apple cores and skins?
The skins and cores contain natural pectin essential for the jelly to set, so keeping them in during cooking makes a significant difference.
How do I know when the jelly is ready to jar?
The jelly is ready when it reaches 220°F (104°C) or when a spoonful placed on a chilled plate wrinkles after cooling and is pushed gently with a finger.
Is it necessary to sterilize jars?
Absolutely. Sterilizing jars prevents contamination that can spoil your jelly and ensures it lasts long when stored.
Can I reduce the sugar amount in this recipe?
While you can reduce sugar, it may affect the jelly’s ability to set and its shelf life, so it’s best to follow the recipe ratios for a reliable, delightful result.
Final Thoughts
Nothing beats the joy of spreading your very own Homemade Apple Jelly Recipe on a warm slice of bread or sharing it with loved ones as a heartfelt gift. It’s a rewarding, delicious project that invites you to savor the true flavors of fresh apples any time of year. Give it a try and watch this classic recipe become a cherished favorite in your kitchen!

