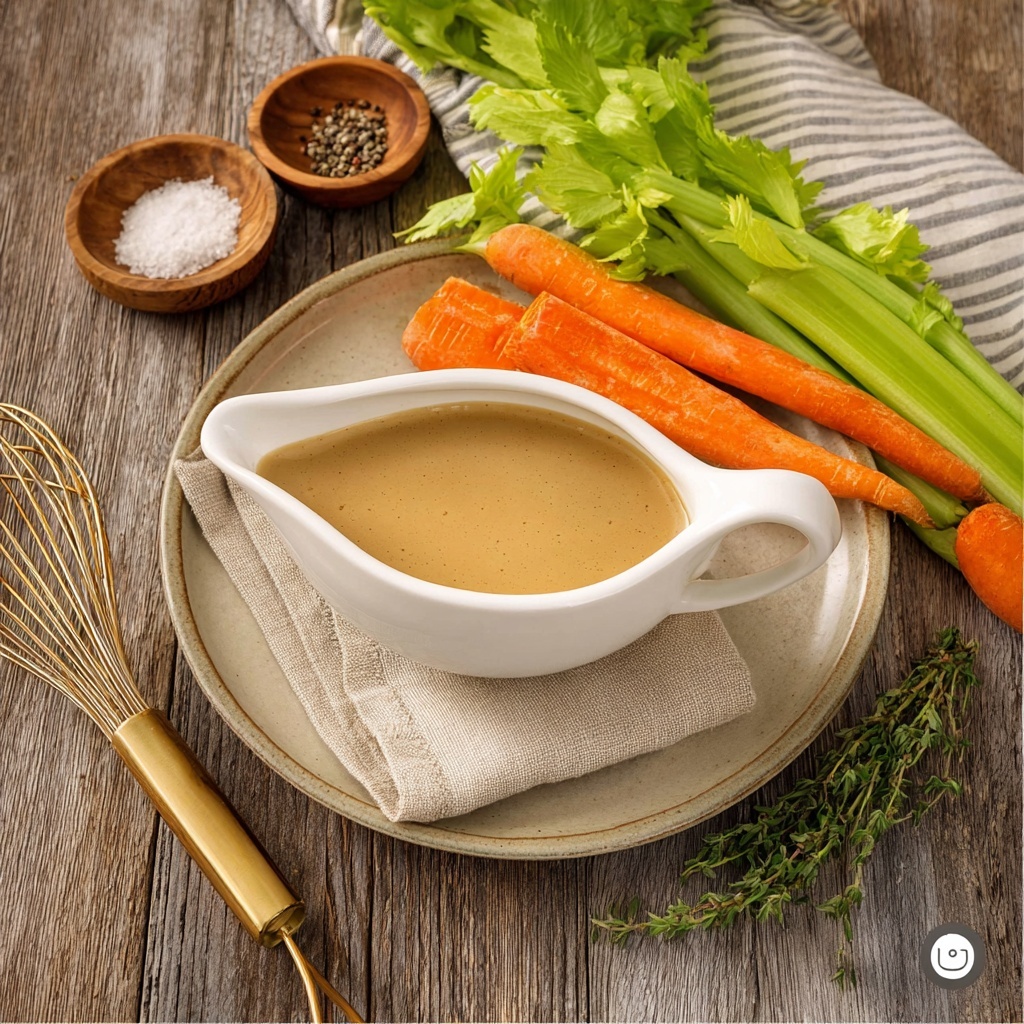
Nothing says comfort and celebration quite like a rich, flavorful gravy to crown your holiday feast. This Make-Ahead Turkey Gravy Recipe is a game changer for anyone who loves the depth and warmth of homemade turkey gravy but prefers to enjoy the day without standing over the stove. It’s packed with savory roasted turkey wings, aromatic vegetables, and a perfect blend of butter and flour to create a velvety texture that complements every slice of turkey or a scoop of mashed potatoes. The best part? You can prepare it well in advance, locking in all those comforting flavors and freeing up your kitchen time when guests arrive.
Ingredients You’ll Need
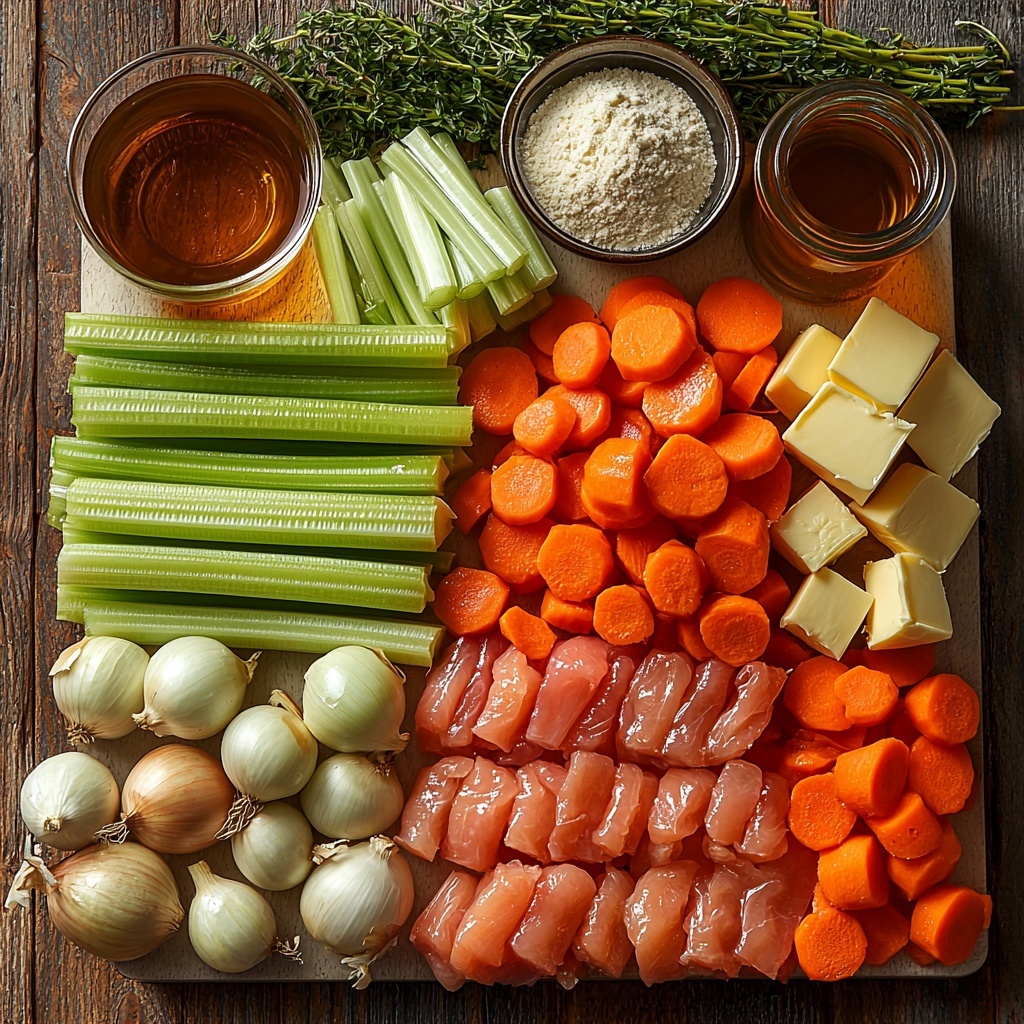
Each of these simple but essential ingredients plays a vital role in developing the rich flavor, silky texture, and inviting color of this Make-Ahead Turkey Gravy Recipe. From the caramelized vegetables to the golden roux, everything works together beautifully.
- ⅓ cup olive oil (divided): Adds a fruity, light base for roasting and helps to brown the turkey wings and veggies perfectly.
- 3 onions (quartered): Bring a natural sweetness and depth during roasting.
- 6 stalks celery (chopped in 2″ chunks): Lends an earthy, fresh flavor and balances the richness.
- 4-5 carrots (chopped in 2″ chunks): Provide natural sweetness and vibrant color to the gravy.
- 1 bunch fresh thyme: Infuses a gentle herbaceous aroma that brightens the overall flavor.
- 2 pounds turkey wings: The star protein that delivers deep, savory turkey essence.
- ¾ cup white wine: Perfect for deglazing, lifting all those caramelized bits into the gravy.
- 8 cups chicken broth: Forms the flavorful liquid base for the gravy.
- 8 tablespoons butter: Essential for that smooth, rich mouthfeel in the roux.
- ½ cup flour: Thickens the gravy to luscious perfection without lumps.
How to Make Make-Ahead Turkey Gravy Recipe
Step 1: Preheat and Prepare
Start by preheating your oven to 400°F. This high heat is crucial for roasting the turkey wings and vegetables until they develop that golden brown crust and rich aroma which sets the foundation for deep, complex gravy flavor.
Step 2: Roast the Base Ingredients
Drizzle 2 tablespoons of olive oil at the bottom of your roasting pan, then scatter the quartered onions, celery chunks, carrots, and a bunch of fresh thyme. Lay the turkey wings on top, seasoning them generously with salt and pepper, then drizzle the remaining olive oil over everything. This layering and seasoning ensure every bite is bursting with savory goodness. Pop it into the oven and let the roasting magic begin.
Step 3: Achieve Perfect Browning
Roast the turkey wings and vegetables for 45 to 60 minutes, keeping an eye out for that gorgeous golden brown color. This browning is what unlocks the rich, savory notes critical to the ultimate turkey gravy experience—don’t rush it!
Step 4: Deglaze and Reduce
Remove the roasting pan and pour in the white wine to deglaze, carefully scraping up all those irresistible browned bits stuck to the bottom. Then add the chicken broth and return the pan to the oven for an extra 30 to 45 minutes so the liquid reduces by half, concentrating the flavors beautifully.
Step 5: Strain and Save
Take the turkey wings out and set them aside for another delicious use. Pour the remaining liquid and roasted veggies through a fine strainer or fat separator into a large bowl, ensuring your gravy will be silky smooth and free of solids.
Step 6: Make the Roux
Melt butter in a heavy-bottomed pan over medium heat, then whisk in the flour. Keep stirring continuously for about 2 minutes until it turns a golden brown shade. This step cooks out the raw flour taste and creates a nutty, flavorful base that thickens your gravy to that perfect consistency.
Step 7: Combine and Simmer
Slowly add the strained broth back into the roux, whisking continuously to keep lumps at bay. Allow the mixture to simmer for 30 minutes, thickening into a luxurious gravy that’s seasoned to your taste with salt and pepper. This slow simmer is key to melding the flavors together harmoniously.
Step 8: Cool and Store
Once thickened and perfectly seasoned, let the gravy cool completely before transferring it into an airtight container. This Make-Ahead Turkey Gravy Recipe can now be refrigerated, ready to bring effortless elegance to your holiday table.
How to Serve Make-Ahead Turkey Gravy Recipe
Garnishes
To elevate the presentation and flavor even more, sprinkle freshly chopped parsley or thyme leaves on top right before serving. A small pat of butter melted into the hot gravy adds shine and richness that guests will appreciate.
Side Dishes
This gravy is a star sidekick to your roasted turkey and pairs beautifully with creamy mashed potatoes, stuffing, roasted root vegetables, or even buttered dinner rolls. Its deep, savory flavor lifts every dish on your holiday plate.
Creative Ways to Present
Consider serving the gravy in a beautiful gravy boat or small crock on the side, allowing your guests to pour as much as they wish. For a rustic touch, warm small ramekins with gravy and sprinkle on toasted herbs or crispy fried shallots as a unique appetizer or dip.
Make Ahead and Storage
Storing Leftovers
After your feast, store any leftover Make-Ahead Turkey Gravy Recipe in an airtight container in the refrigerator. It will keep beautifully for up to 4 days, maintaining its rich flavor and smooth consistency for easy reheating.
Freezing
This gravy freezes exceptionally well. Pour it into freezer-safe containers, leaving room for expansion, and it will stay good for up to 3 months. When you want to enjoy it again, thaw it overnight in the fridge.
Reheating
Reheat gently on the stovetop over low heat, stirring frequently to avoid separation or burning. If the gravy thickens too much after chilling or freezing, whisk in a splash of warm chicken broth or water to bring it back to a perfect pourable consistency.
FAQs
Can I use store-bought stock instead of chicken broth?
Absolutely! While homemade broth adds extra depth, a good-quality store-bought chicken broth works perfectly and saves time without sacrificing flavor in this Make-Ahead Turkey Gravy Recipe.
Is turkey wing meat edible after making the gravy?
Yes, the turkey wings become very tender after roasting and can be shredded and used in soups, salads, or sandwiches, making the most out of your ingredients.
Can I make this gravy without wine?
If you prefer to skip the wine, substitute with an equal amount of additional chicken broth or a splash of apple cider vinegar for acidity. The flavor will still be delicious and rich.
How thick should the gravy be? Can I adjust the consistency?
The gravy should be luscious and thick enough to coat a spoon but still pourable. If it’s too thick after cooking or chilling, whisk in warm broth to loosen it up. Too thin? Let it simmer a bit longer to reduce.
Is this recipe suitable for other poultry like chicken or duck?
Yes, you can use chicken wings or duck wings instead of turkey wings, though turkey wings offer a uniquely rich flavor perfect for this profile of gravy.
Final Thoughts
If you want a reliable, flavorful, and stress-free way to add that unforgettable turkey gravy to your holiday menu, this Make-Ahead Turkey Gravy Recipe is your new best friend. Trust me, once you taste the deep, roasted richness and velvety texture, you’ll wonder how you ever did a holiday without it. Give it a try—it’s a labor of love that pays off with every silky, savory spoonful.
Print
Make-Ahead Turkey Gravy Recipe
- Prep Time: 10 minutes
- Cook Time: 2 hours 30 minutes
- Total Time: 2 hours 40 minutes
- Yield: 8 to 8 servings
- Category: Sauce
- Method: Roasting
- Cuisine: American
Description
This Make-Ahead Turkey Gravy recipe offers a rich, flavorful gravy crafted by roasting turkey wings and vegetables, deglazing with white wine, and thickening with a classic roux. Perfect for elevating your holiday meals or anytime you want a delicious, hearty gravy prepared in advance.
Ingredients
Roasting Ingredients
- ⅓ cup olive oil (divided)
- 3 onions, quartered
- 6 stalks celery, chopped into 2″ chunks
- 4–5 carrots, chopped into 2″ chunks
- 1 bunch fresh thyme
- 2 pounds turkey wings
- Salt and pepper, to taste
Deglazing and Broth
- ¾ cup white wine
- 8 cups chicken broth
Roux and Thickening
- 8 tablespoons butter
- ½ cup flour
Instructions
- Preheat Oven: Set your oven to 400°F (204°C) to prepare for roasting the turkey wings and vegetables.
- Prepare Pan: Drizzle 2 tablespoons of olive oil on the bottom of the roasting pan. Scatter onions, celery, carrots, and fresh thyme evenly across the pan. Lay the turkey wings on top and season everything generously with salt and pepper. Drizzle the remaining olive oil over the turkey wings.
- Roast Turkey and Vegetables: Place the pan in the preheated oven and roast the turkey wings and vegetables for 45 minutes to 1 hour, or until the turkey wings are golden brown and nicely roasted.
- Deglaze and Add Broth: Remove the pan from the oven and pour in the white wine, scraping the bottom of the pan with a spoon to lift any browned bits. Add the chicken broth to the pan and return it to the oven. Roast for an additional 30 to 45 minutes or until the liquid has reduced by half, concentrating the flavors.
- Strain the Liquid: Carefully remove the turkey wings from the pan and set them aside for another use. Pour the remaining contents, including vegetables and liquid, through a strainer into a large bowl or fat separator to separate the solids from the broth.
- Make the Roux: In a heavy-bottomed pan over medium heat, melt the butter. Gradually whisk in the flour, cooking continuously to form a roux. Continue whisking and cooking for about 2 minutes until the roux becomes golden brown and fragrant.
- Incorporate Broth: Slowly add the strained broth to the roux while whisking constantly to avoid lumps. Simmer the mixture for 30 minutes, stirring occasionally, until the gravy thickens to your desired consistency. Taste and adjust seasoning with salt and pepper.
- Cool and Store: Allow the turkey gravy to cool completely before transferring it into an airtight container. Store in the refrigerator until ready to use, making it a perfect make-ahead addition to your meal.
Notes
- Use turkey wings for a rich, flavorful base, or substitute with turkey necks or drumsticks if desired.
- Straining the broth ensures a smooth gravy without vegetable chunks; pressing vegetables gently can extract more flavor.
- If gravy thickens too much upon cooling, reheat gently with a bit of extra broth or water to adjust consistency.
- This gravy freezes well for up to 3 months; thaw overnight in the refrigerator before reheating.
- Season to taste at the end to prevent over-salting during reduction.


