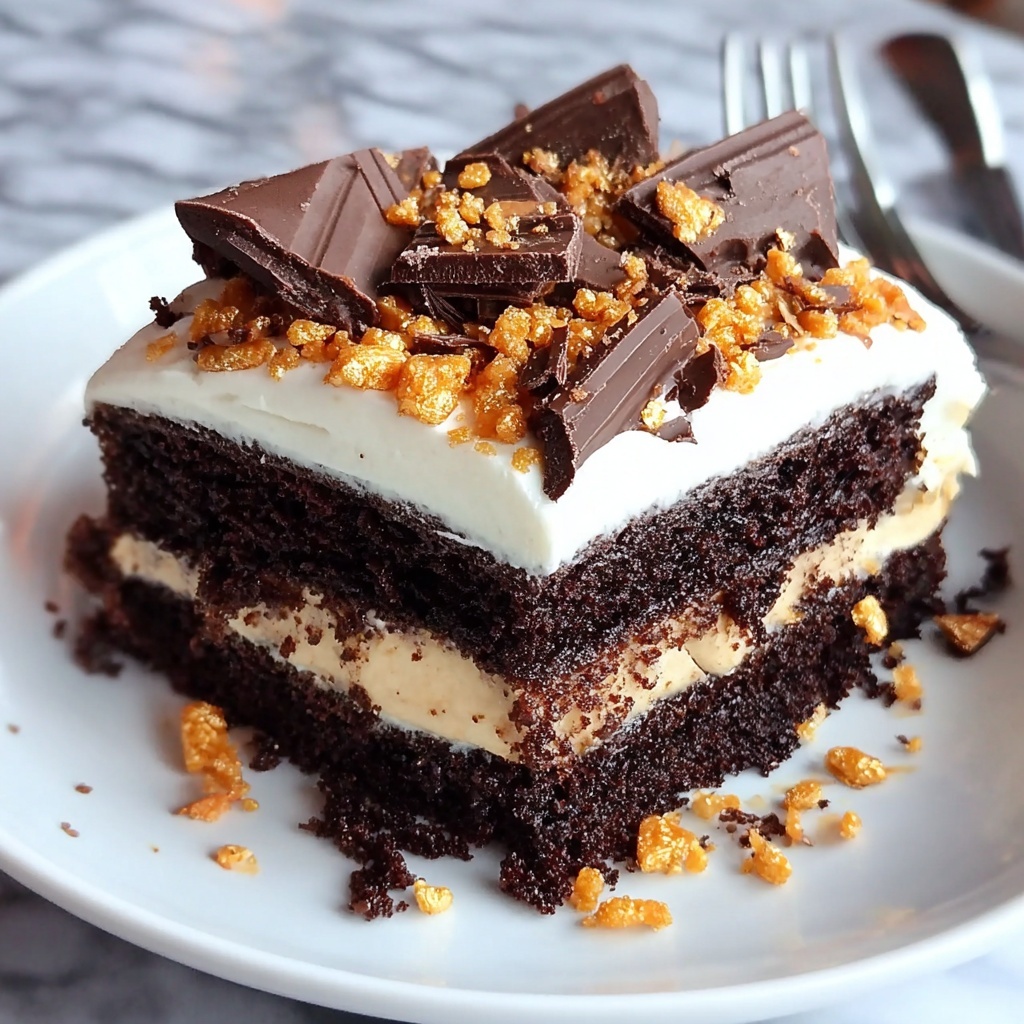
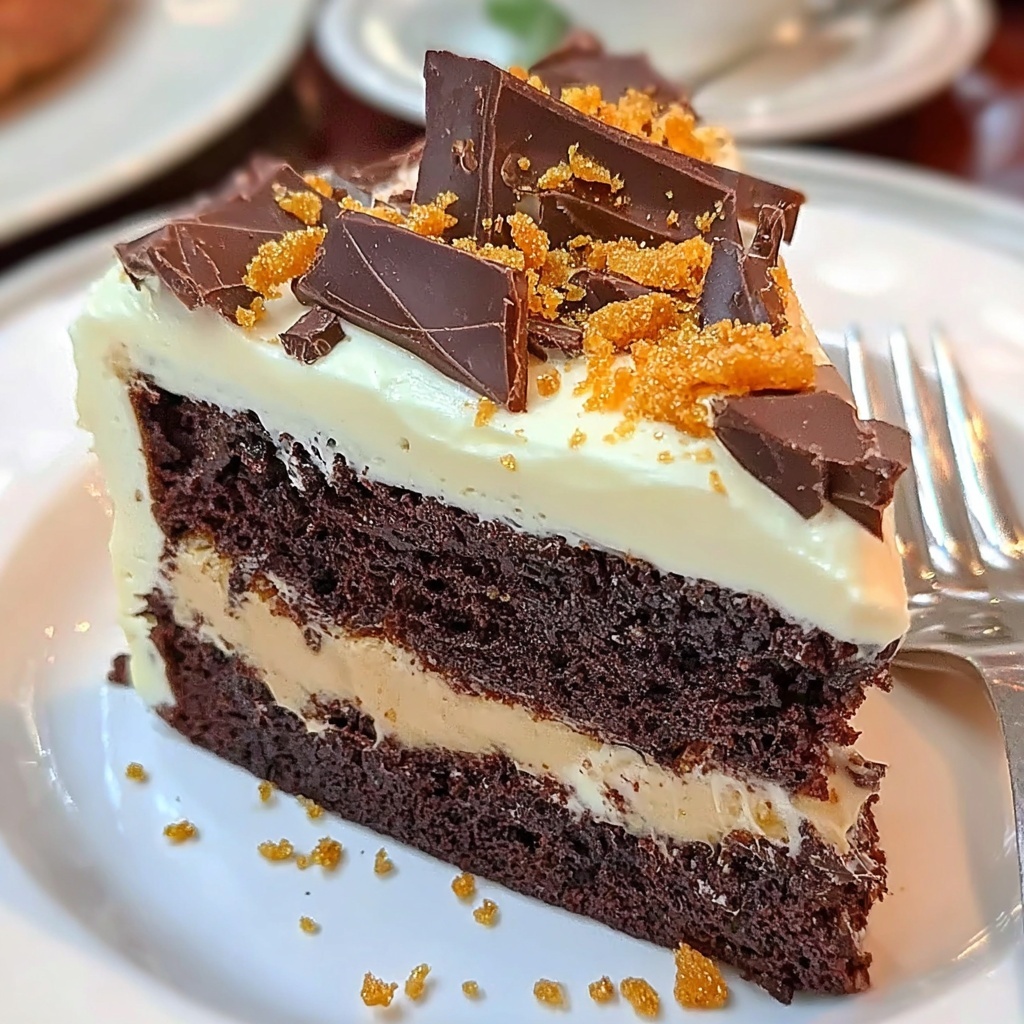
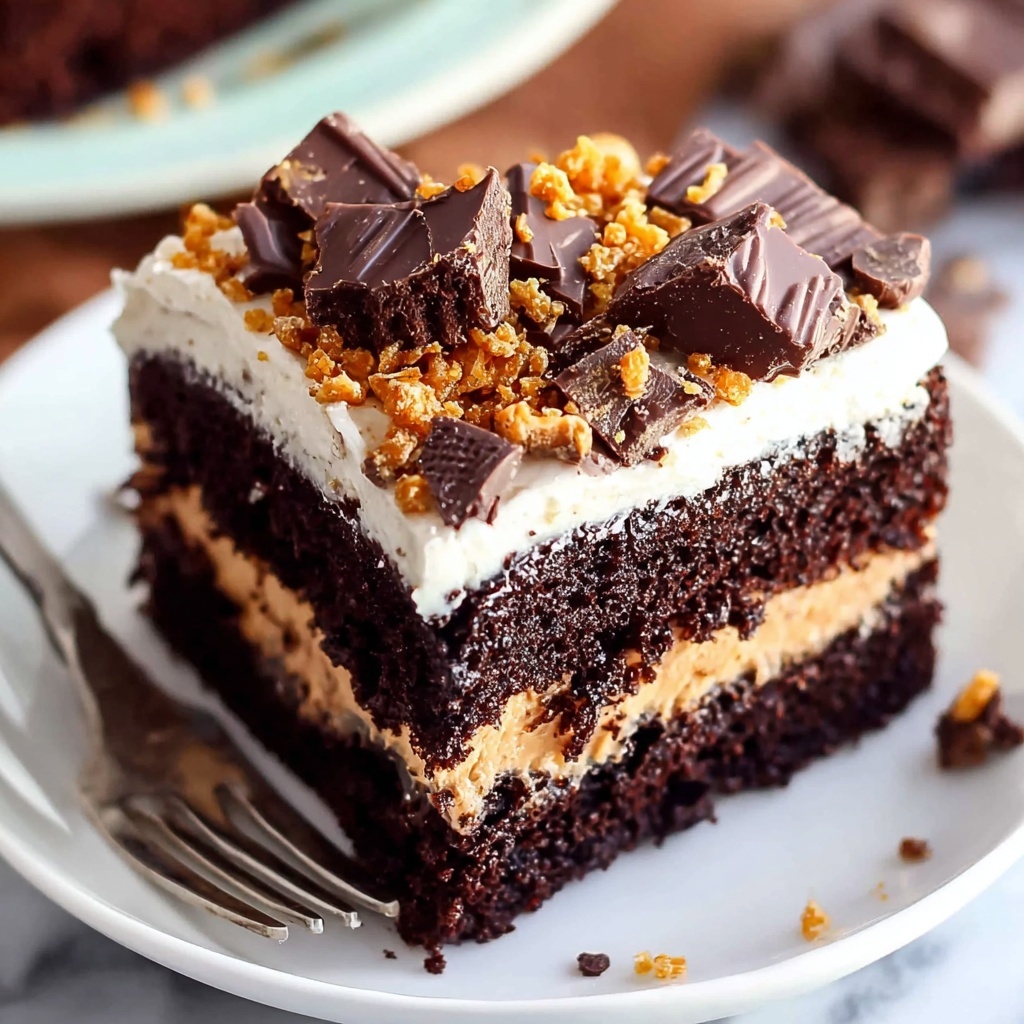
If you have a sweet tooth and a love for that perfect combination of chocolate, peanut butter, and crunchy candy, then you’re going to adore this Butterfinger Bomb Cake Recipe. Imagine layers of moist chocolate cake hugged by a luscious peanut butter frosting, all sprinkled generously with crunchy Butterfinger pieces that add just the right amount of texture and nostalgic flavor. It’s an explosion of taste in every forkful that’s guaranteed to impress at any gathering or simply turn an ordinary day into a celebration. This cake isn’t just a dessert; it’s a joyful experience that will have you coming back for more.
Ingredients You’ll Need
Gathering a few everyday ingredients is all it takes to create this remarkable cake. Each element plays a crucial role, from the rich chocolate base to the creamy peanut butter frosting, making the process feel both accessible and rewarding.
- Chocolate cake mix (15.25 oz): Provides a moist, chocolatey foundation that’s easy to whip up and deliciously familiar.
- 3 large eggs: Helps bind the cake together and adds richness to the texture.
- 1 cup water: Keeps the batter smooth and tender for perfect baking consistency.
- 1 cup creamy peanut butter: The star ingredient in the frosting, delivers a rich, nutty flavor and creamy texture.
- 1/2 cup unsalted butter, softened: Adds smoothness and helps create a fluffy, spreadable frosting.
- 4 cups powdered sugar: Sweetens and thickens the frosting to just the right consistency.
- 2 Butterfinger candy bars, chopped: Sprinkled inside and on top, these bars add irresistible crunch and a classic candy flavor twist.
How to Make Butterfinger Bomb Cake Recipe
Step 1: Prepare Your Pans and Oven
Start by preheating your oven to 350°F (175°C) and greasing two round cake pans. This ensures your cakes will come out cleanly and maintain their shape perfectly, setting a great foundation for your big cake build.
Step 2: Mix the Cake Batter
In a large bowl, combine the chocolate cake mix with eggs and water. Stir until everything is smooth — this step is key for a uniform cake batter that bakes up tender and moist, capturing the best chocolate flavor.
Step 3: Bake the Cake Layers
Pour the batter evenly into your greased pans and pop them into the oven. Bake for 25 to 30 minutes, checking with a toothpick to ensure it comes out clean. This guarantees your cake layers are perfectly cooked and ready for frosting.
Step 4: Whip Up the Peanut Butter Frosting
While your cakes cool down, mix the peanut butter and softened butter until creamy. Slowly incorporate the powdered sugar until the frosting is fluffy and spreadable – this frosting will bring a delightful, nutty balance to the rich chocolate cake.
Step 5: Assemble the Cake
Place one cake layer on your serving plate, then spread half of your peanut butter frosting over it. Sprinkle a generous handful of chopped Butterfinger bits on top to add a crunchy, candy surprise in every slice.
Step 6: Finish with the Final Layer and Garnish
Top with the second cake layer, spread the remaining frosting all over, and finish by decorating with more chopped Butterfinger. Your Butterfinger Bomb Cake Recipe is now fully assembled and ready to wow your taste buds!
How to Serve Butterfinger Bomb Cake Recipe
Garnishes
To enhance the presentation and flavor, add a few whole or chopped Butterfinger candy bars on top as a garnish. You might also consider a light dusting of cocoa powder or a drizzle of melted chocolate for extra visual appeal and indulgence.
Side Dishes
This decadent cake pairs wonderfully with simple accompaniments like a scoop of vanilla ice cream or a cup of freshly brewed coffee. These sides help balance the richness and make each bite feel fresh and delightful.
Creative Ways to Present
Make your Butterfinger Bomb Cake stand out by serving it with playful touches—try individual slices with dollops of whipped cream and a few chopped peanuts or create mini versions in cupcake tins for a fun twist. Presentation really elevates the experience, turning this cake into a star centerpiece.
Make Ahead and Storage
Storing Leftovers
Keep your leftover Butterfinger Bomb Cake in an airtight container in the refrigerator. This will keep the cake moist and the frosting fresh for up to 4 days, preserving the delightful contrast of flavors and textures.
Freezing
You can freeze the cake layers and frosting separately for up to 2 months. Wrap the layers tightly in plastic wrap and place the frosting in an airtight container. When you’re ready to enjoy, thaw overnight in the refrigerator and assemble as usual.
Reheating
The cake is best served chilled or at room temperature, so reheating is typically unnecessary. If you prefer it slightly warmed, pop a slice in the microwave for about 10 seconds, just enough to soften the frosting slightly without melting the crunch of the Butterfinger bits.
FAQs
Can I use homemade cake instead of mix for the Butterfinger Bomb Cake Recipe?
Absolutely! Using a homemade chocolate cake works beautifully if you want to add a personal touch. Just make sure it’s moist and sturdy enough to hold the layers and frosting.
What type of peanut butter is best for the frosting?
Creamy peanut butter is recommended because it blends smoothly with the butter and sugar, creating that perfect fluffy frosting texture without any graininess.
Can I substitute the Butterfinger candy bars with something else?
If you want to switch things up, crunchy peanut butter cups or chopped peanut brittle make tasty alternatives. Just note that the signature Butterfinger flavor is a big part of this cake’s charm.
Is this recipe suitable for beginner bakers?
Definitely! The Butterfinger Bomb Cake Recipe is straightforward, with simple steps and common ingredients, making it an ideal choice for bakers at any skill level.
How long should I let the cake cool before frosting?
It’s important to let the cake cool completely, usually about an hour, to prevent the frosting from melting and sliding off. Patience here results in a neat and delicious final cake.
Final Thoughts
There’s something incredibly satisfying about creating and sharing a dessert like the Butterfinger Bomb Cake Recipe that brings together so many beloved flavors and textures. Whether for a special occasion or just because you deserve a treat, this cake promises to delight every time. So grab your ingredients, have fun with the process, and watch this Butterfinger Bomb Cake become a favorite in your baking repertoire.
Print
Butterfinger Bomb Cake Recipe
- Prep Time: 30 minutes
- Cook Time: 30 minutes
- Total Time: 1 hour
- Yield: 12 servings
- Category: Dessert
- Method: Baking
- Cuisine: American
Description
A decadent Butterfinger Bomb Cake featuring rich chocolate cake layers filled and topped with creamy peanut butter frosting and crunchy Butterfinger candy pieces for a delightful texture and flavor combination.
Ingredients
Cake
- 1 box chocolate cake mix (15.25 oz)
- 3 large eggs
- 1 cup water
Frosting
- 1 cup creamy peanut butter
- 1/2 cup unsalted butter, softened
- 4 cups powdered sugar
Garnish
- 2 Butterfinger candy bars, chopped
Instructions
- Preheat and Prepare Pans: Preheat your oven to 350°F (175°C) and grease two round cake pans to ensure the cakes do not stick after baking.
- Mix Cake Batter: In a large bowl, combine the chocolate cake mix, eggs, and water. Stir together until the batter is smooth and fully blended.
- Bake Cake Layers: Divide the batter evenly between the two prepared pans. Bake for 25-30 minutes or until a toothpick inserted into the center comes out clean, indicating the cake is fully baked.
- Make the Frosting: While the cakes are cooling, beat together peanut butter and softened butter until creamy and evenly combined. Gradually add powdered sugar, mixing continuously until the frosting is fluffy and smooth.
- Assemble the Cake: Place one cooled cake layer on a serving plate. Spread half of the peanut butter frosting evenly over it. Sprinkle a generous amount of chopped Butterfinger pieces atop the frosting for crunch and flavor.
- Add Second Layer and Decorate: Place the second cake layer on top. Spread the remaining frosting over the top and sides of the cake as desired. Garnish the cake with remaining chopped Butterfinger bits, adding texture and visual appeal.
Notes
- Ensure cakes are completely cooled before frosting to prevent melting.
- Use room temperature butter for the frosting to achieve a creamy consistency.
- Chop Butterfinger bars finely or coarsely depending on your preference for crunch.
- Store the cake covered at room temperature for up to 2 days or refrigerate for up to 5 days.
- Allow refrigerated cake to come to room temperature before serving for best texture.


